
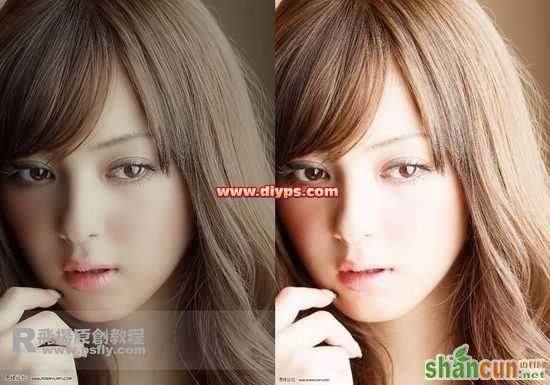
效果图和原图效果对比:
 nmousewheel="return bbimg(this)" onload="javascript:resizepic(this)" border="0"/>
1、打开原图,创建亮度/对比度调整图层,参数设置如下图。
 nmousewheel="return bbimg(this)" onload="javascript:resizepic(this)" border="0"/>
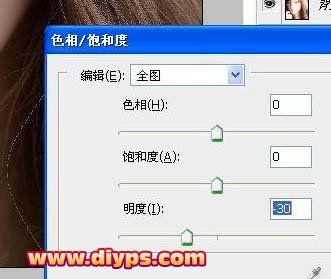
2、创建色相饱和度调整层,参数如图,然后盖印可见图层(ctrl+alt+shift+e),使用NEAT IMAGE磨皮注意嘴的细节部分。
 nmousewheel="return bbimg(this)" onload="javascript:resizepic(this)" border="0"/>
3、新建可选颜色调整层参数如图前三步为暗压方法。
 nmousewheel="return bbimg(this)" onload="javascript:resizepic(this)" border="0"/>
 4、新建曲线调整层参数如图。
 nmousewheel="return bbimg(this)" onload="javascript:resizepic(this)" border="0"/>
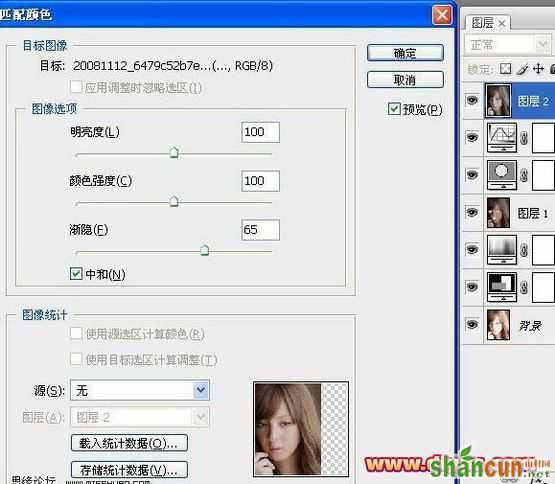
5、盖印可见图层(ctrl+alt+shift+e),匹配颜色,参数如图。
 nmousewheel="return bbimg(this)" onload="javascript:resizepic(this)" border="0"/>
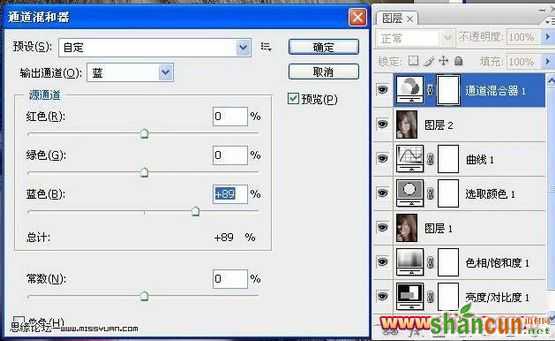
6、创建通道混合器调整图层,参数设置如下图。
 nmousewheel="return bbimg(this)" onload="javascript:resizepic(this)" border="0"/>
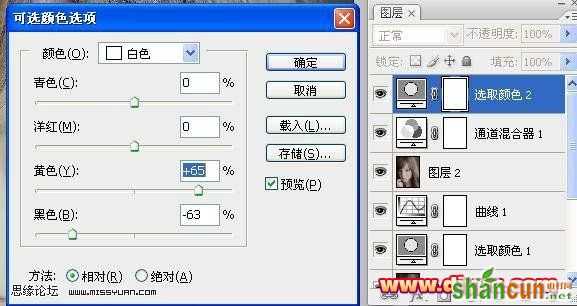
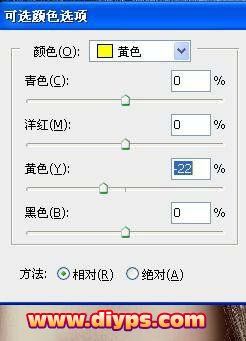
7、创建可选颜色调整图层,3lian素材。
nmousewheel="return bbimg(this)" onload="javascript:resizepic(this)" border="0"/> 8、执行:图像 > 运算,计算参数如图。按住ctrl点击ALPHA通道出现警告图标。返回图层。新建一个图层。为嘴上点颜色参数如图。
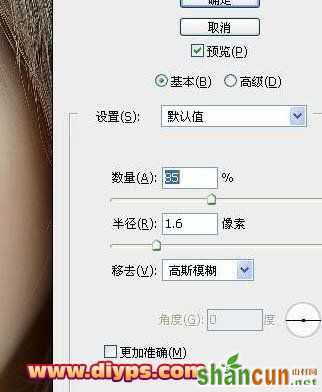
nmousewheel="return bbimg(this)" onload="javascript:resizepic(this)" border="0"/>9、盖印可见图层。再次按住ctrl点击ALPHA通道出现警告图标。返回图层。锐化。参数如图。
 nmousewheel="return bbimg(this)" onload="javascript:resizepic(this)" border="0"/>
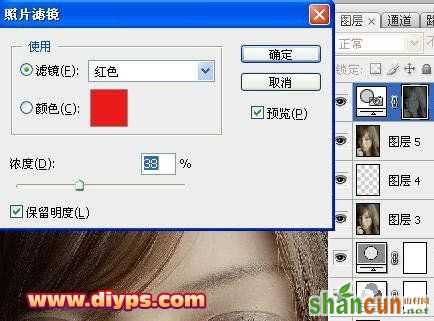
10、创建照片滤镜调整图层,参数设置如下图。
nmousewheel="return bbimg(this)" onload="javascript:resizepic(this)" border="0"/>11、创建可选颜色调整图层,参数设置如下图,确定后完成最终效果。
 nmousewheel="return bbimg(this)" onload="javascript:resizepic(this)" border="0"/>
完成了最后的效果:
 nmousewheel="return bbimg(this)" onload="javascript:resizepic(this)" border="0"/>


