
 nmousewheel="return bbimg(this)" onload="javascript:resizepic(this)" border="0"/>
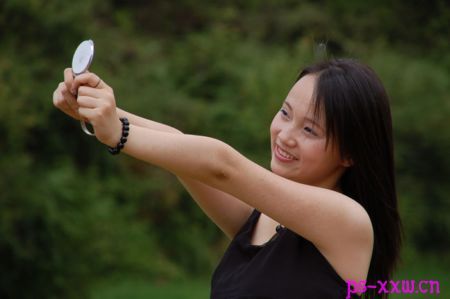
原图
 nmousewheel="return bbimg(this)" onload="javascript:resizepic(this)" border="0"/>
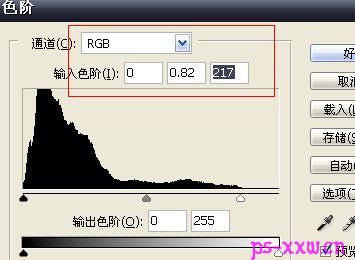
一、把我们早已准备好的美女照片打开,再按快捷键CTRL+L打开色阶调整面板,把输入色阶设为0、0.82、217。
 nmousewheel="return bbimg(this)" onload="javascript:resizepic(this)" border="0"/>
二、美女的皮肤不怎么好,所以我们要给美女适当地进行一些磨皮,这个磨皮的方法我就不多介绍了,因为磨皮的方法太多,所以大家就根据自己会的方法来做吧。
 nmousewheel="return bbimg(this)" onload="javascript:resizepic(this)" border="0"/>
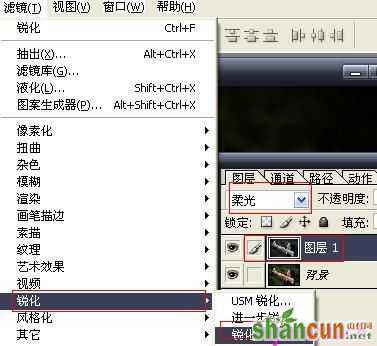
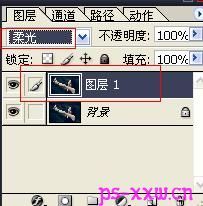
 三、接下来要复制背景层(CTRL+J),得到图层1,再按快捷键SHIFT+CTRL+U对图层1进行去色;再把该层的混合模式设为柔光;再执行滤镜-锐化-锐化。
 nmousewheel="return bbimg(this)" onload="javascript:resizepic(this)" border="0"/>
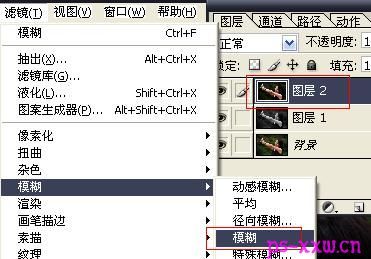
四、创建一个新的图层,再使用快捷键SHIFT+CTRL+ALT+E盖印可见图层,接下来在这个图层上面执行滤镜-模糊-模糊。
 nmousewheel="return bbimg(this)" onload="javascript:resizepic(this)" border="0"/>
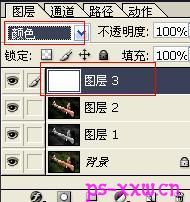
五、再在最上面新建一个图层,然后为该层填充白色,再把该层的混合模式设为颜色。
 nmousewheel="return bbimg(this)" onload="javascript:resizepic(this)" border="0"/>
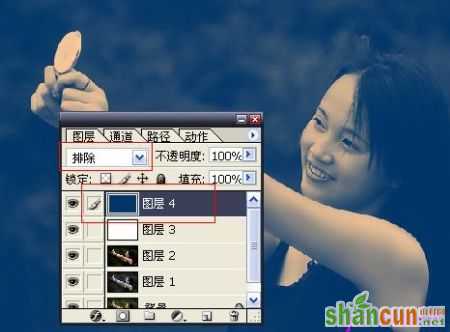
六、再新建一个图层,并为该层填充深蓝色(#013567),把该层的混合模式设为排除。
 nmousewheel="return bbimg(this)" onload="javascript:resizepic(this)" border="0"/>
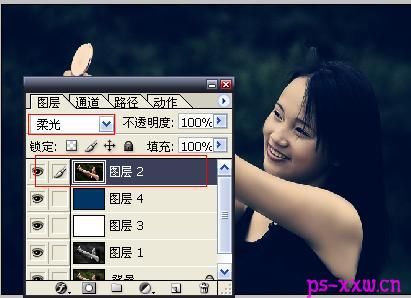
 七、接下来把图层2(也就是刚才盖印的那个图层)拉到所有图层的最上面,并把该层的混合模式设为柔光;再对该层执行曲线调整(快捷键CTRL+M),把输入和输出分别设为106和145。
 nmousewheel="return bbimg(this)" onload="javascript:resizepic(this)" border="0"/>
八、按CTRL+SHIFT+E合并可见图层,然后再按CTRL+J复制合并后的背景层,并得到图层1,再把该层的混合模式设为柔光;再合并图层并双击对背景层进行解锁。
 nmousewheel="return bbimg(this)" onload="javascript:resizepic(this)" border="0"/>
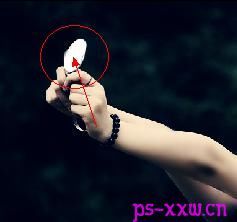
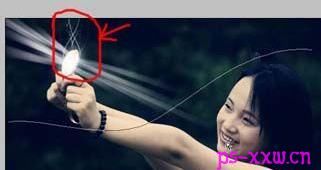
九、再新建一层,然后用白色画笔把人物手上拿的镜子涂抹出来,再执行19个像素的高斯模糊;然后再按CTRL+J复制一层。
 nmousewheel="return bbimg(this)" onload="javascript:resizepic(this)" border="0"/>
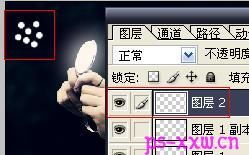
十、继续新建图层,用白色画笔工具在镜子的左上方画出几个白色的小圆点。
 nmousewheel="return bbimg(this)" onload="javascript:resizepic(this)" border="0"/>
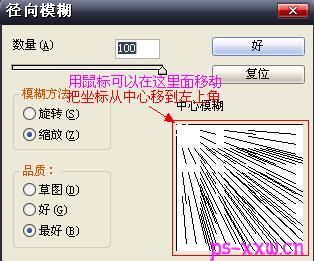
十一、接着再执行滤镜-模糊-径向模糊,把数量设为100,模糊方法为缩放,3lian素材,品质为最好,中心模糊拉到最左上角。多按两下CTRL+F光束的效果会更好。
 nmousewheel="return bbimg(this)" onload="javascript:resizepic(this)" border="0"/>
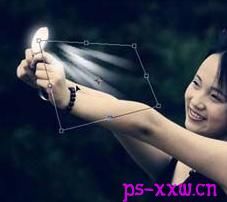
 十二、光束出来后,再按CTRL+T把光束变换一下位置及角度,然后再把该层复制一下,调节好位置就能作为光束的另一面了。
 nmousewheel="return bbimg(this)" onload="javascript:resizepic(this)" border="0"/>
十三、接下来在镜子上方用画笔来加一些效果。
 nmousewheel="return bbimg(this)" onload="javascript:resizepic(this)" border="0"/>
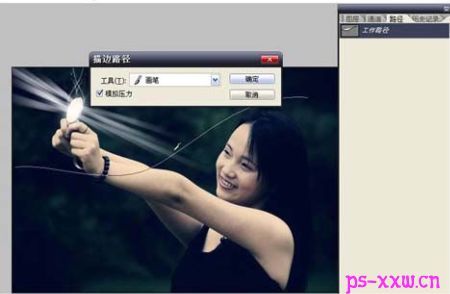
十四、再对画笔进行相应的设置,再建一层,用钢笔工具拉出一条路径,然后在路径面板上对着工作路径右击描边路径。
 nmousewheel="return bbimg(this)" onload="javascript:resizepic(this)" border="0"/>
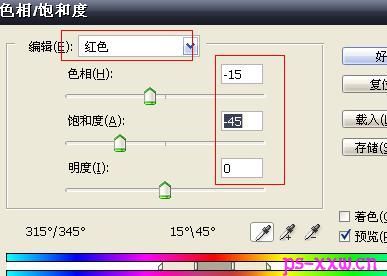
十五、和前面制作光束的方法一样,制作出点光的梦幻效果。接下来选中最下面的人物图层,再按CTRL+U打开色相/饱和度面板,在红色状态下把参数设为-15、-45、0。
 nmousewheel="return bbimg(this)" onload="javascript:resizepic(this)" border="0"/>
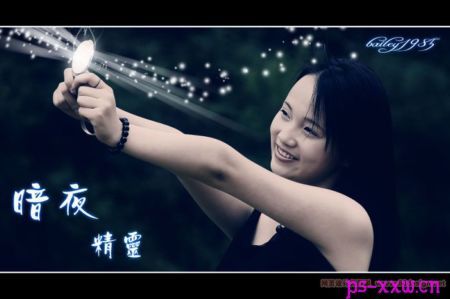
十六、效果制作完成了,现在就只要加上你喜欢的文字就行了,这样我们就把一张普通的照片PS成了梦幻色彩的写真照了。
 nmousewheel="return bbimg(this)" onload="javascript:resizepic(this)" border="0"/>


