
原图 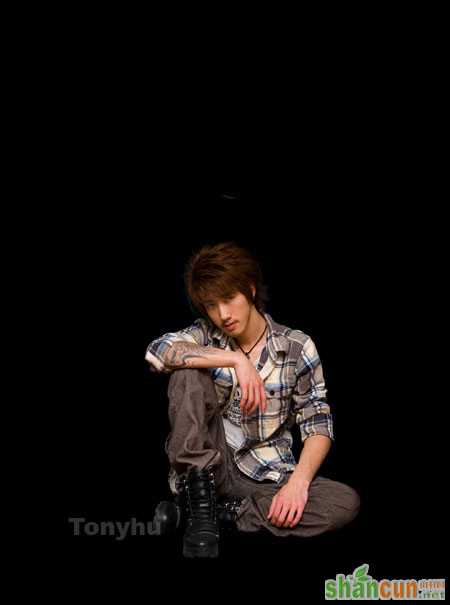 nmousewheel="return bbimg(this)" onload="javascript:resizepic(this)" border="0"/>
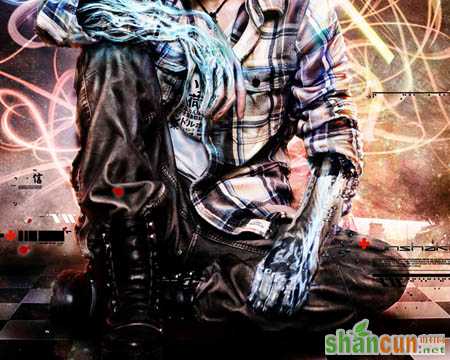
最终效果 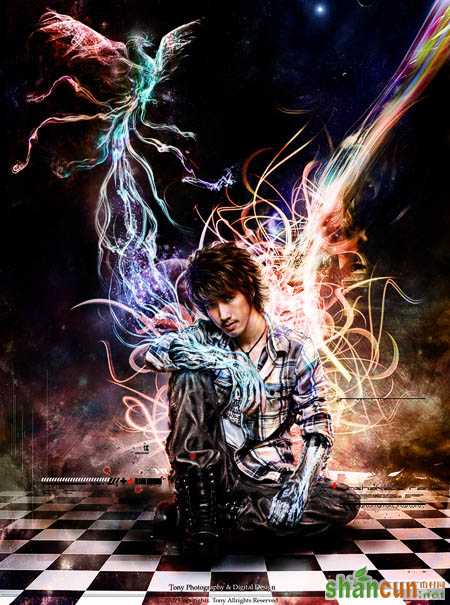 nmousewheel="return bbimg(this)" onload="javascript:resizepic(this)" border="0"/>
1、制作之前可以自己设想画出草图。打开原图素材,把人物部分勾出来,复制到新的图层,在背景图层上面新建一个图层,用钢笔工具勾出一些柔美的线条填充紫色,如下图。
 nmousewheel="return bbimg(this)" onload="javascript:resizepic(this)" border="0"/>
2、新建一个图层画一个草图,下图是用烟雾素材合成的一部分凤凰。
 nmousewheel="return bbimg(this)" onload="javascript:resizepic(this)" border="0"/>
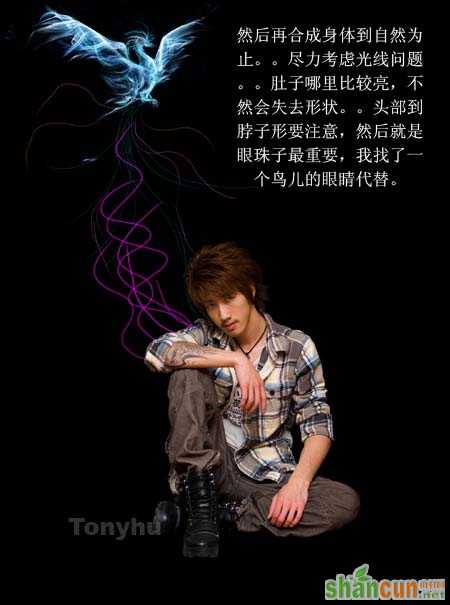
3、然后再合成身体到自然位置。尽量考虑光线问题。肚子那里比较亮。不然会失去形状。头部到脖子需要注意,然后就是眼珠子最重要,我找了一个鸟儿的眼睛代替。
 nmousewheel="return bbimg(this)" onload="javascript:resizepic(this)" border="0"/>
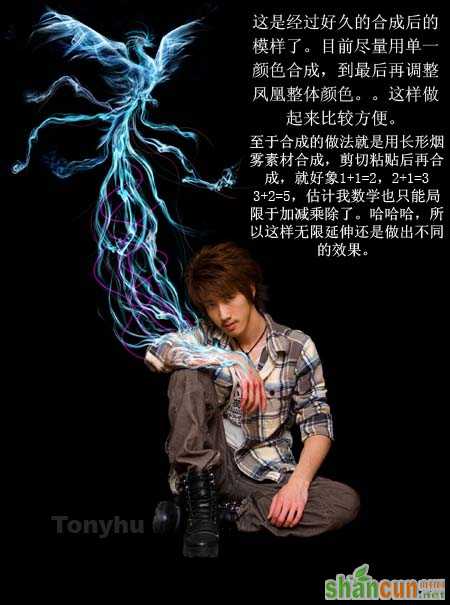
4、这是经过好久合成后的摸样了。目前尽量用单一合成,到最后再调整凤凰整体颜色。这样做起来比较方便。至于合成的做法就是用长形烟雾素材合成,剪切粘贴后再合成。
 nmousewheel="return bbimg(this)" onload="javascript:resizepic(this)" border="0"/>
 nmousewheel="return bbimg(this)" onload="javascript:resizepic(this)" border="0"/>
6、手部大致完成的效果。
 nmousewheel="return bbimg(this)" onload="javascript:resizepic(this)" border="0"/>
7、凤凰调色处理,3lian素材,最简单并且使用的方法是用其他颜色鲜艳素材来叠加,模式为“颜色”或其他。
 nmousewheel="return bbimg(this)" onload="javascript:resizepic(this)" border="0"/>
 nmousewheel="return bbimg(this)" onload="javascript:resizepic(this)" border="0"/>
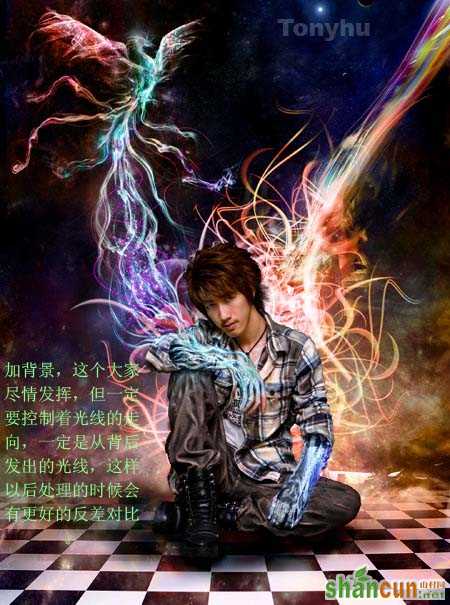
9、加背景,这个大家尽情发挥,但一定要控制着光线的走向,一定是从背后发出的光线,这样以后处理的时候会有更好的反差对比。
 nmousewheel="return bbimg(this)" onload="javascript:resizepic(this)" border="0"/>
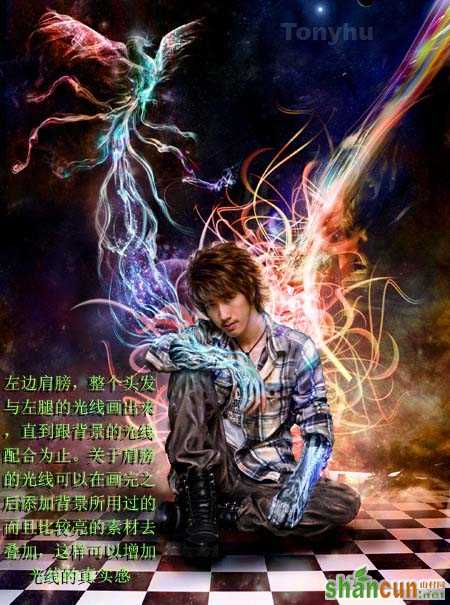
10、把整个头发与左腿的光线画出来,直到跟背景的光线配合位置。关于肩膀的光线可以在画完之后添加背景所用过的而且比较亮的素材去叠加,这样可以增加光线的真实感。
 nmousewheel="return bbimg(this)" onload="javascript:resizepic(this)" border="0"/>
nmousewheel="return bbimg(this)" onload="javascript:resizepic(this)" border="0"/>
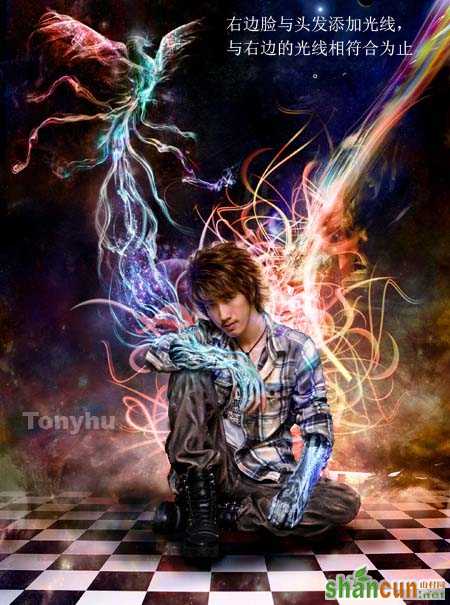
12、到左边脸部与头发光线添加了。
 nmousewheel="return bbimg(this)" onload="javascript:resizepic(this)" border="0"/>
13、再次增强左右手衣服袖子的光线,直到更加符合背景的光线。我用了多个图层叠加,然后再高斯模糊之类的操作。
 nmousewheel="return bbimg(this)" onload="javascript:resizepic(this)" border="0"/>
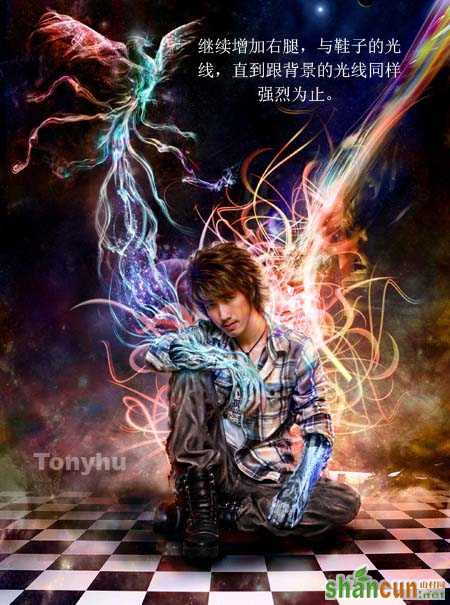
13、继续增加右腿,与鞋子的光线。直到跟背景的光线同样强烈为止。
 nmousewheel="return bbimg(this)" onload="javascript:resizepic(this)" border="0"/>
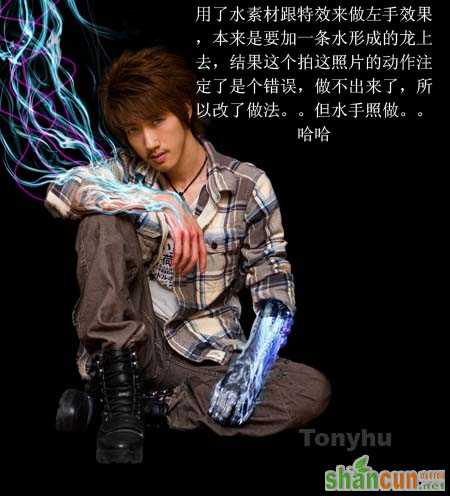
14、再把手部水素材部分调成跟背景相似即可。
nmousewheel="return bbimg(this)" onload="javascript:resizepic(this)" border="0"/>
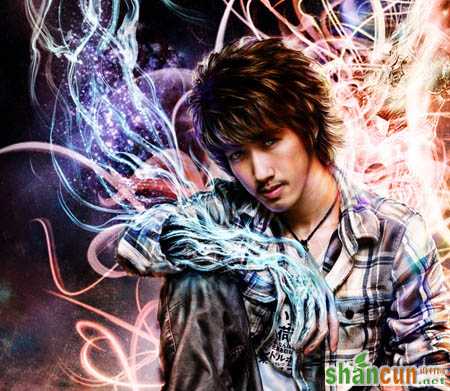
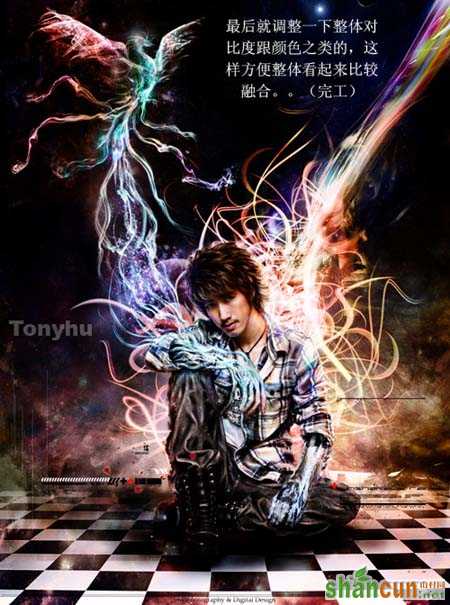
15、最后就调整一下整体对比度跟颜色之类的,3lian素材,这样方便整体看起来比较融合。
 nmousewheel="return bbimg(this)" onload="javascript:resizepic(this)" border="0"/>
最终效果。nmousewheel="return bbimg(this)" onload="javascript:resizepic(this)" border="0"/>
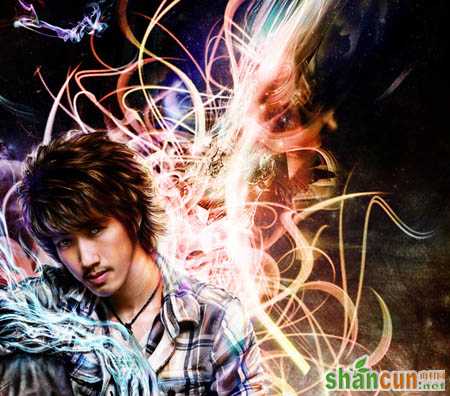
局部细节。
 nmousewheel="return bbimg(this)" onload="javascript:resizepic(this)" border="0"/>
nmousewheel="return bbimg(this)" onload="javascript:resizepic(this)" border="0"/>
 nmousewheel="return bbimg(this)" onload="javascript:resizepic(this)" border="0"/>
 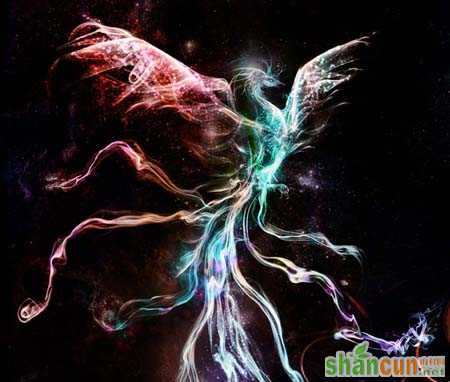 nmousewheel="return bbimg(this)" onload="javascript:resizepic(this)" border="0"/>
素材图片


