
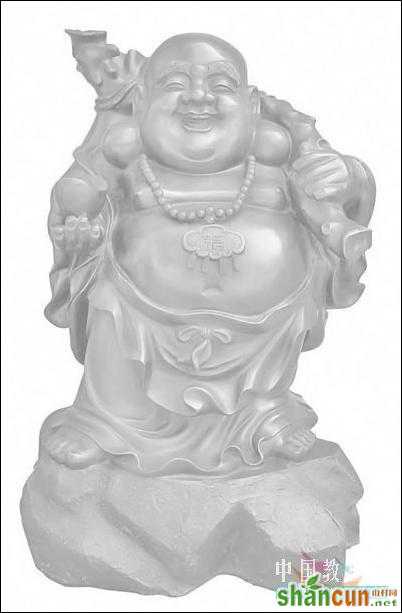
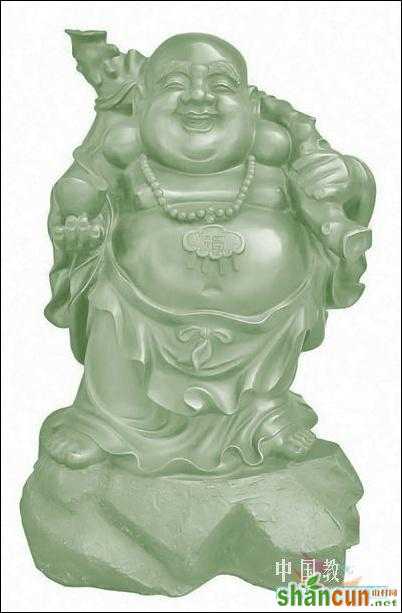
原图以及效果图:
原图 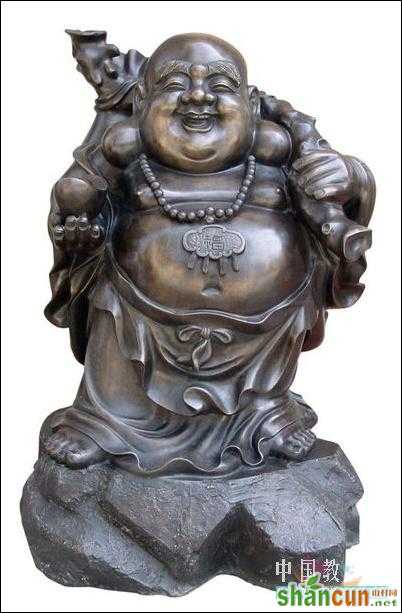 nmousewheel="return bbimg(this)" onload="javascript:resizepic(this)" border="0"/>
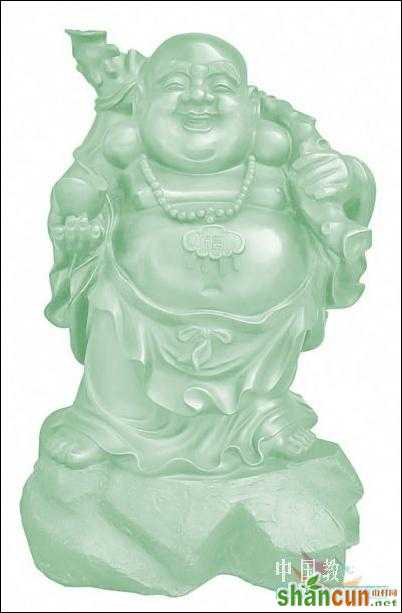
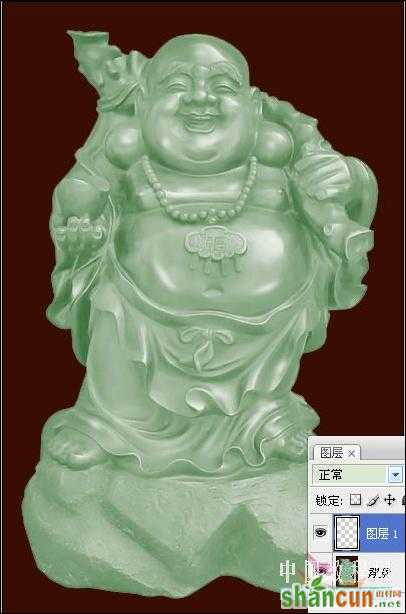
效果: 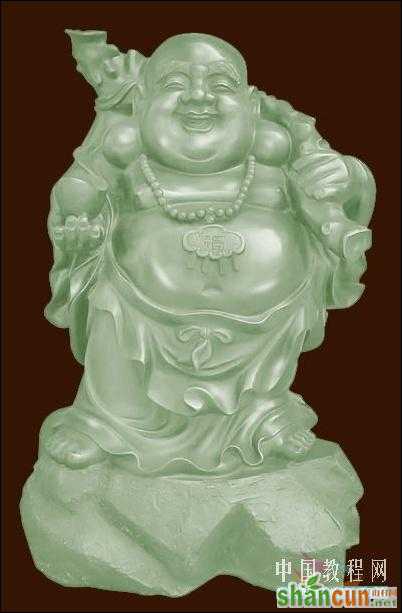 nmousewheel="return bbimg(this)" onload="javascript:resizepic(this)" border="0"/>
 nmousewheel="return bbimg(this)" onload="javascript:resizepic(this)" border="0"/>
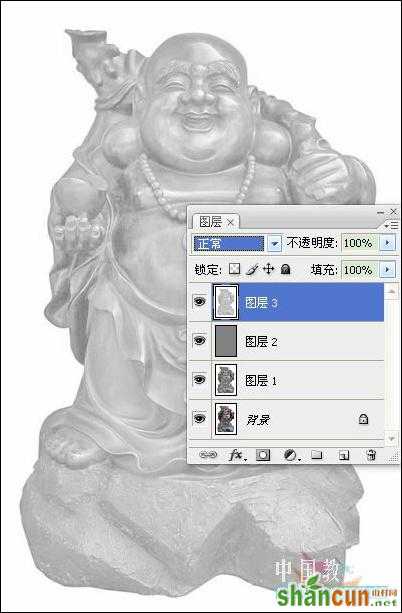
2、新建图层,填充50%灰色,模式滤色,盖印图层。
 nmousewheel="return bbimg(this)" onload="javascript:resizepic(this)" border="0"/>
 nmousewheel="return bbimg(this)" onload="javascript:resizepic(this)" border="0"/>
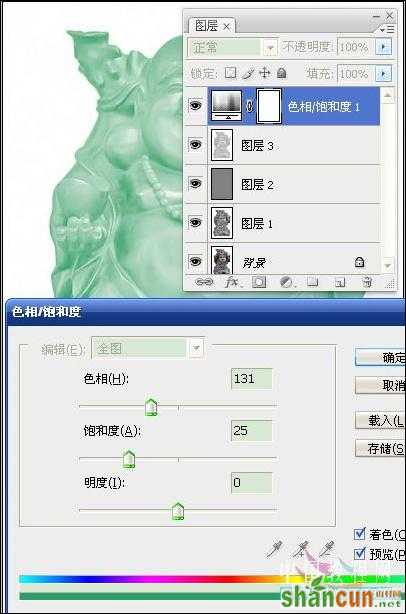
4、建立色相饱和度调整层,3lian素材,注意勾选着色。
 nmousewheel="return bbimg(this)" onload="javascript:resizepic(this)" border="0"/>
 nmousewheel="return bbimg(this)" onload="javascript:resizepic(this)" border="0"/>
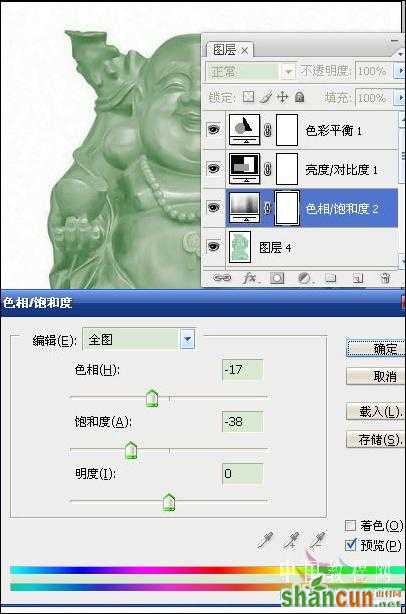
6、再次建立色相饱和度调整层,不选着色,调整参数供参考。建立亮度对比度、色彩平衡调整层进行调整。
 nmousewheel="return bbimg(this)" onload="javascript:resizepic(this)" border="0"/>
 nmousewheel="return bbimg(this)" onload="javascript:resizepic(this)" border="0"/>
8、拼合图像,做最后的修饰:填充深色背景以衬托玉质;新建图层,白色画笔勾画出高光并适当模糊或涂抹,完工。
 nmousewheel="return bbimg(this)" onload="javascript:resizepic(this)" border="0"/>


