

原图

效果

详细教程
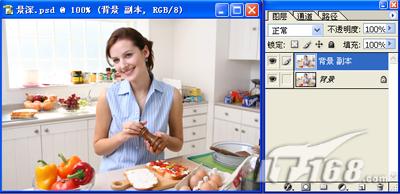
2、 首先打开图层面板把图层拖到“创建新的图层”图标,建立一个背景副本
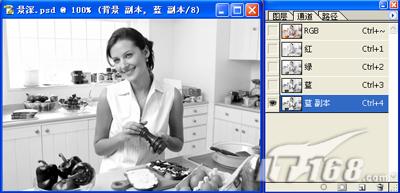
3、为了实现比较精确的效果,我们要把美女从图中抠出来,你可以用套索工具、通道、图层等你较熟悉的方法来抠图,这果我们用通道的方法来抠图。首先切换到通道界面,通过比较发现蓝色通道对比较强,把蓝色通道拉到“创建新通道”来创建一个蓝副本通道。
4、用“Ctrl+M”或从菜单“图像-调节-曲线”打开曲线调整界面,把进一步拉大对比度
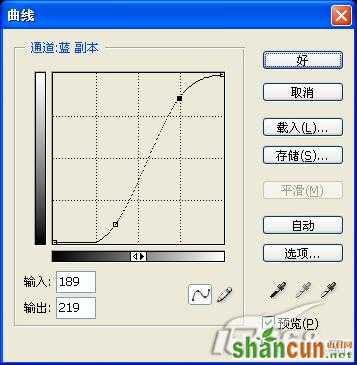
曲线调节
曲线调整后的结果
5、在工具箱中选择画笔工具,前景色和背景色设为默认的黑白色,仔细把美女擦成黑色,其它擦成白色
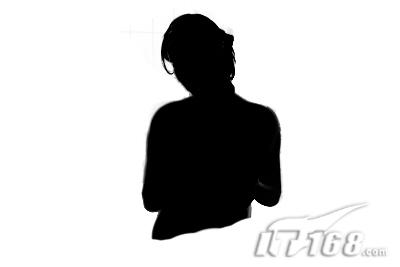
把美女擦成黑色
6、 再打开通道面板,单击“创建新通道”图标,创建一个新的通道Alpha 1,在工具箱中选渐变工具,前景色和背景色设为默认的黑白色,从上到下在图片上拉出一个渐变效果,拉时最好按住“Shift”键。
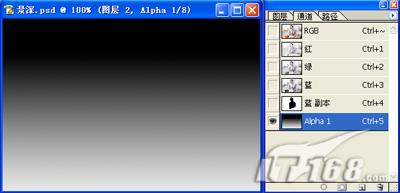
拉出一个渐变
7、选中蓝副本,再点击“将通道作为选区截入”
将通道作为选区截入
8、回到图层界面,“Ctrl+J”复制一个选区图层,可以看到新图层中美女已被抠除
新图层中美女已被抠除
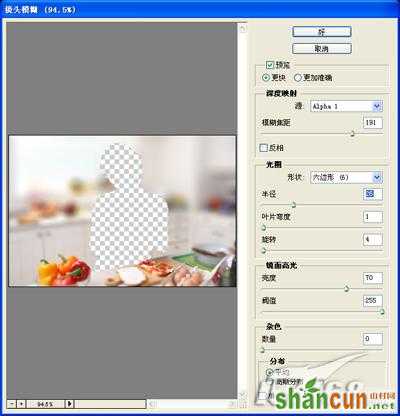
9、选择“滤镜-模糊-镜头模湖”调出镜头模糊滤镜界面,调整各项选项(上面已提过不再细讲),选择“好”回到界面
应用镜头模糊滤镜
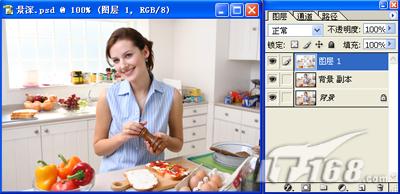
10、回到主界面,可以看到人物部分很清晰,近处和远处已模拟了景深效果,但前面的水果还有点模糊,我们还要通过设置蒙版把它处理清晰点

初步效果
11、选中图层1,再单击“添加矢量蒙版”,在工具箱选择画笔工具,前景色和背景色设为默认的黑白色,流量设小些,这里设7%,打开画笔工具属性,设置适合的直径,和较小的硬度,用黑色画笔仔细地涂擦需要清晰的水果,如果擦坏了还可以用白色画笔擦回来
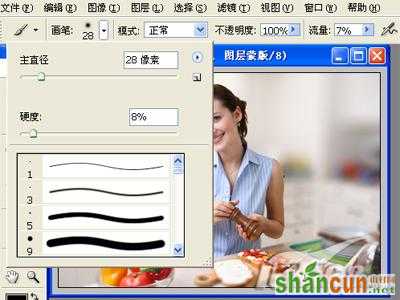
添加矢量蒙版
12、现在应清晰的清晰了,该模糊的模糊了,更加突出了人物,也使作品更有“深度”了。


