
对比效果图:
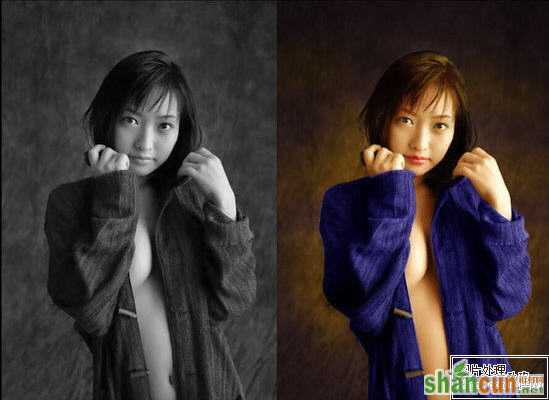
给黑白照片着色,这是一个老话题了
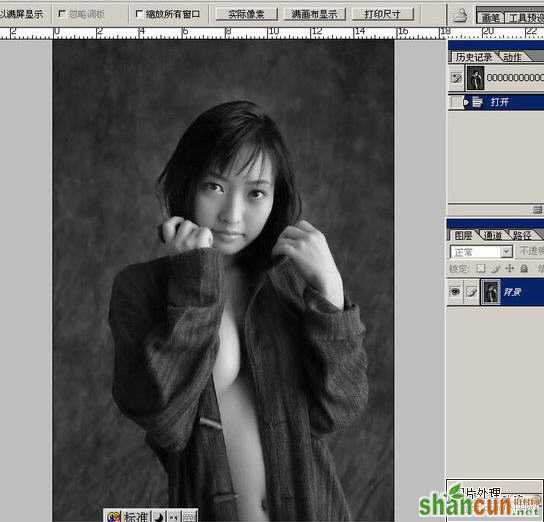
背景是决定画面色调的关键, 选择背景
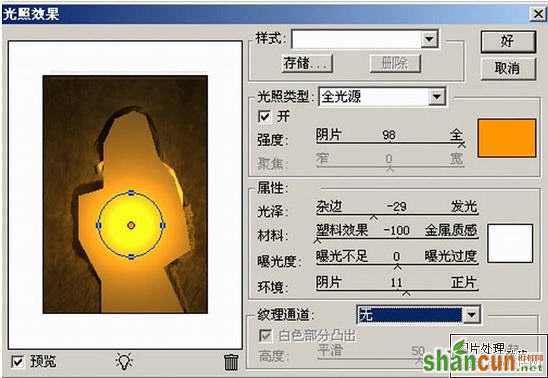
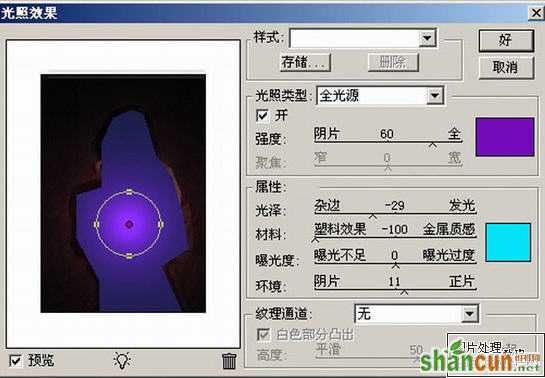
第一次着色:用渲染滤镜,如图设置
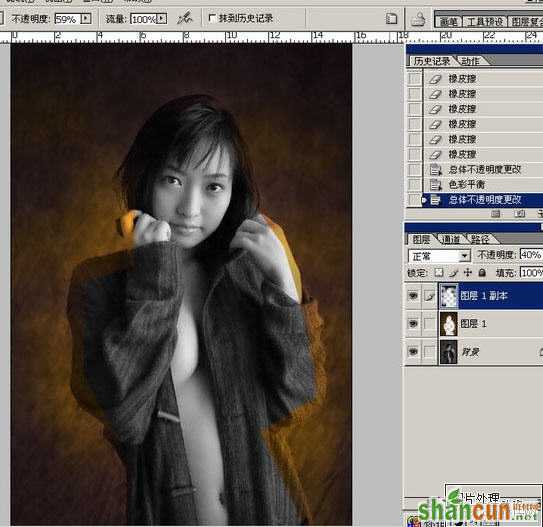
复制图层,运用反色进行第二次光照
降低反色层的透明度,用橡皮工具扫出一些空白.这是因为如果一色铺底,不仅不够真实,而且画面呆板
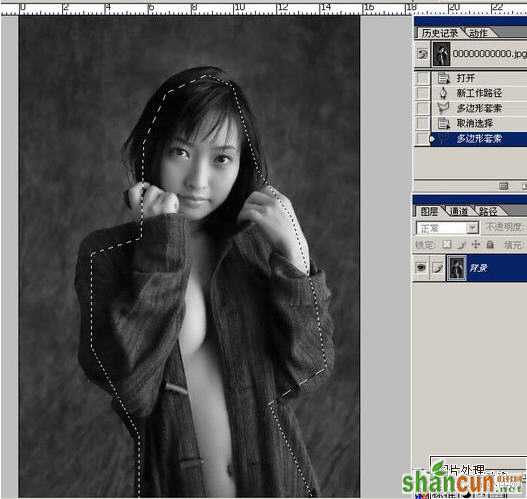
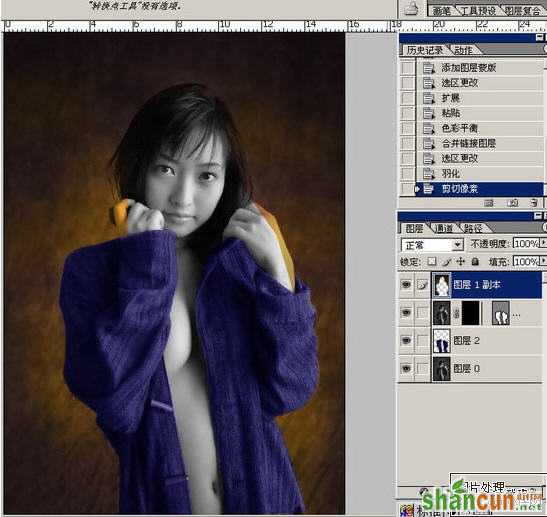
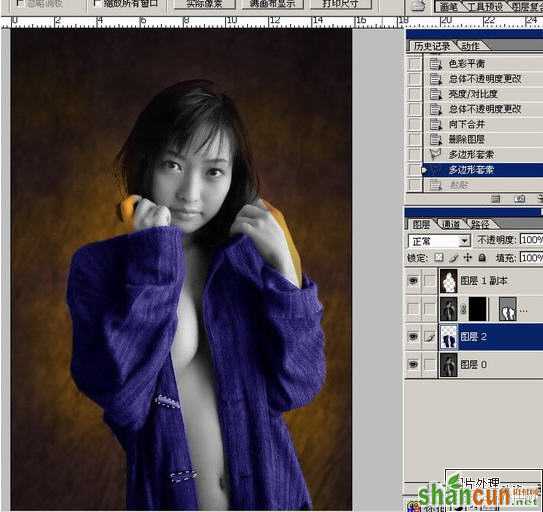
用路径选择服装部分
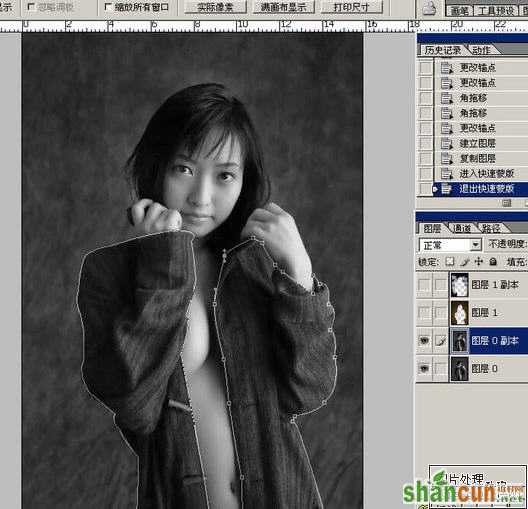
设定选取,并羽化边缘
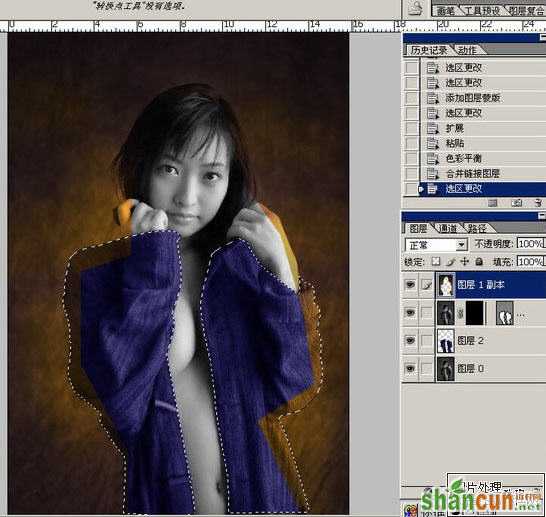
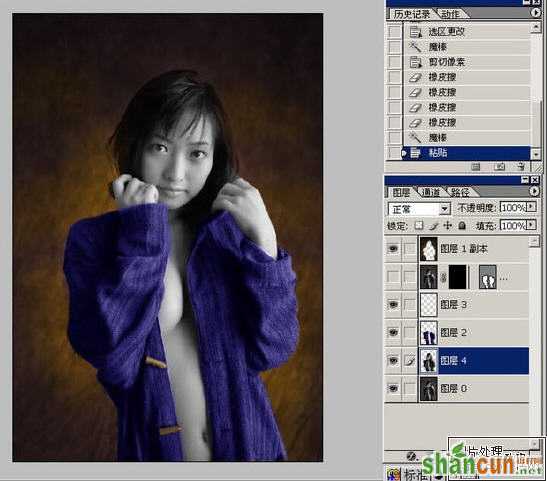
新建图层,用色彩平衡工具着色
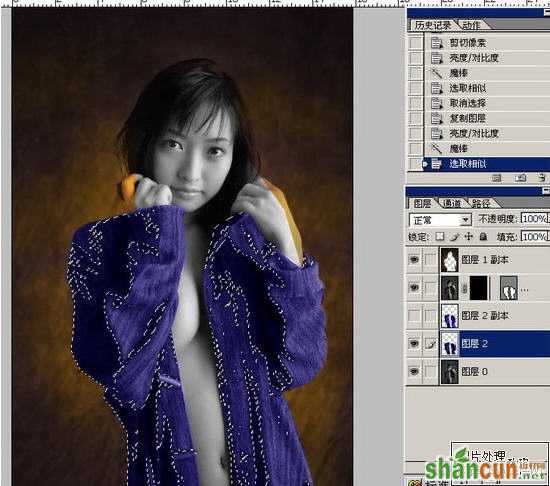
根据背景的色调,对占有较大面积的服装色调进行对比度、色向微调
清理与背景的重合部分
新建图层,利用对比度工具找出服装的暗部
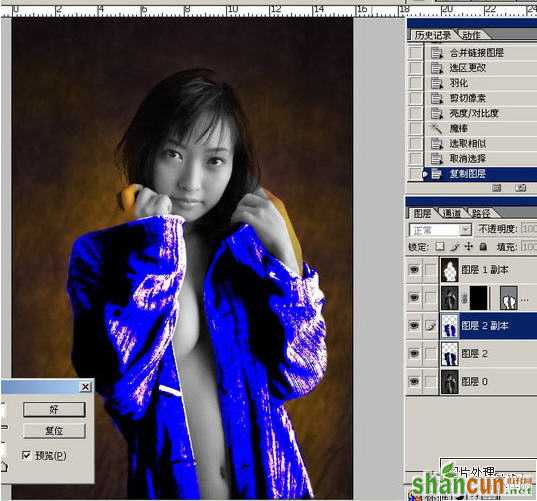
调整暗部的色相,由于服装的固有色是冷色,所以暗部的色相应该偏暖
选择纽扣
在复制的新层中,改变纽扣的颜色
把人物简单选中,整体置于底层,用色彩平衡、色相饱和度、对比度调整皮肤的颜色
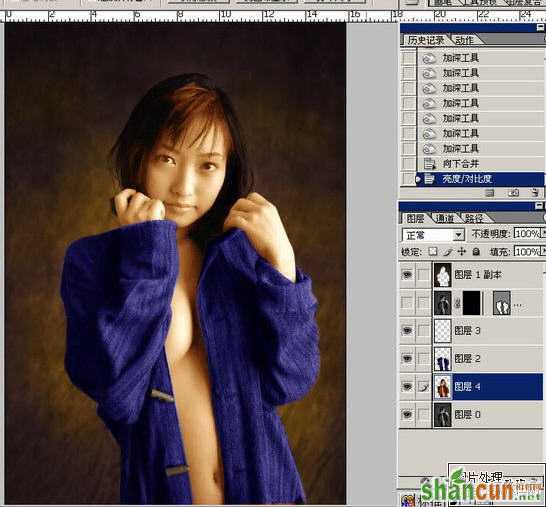
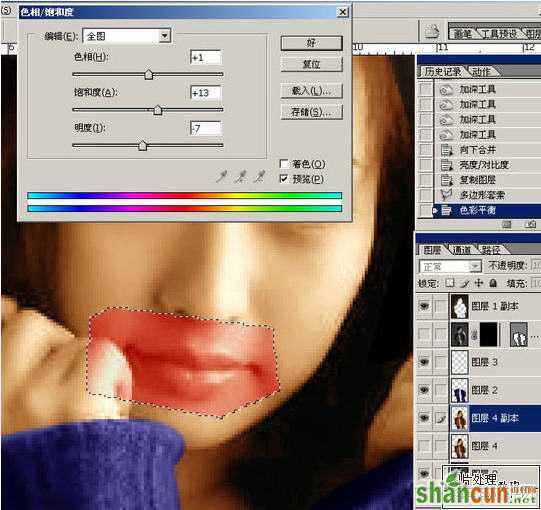
整体复制皮肤层,选中嘴唇,调整颜色
用橡皮小心地搽出嘴唇的轮廓,注意柔和的衔接
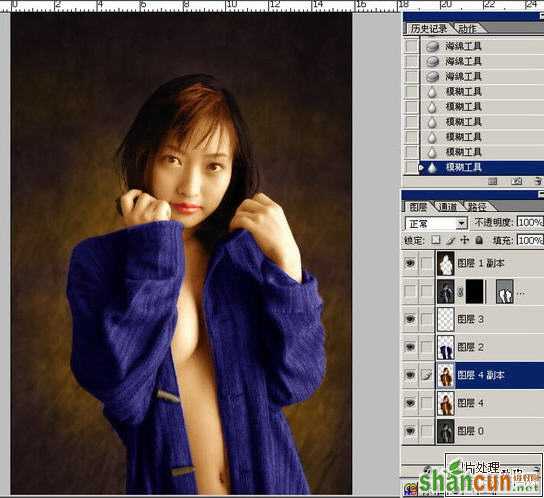
用同样的方法处理眼睛
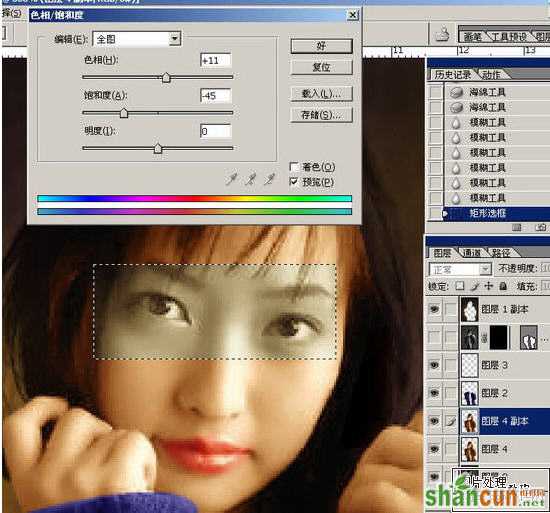
用加深工具,适当加深瞳孔和眼线部分;暗部的眼白应该调得偏冷一点
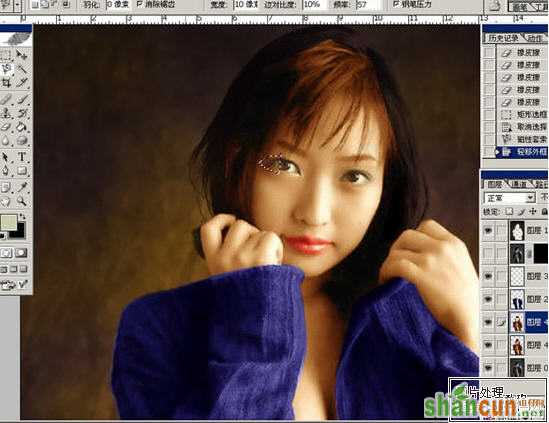
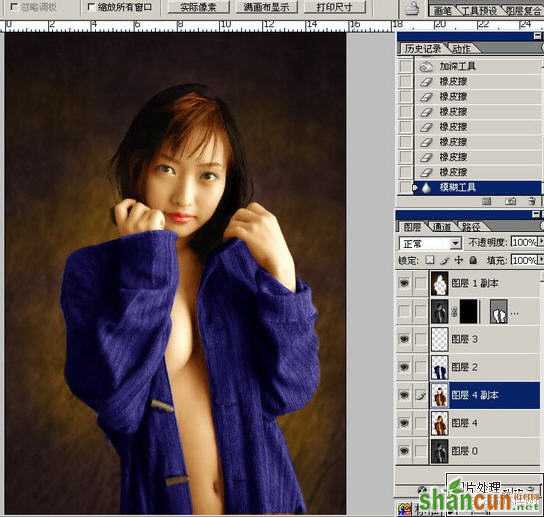
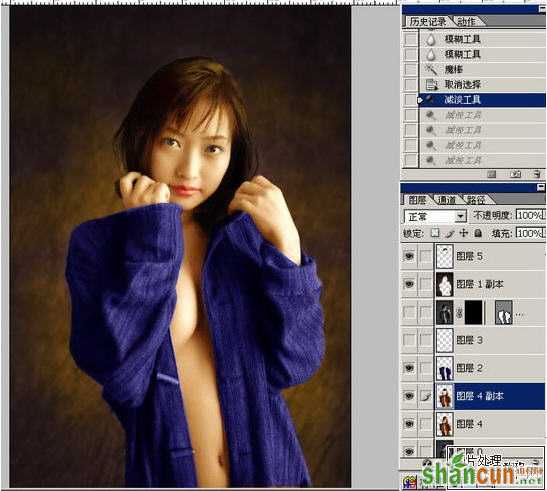
微调:加深、减淡工具
选中头发
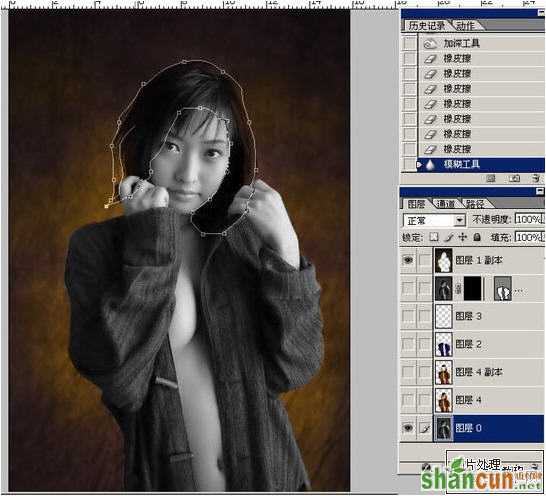
与五官的处理方法一样哦
好了,看一下效果吧

照片上色系列教程:
PS为可爱的儿童插画上色教程
PS绘制长发飞舞玄幻美女插画上色教程
Photoshop给黑白美女照片上色


