
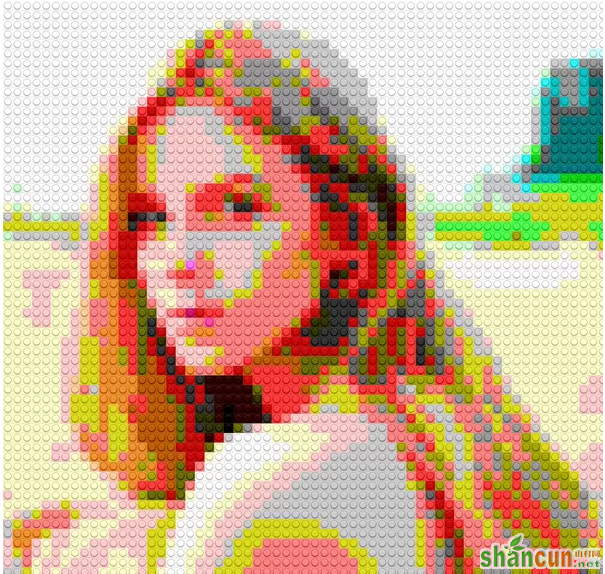
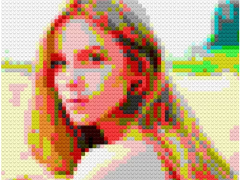
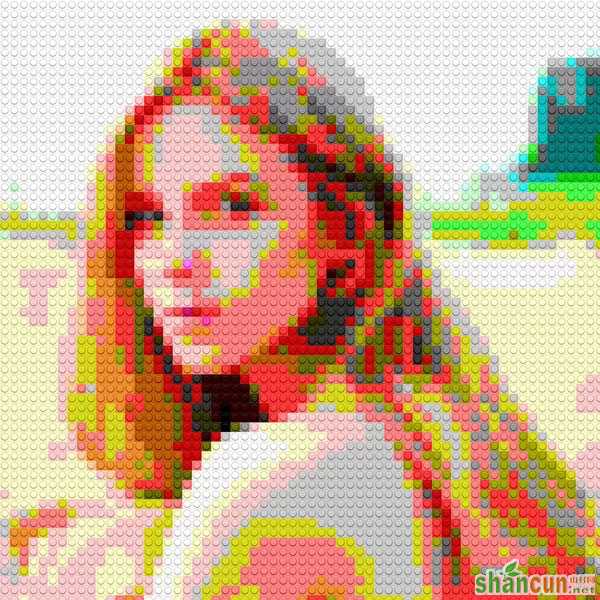
最终效果:
1. 选择图片并复制图层
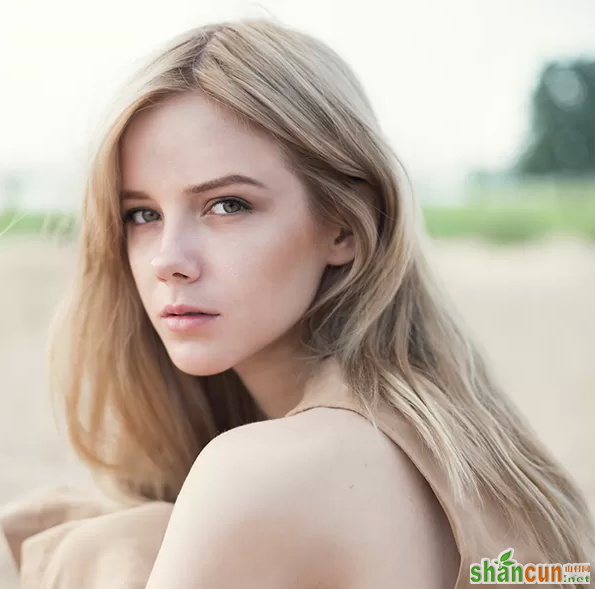
打开任何一张你喜欢的图片,不过我们推荐图像大小至少2000×2000 px ,如果你没有这么大的图像,可以单击-图像-图像大小,扩展到这个大小,不必担心图像变得模糊,因为我们要做的是像素画呐~~
我从ShutterStock 上淘来了这张图片。背景简单的图像做出来的效果会比复杂的好。
Ctrl/Cmd+J复制图层,将这个图层命名为–砖面– ,右击将图层转换成智能对象。
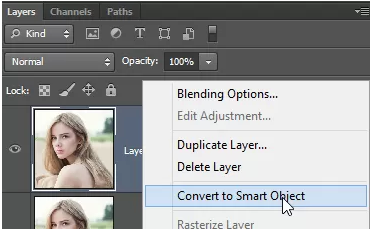
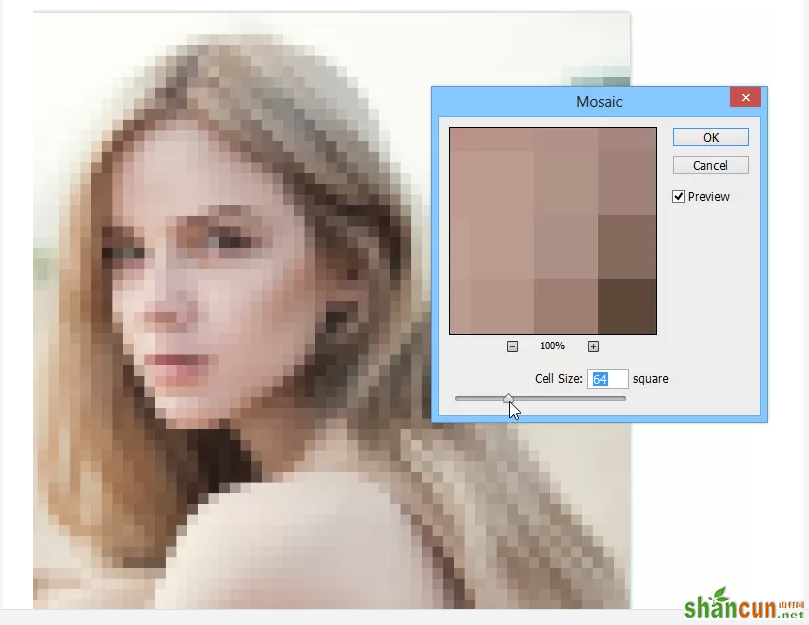
2. 使用马赛克滤镜
现在,到滤镜–像素化–马赛克,这个步骤使图像方块化,参数可以自己根据你图像的大小进行设置,不过要记住参数,等下有用。
3. 新建图案文件
创建一个新文件,文件大小就是你刚才参数的大小,举个例子,刚才我的参数是64 方形,那么现在的文件大小就是 64×64 px 。
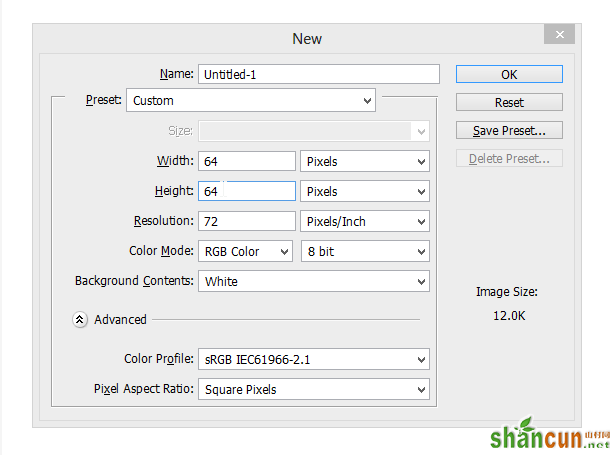
摁Shift+Backspace 弹出填充菜单,在选项里选择,填充50%灰色。

效果如下:
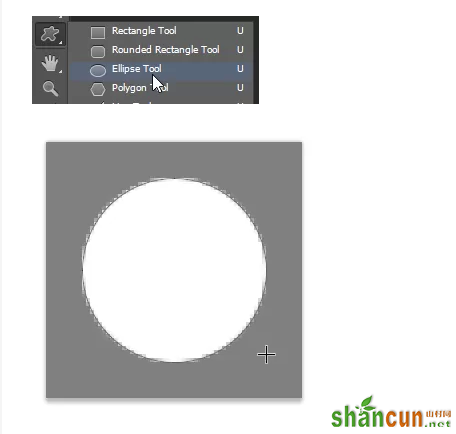
选择椭圆工具,然后在中央创建一个圆形(颜色不限)
4. 为图案添加图层样式
现在我们要为这个圆形添加图层样式。双击图层,在混合选项里将填充不透明度调整为0,这样可以隐藏你的图层样式。
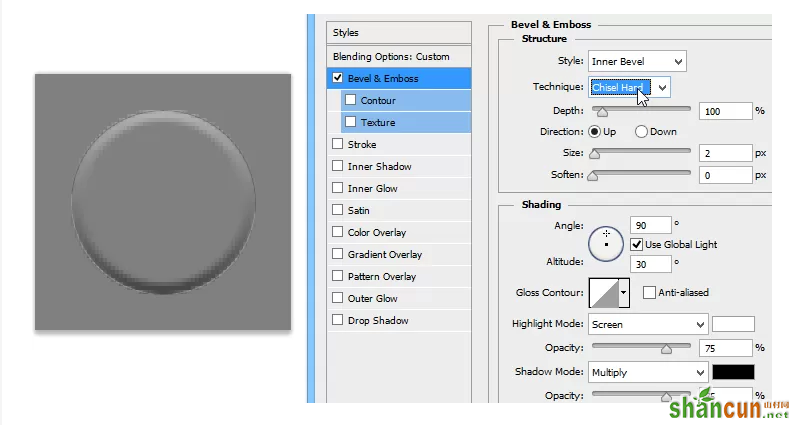
选择斜面和浮雕,参数设置如下:
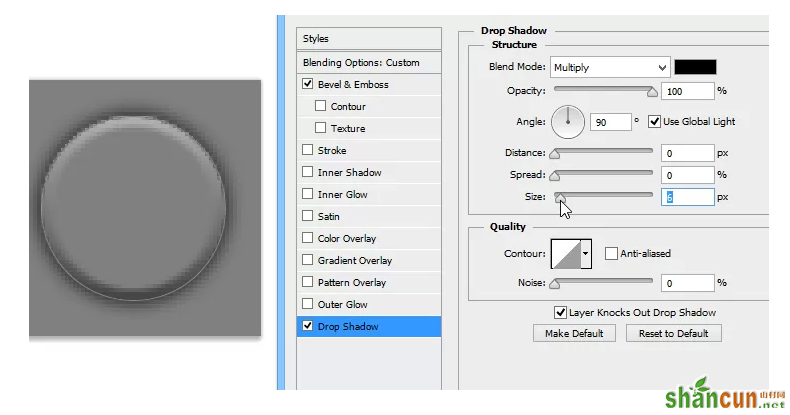
投影,参数设置如下:
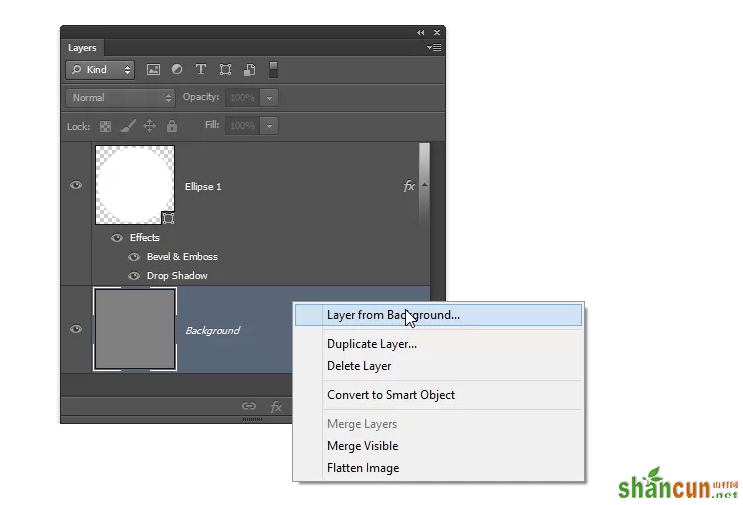
现在我们已经为砖面添加了圆形按钮,接下来为砖面添加点外斜面,为了这个效果,先双击背景层,将它转化成普通图层。
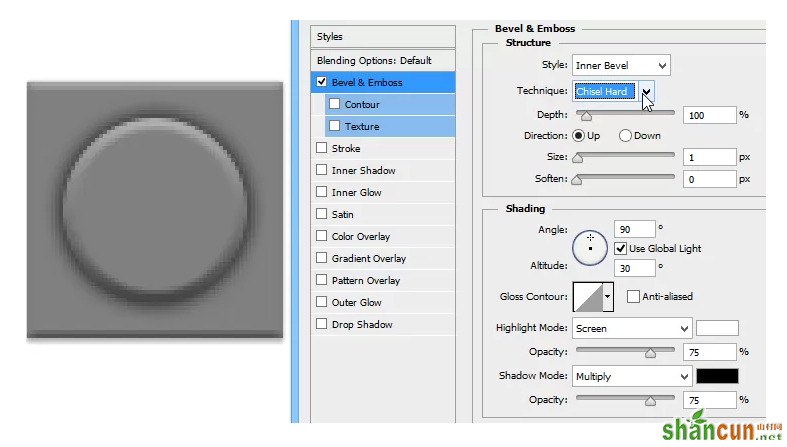
斜面和浮雕:参数设置如下,阴影如果较大,可调节不透明度,大小根据自己的图像大小。
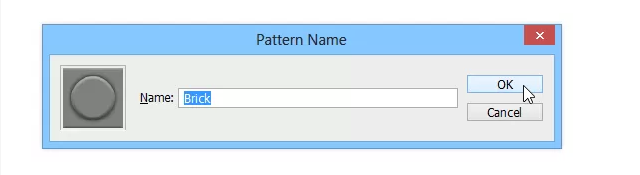
完成后,将这个图像变成图案,编辑–定义图案。
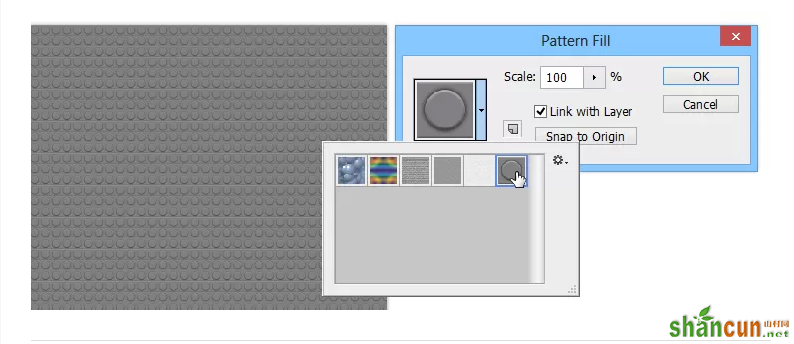
5. 填充图案并设置混合模式
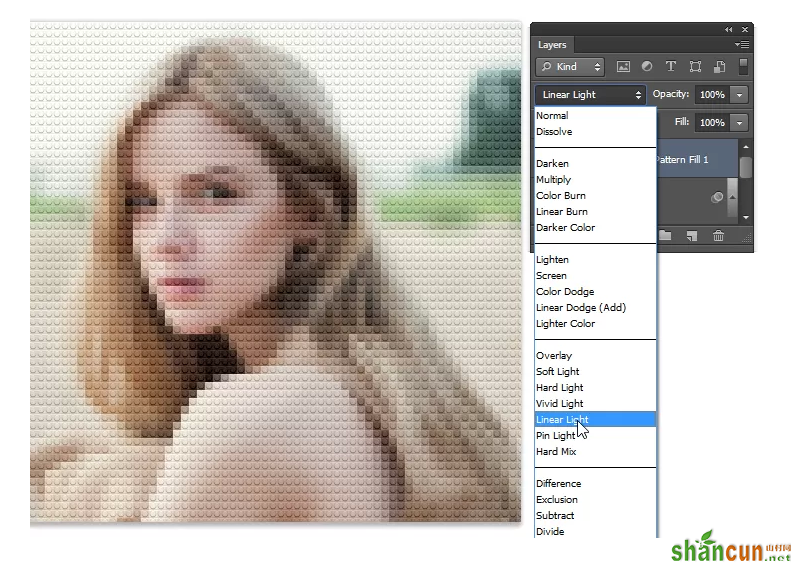
回到之前的文件,创建一个新的填充图层:图层–新建填充图层–图案。(新版Photoshop操作)
填充刚才保存的图案。
将图层混合模式改为线性光,效果如下:
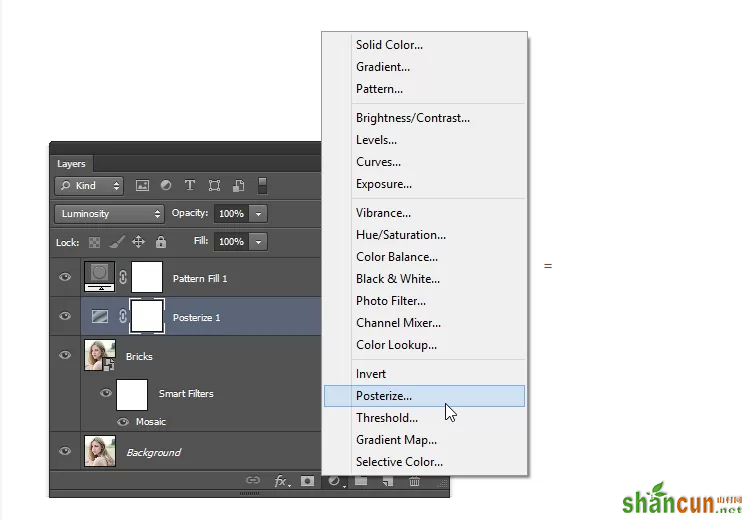
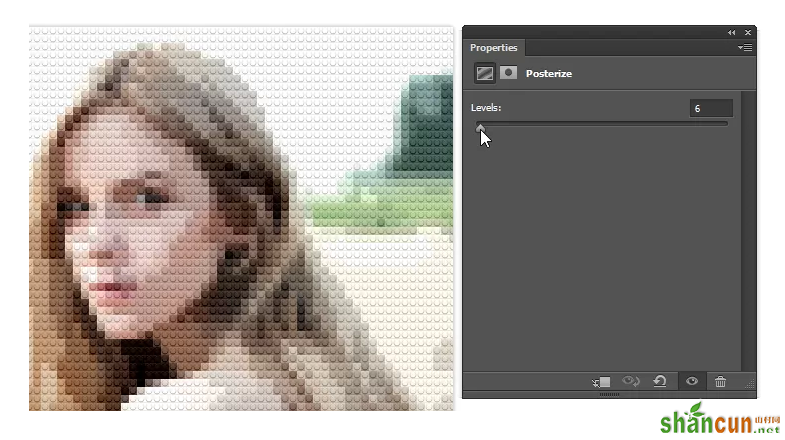
6. 调整图层色彩
效果出来了,为了显得更加逼真,我们需要创建两个图层来使他变得多彩。首先创建一个色调分离的调整图层,然后移到图案调整层的下面,图层混合模式调整为–明度
调整参数,在4—8之间
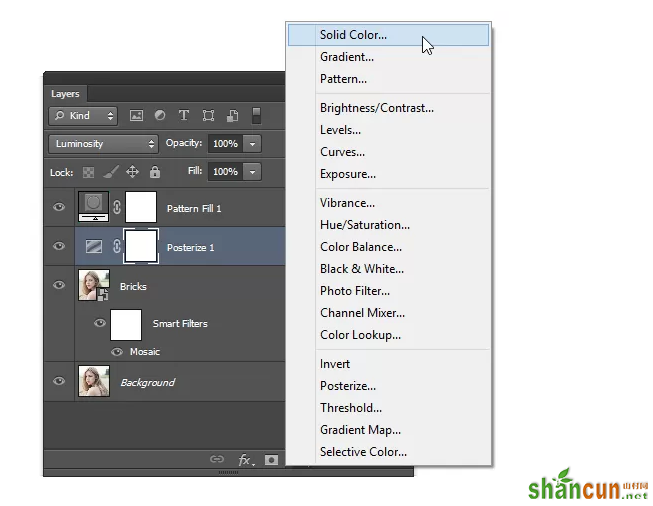
现在要为局部添加饱和的颜色,这一点可以通过创建一个纯色填充图层来实现。图层–新建填充图层–纯色。
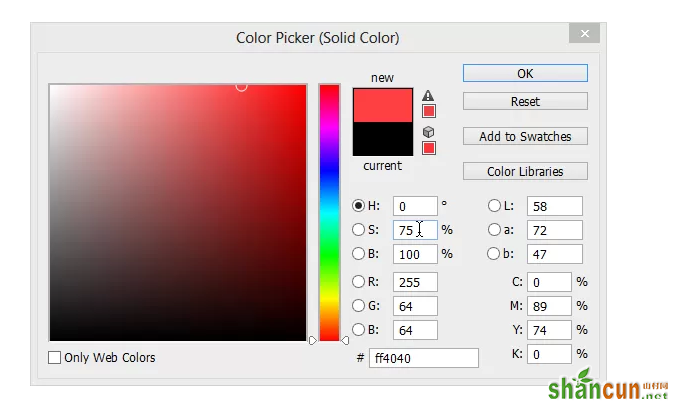
随便选一种颜色,将饱和度调整到75% , 亮度100%,色相0
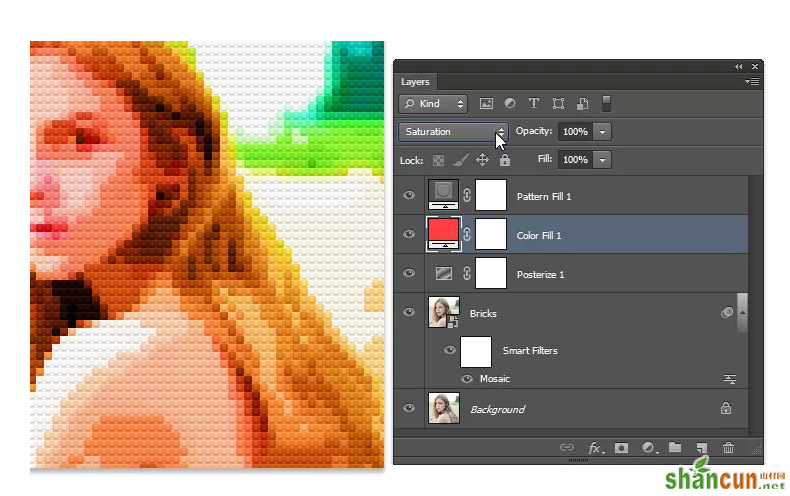
同样将这个图层移到图案层的下面,图层混合模式改为饱和度
最终效果:
这就是成果咯。
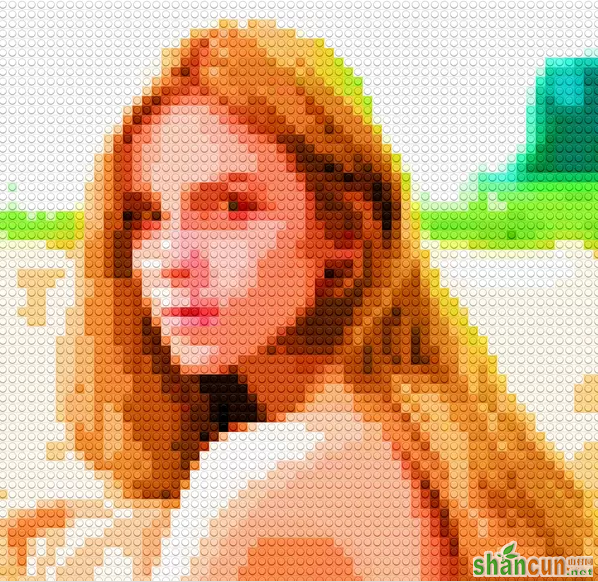
如果想要非常逼真的效果,可以将色调分离的图层混合模式改成正常,就像这样。
注:更多精彩教程请关注山村photoshop教程栏目,山村PS群:339853166欢迎你的加入


