

最终效果:

开始吧!
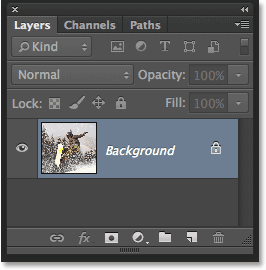
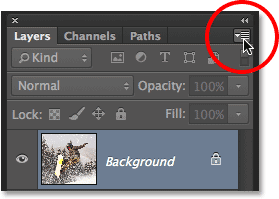
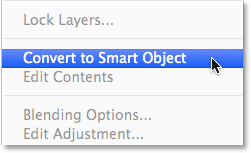
1、 将原素材图片转换为智能对象:
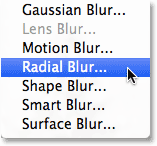
2、 使用径向模糊滤镜
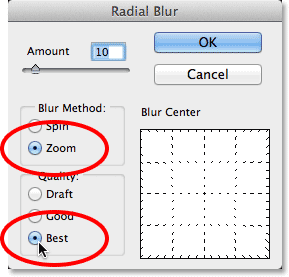
滤镜→模糊→径向模糊,设置如下红色圆圈内数据:

效果如下:
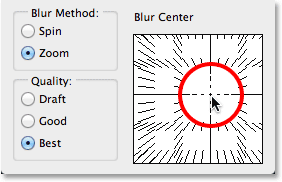
3、 重新打开径向模糊做调整
上面的模糊似乎还不是很完美,打开面板把中心点往上调一点:
效果如下:

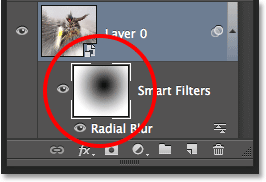
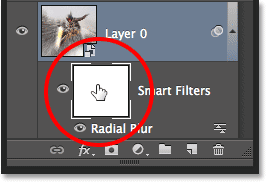
4、 选中智能滤镜蒙版
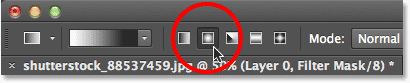
5、 选中渐变工具
6、 选择径向渐变
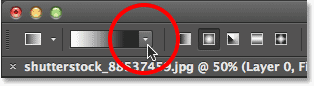
7、 选择黑白渐变

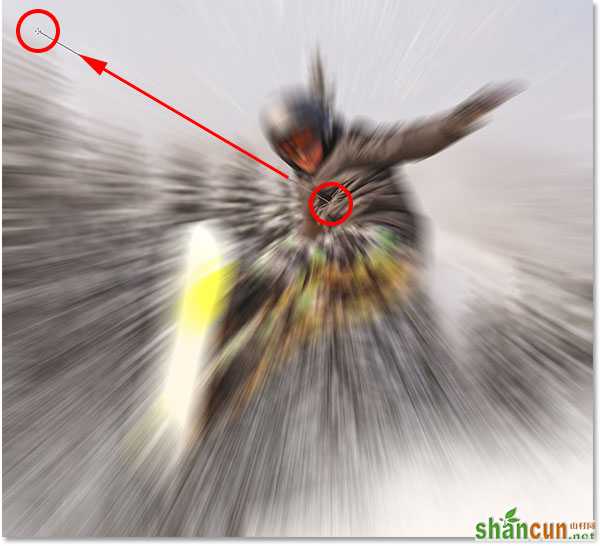
8、 按图示绘制渐变(记住此时图层面板被选中的是智能滤镜)
这个时候智能滤镜图层变成如下效果:
而图像的效果变成:

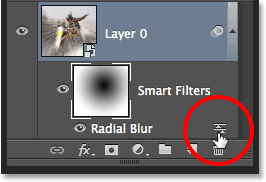
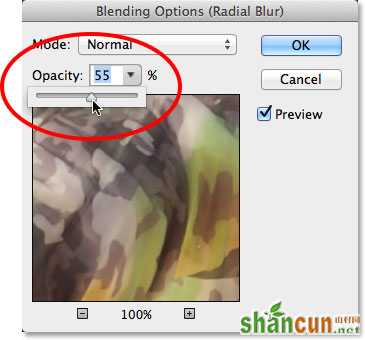
9、 降低滤镜的不透明度
双击所示图标,不透明度数值设置为55%
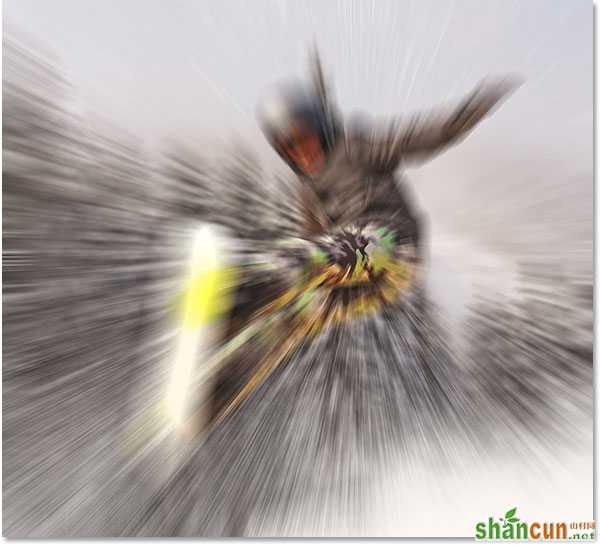
最终效果如下:
注:更多精彩教程请关注山村photoshop教程栏目,山村PS群:339853166欢迎你的加入


