
Photoshop制作抽丝教程

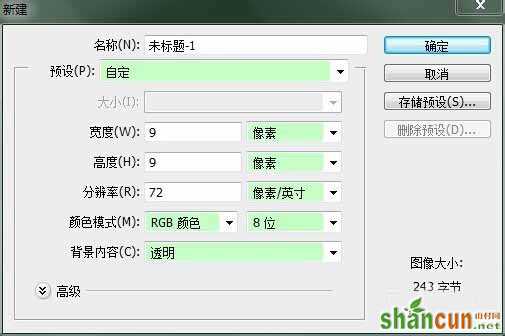
1、新建9*9像素画布,背景内容透明。
2、选择铅笔工具,大小为1像素,在画布上画出如下图形。

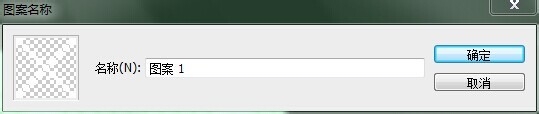
3、选择编辑-定义图案,命名“图案 1”,确定。
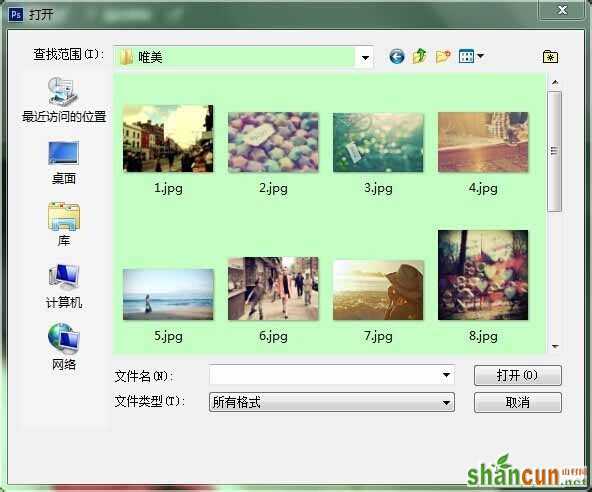
4、关掉当前画布。打开要制作的图片。
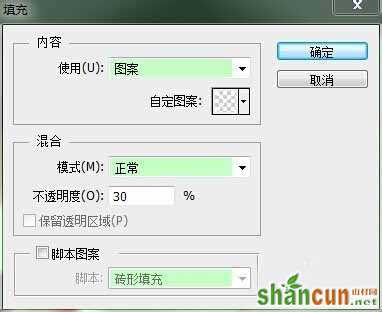
5、编辑-填充,弹出对话框——使用:选择“图案”,自定图案:选择“图案 1”,透明度:30%(可根据自己需要调整),确定。
6、完成!

Photoshop制作抽丝教程
1、新建9*9像素画布,背景内容透明。
2、选择铅笔工具,大小为1像素,在画布上画出如下图形。
3、选择编辑-定义图案,命名“图案 1”,确定。
4、关掉当前画布。打开要制作的图片。
5、编辑-填充,弹出对话框——使用:选择“图案”,自定图案:选择“图案 1”,透明度:30%(可根据自己需要调整),确定。
6、完成!

手机看新闻


网站客服
法定工作日
8:30-17:30
微信扫描关注


