
如何把真实照片ps成手绘动漫人物。本文讲解了人物ps成手绘动漫风格方法。一起来看吧!
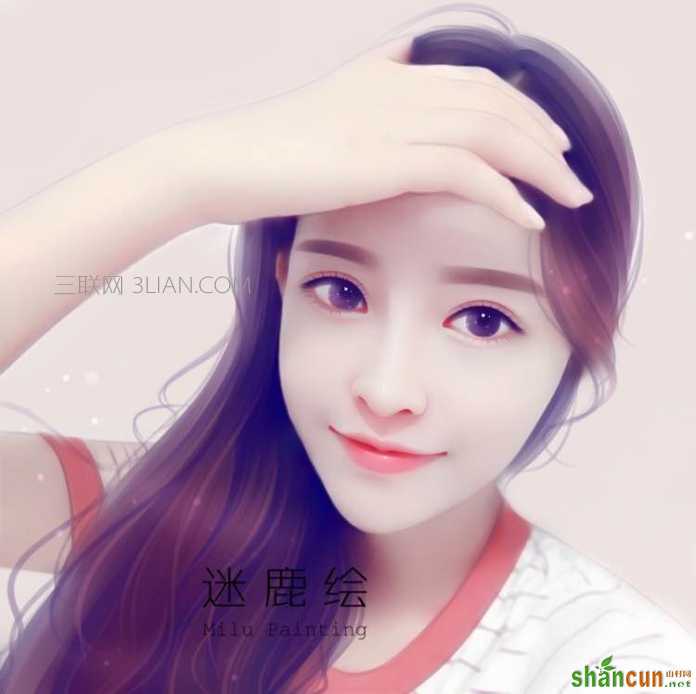
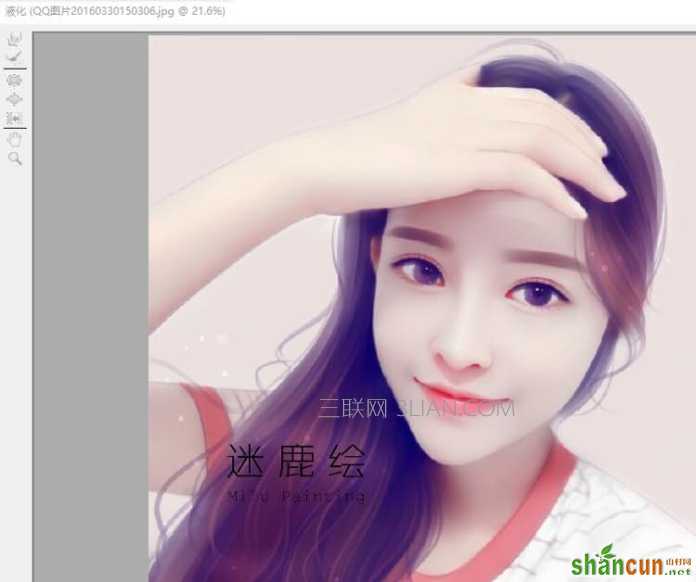
最终效果
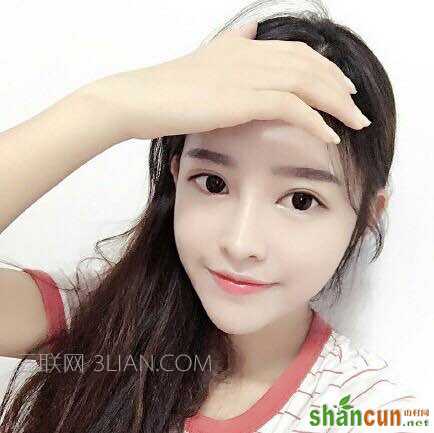
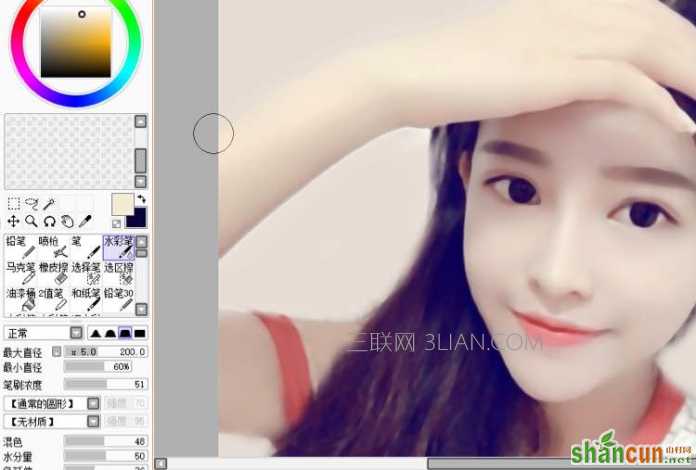
原图
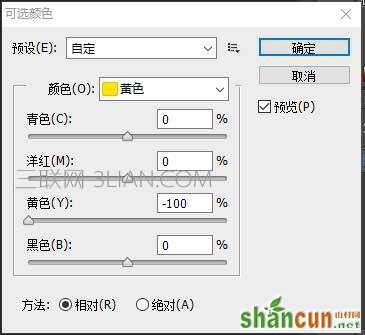
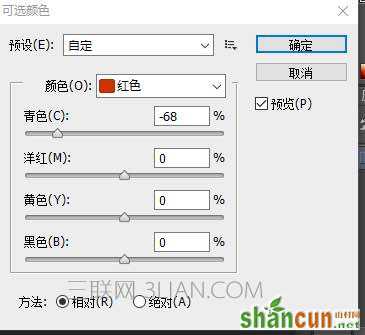
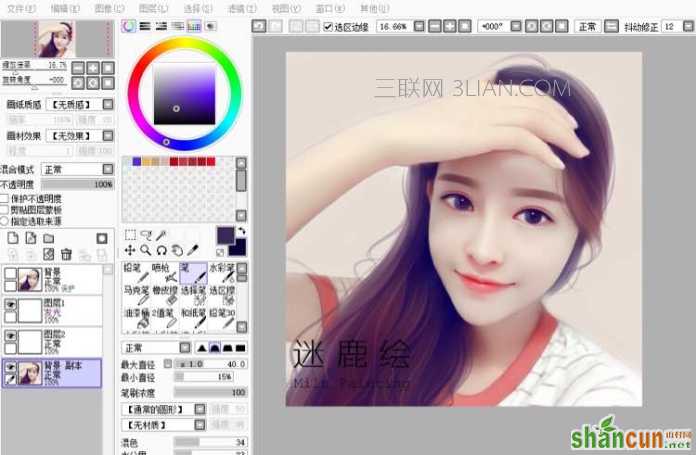
1、将图片从PS里打开,在最上面的菜单栏里找到“图像”里“调整”里“可选颜色”进行调色,数值如下。调色没有固定的方式,不同照片和画风调色效果会有不同。可以根据个人喜好来调。

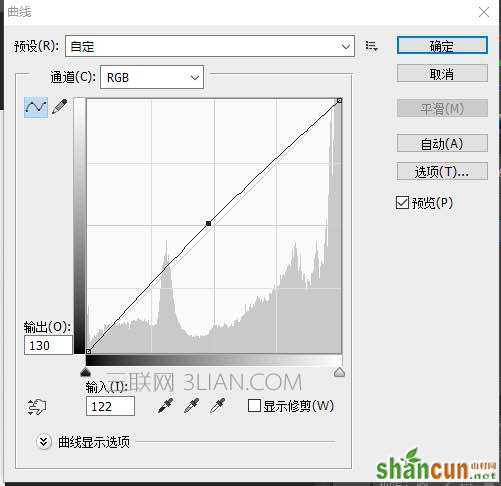
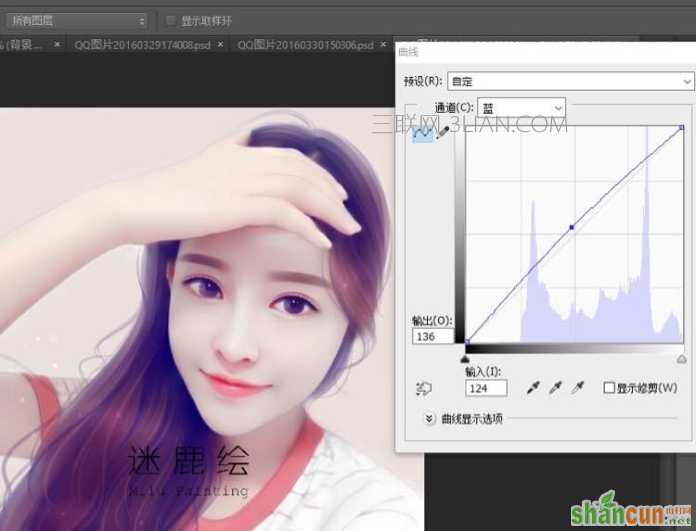
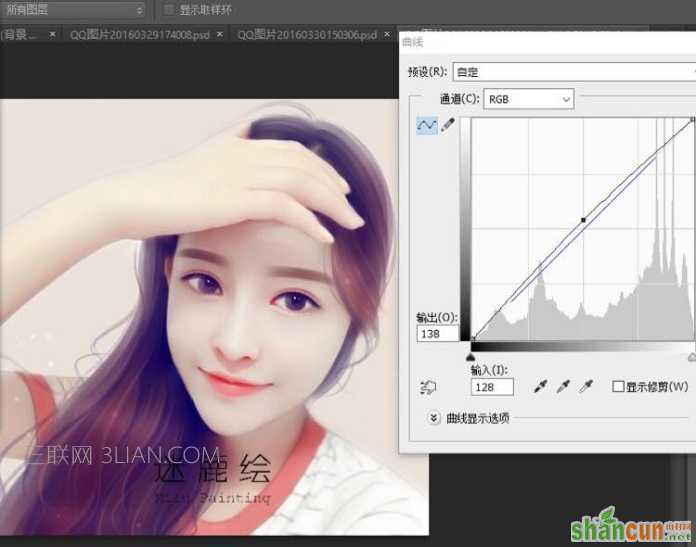
2、在菜单栏里找到“图像”里“调整”里“曲线”提亮一下画面。
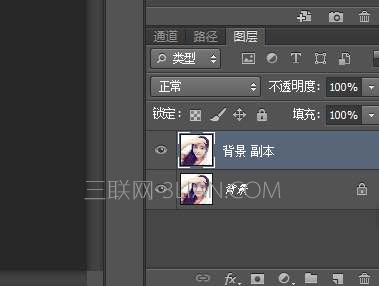
3、制一个图层,画的时候可以进行对比。右键点击图层,会出现复制图层。
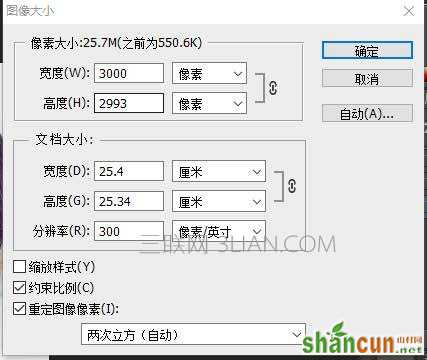
4、选择“图像”里“图像大小”将图片像素提高。
5、选择:滤镜 > 杂色 > 中间值,给图片磨皮。
6、PS里选择psd格式保存图片,然后用sai打开图片。我们可以看到依然是两个图层。先把其中清晰的图层拖到上面,点击眼睛隐藏图层。需要做对比的时候,可以点眼睛进行对比。
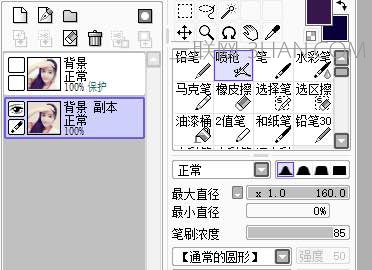
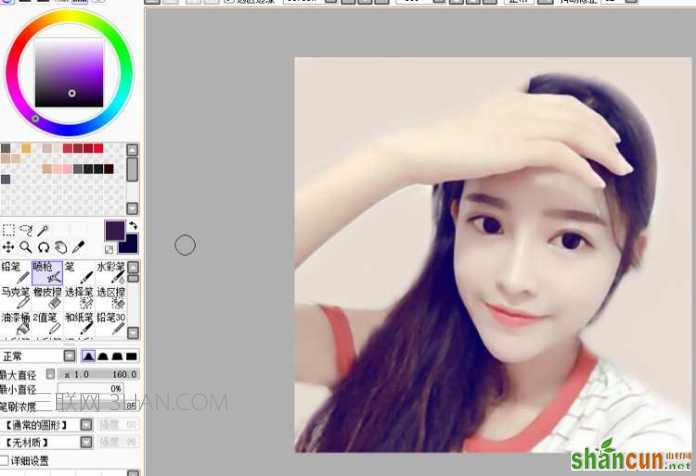
7、提取一个淡橘粉作为背景色,用喷枪涂抹,画笔的数值如图。
8、用水彩笔磨皮祛除噪点,细节的地方缩小画笔,根据皮肤的结构来磨皮,如果大面积的随便涂抹,会适得其反,让画面更脏。
9、头发也顺着走向模糊掉。

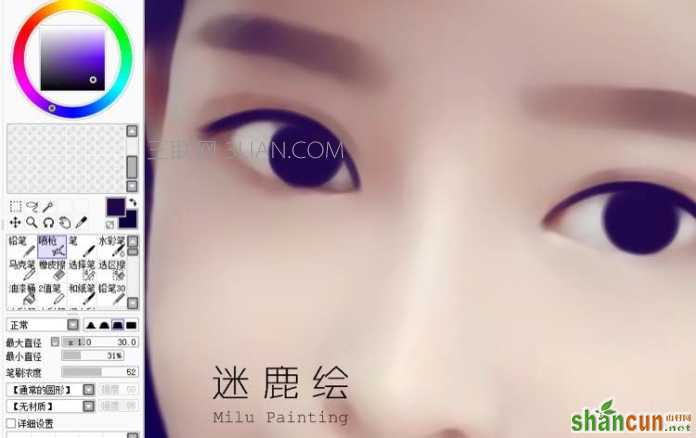
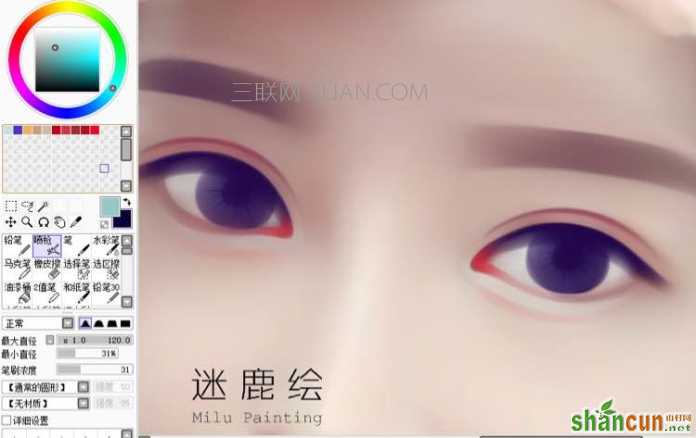
10、用喷枪吸取一个淡蓝色,将眼白的颜色提亮。
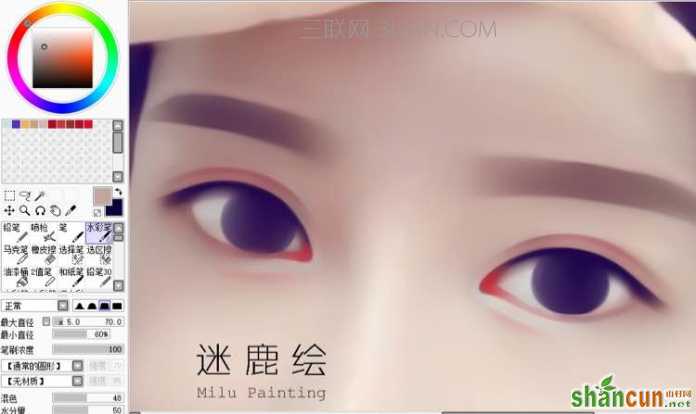
11、吸取眼球里面积最多的深色作为底色,用喷枪将眼球和上眼线勾勒出来。
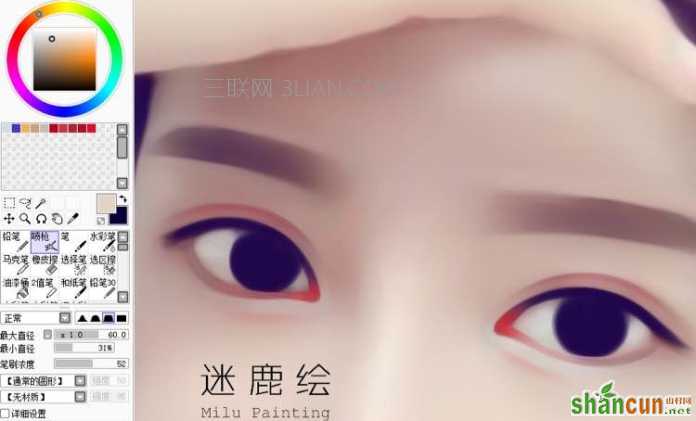
12、眼角和下眼睑我习惯用“笔”来画。眼角选择红色或者橘色都可以 ,我这边选择的饱和度高了一些,配合我完美的红色双眼皮,可能不会太违和了吧,哈哈哈哈。下眼睑选择比肤色稍深的肤色。
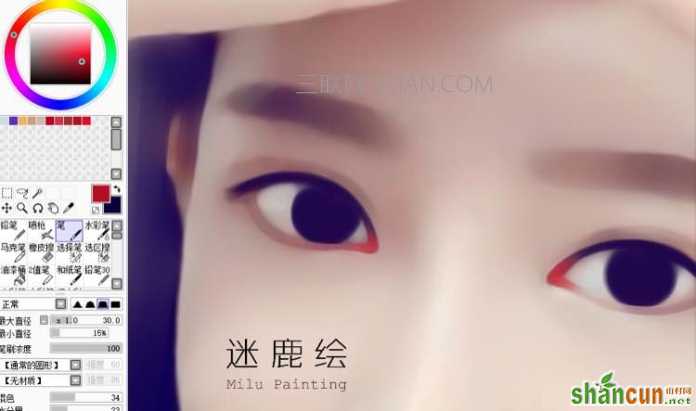
13、用饱和度低一些红色画双眼皮和卧蚕暗面部分,吸取鼻梁的亮色画卧蚕的亮面。
14、用喷枪把多余的眉毛涂掉,将眉型表现出来。注意眉毛要对称哦。
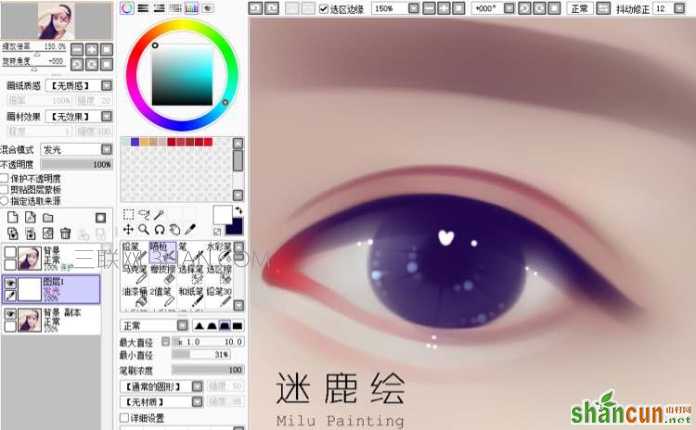
15、把眼球,内眼线,下眼睑外半段用水粉笔模糊一下,让眼睛比较柔和自然。
16、把画笔浓度调低一些,画出眼睛里面的阴影。包括眼睛中心的黑点,和放射的纹理。
17、建立一个发光图层,用喷枪画出眼睛里水灵灵的光泽感。
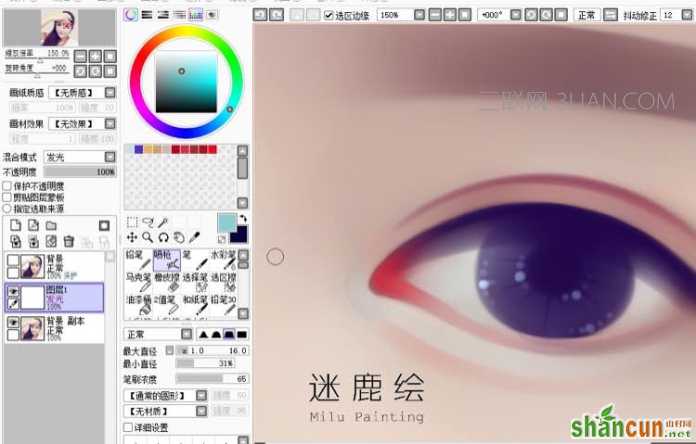
18、点上高光。
19、新建一个图层,避免画错之后不好修改的问题。选取瞳孔颜色,笔刷浓度不要太高。注意睫毛的生长方向,长短的交错会显得睫毛更加自然。
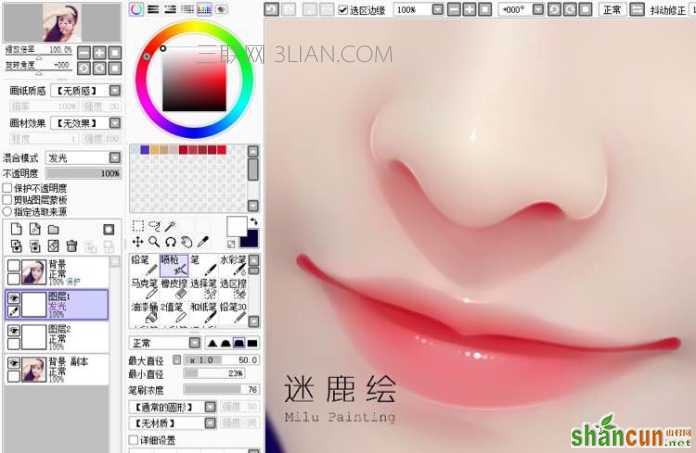
20、眼睛完成了开始画鼻子和嘴巴。先用水彩笔给它们磨一下皮。
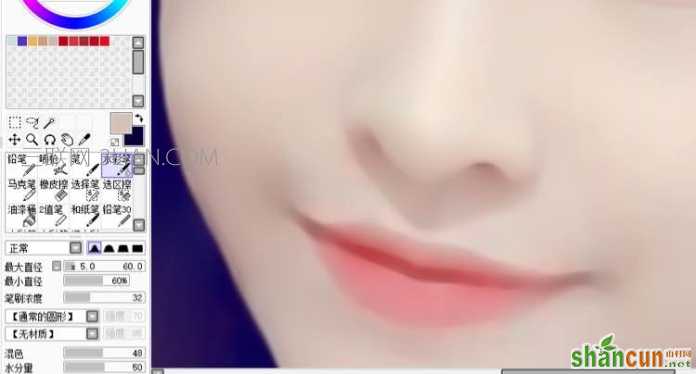
21、新建一个覆盖图层,吸取正红,给嘴唇,鼻头,还有其他阴影部分叠色。如图。
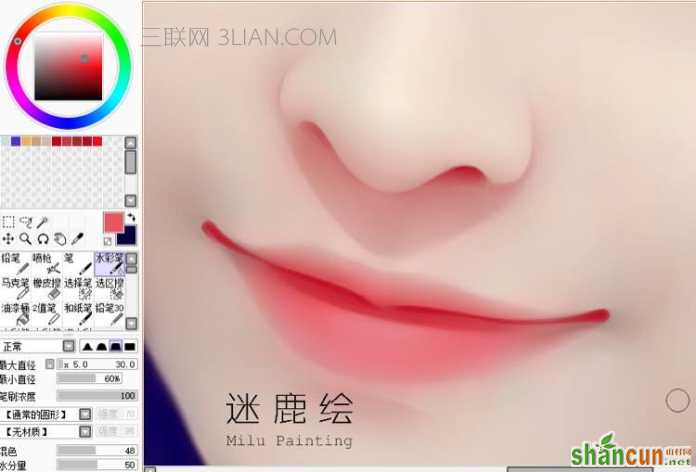
22、用红色给鼻子和嘴巴勾线,过程略丑。
23、然后把线的一边用水彩笔模糊一下。呈现慢慢过渡的感觉。

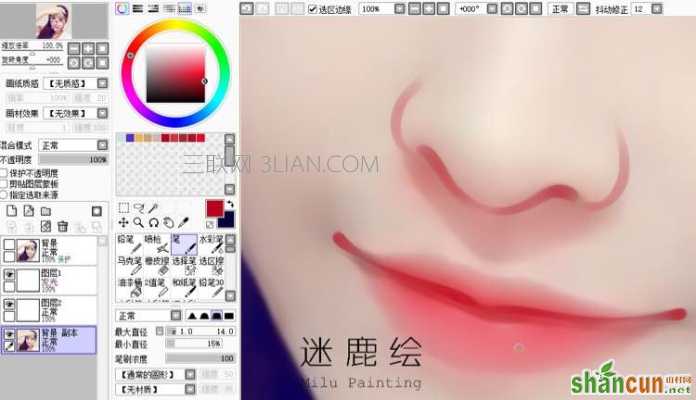
24、并且用红色给嘴唇下方添加一笔阴影,下嘴唇选择粉色添加一笔高光。用水彩笔工具同上办法,模糊其中一边。
25、选择发光模式选取纯白色,画笔浓度要高。这样点出来水灵水灵的。然后根据原图片的光线,给它点上神来之笔。
26、头发被我倒腾的过于粗暴。先把大致的区域分出来。提取头发深色,把头发比较暗面结构表现一下,然后把亮面画出一些纹理。头发的走向要随意一点,显得比较柔软蓬松,不要太直会太死板。
27、根据原图,改变笔的粗细,画出比较随意的细发丝。粗细的改变会显得头发更有层次感,提高发丝真实度。
28、用发光图层选择紫色,点在头发高光的位置,点出去也没关系,不要太规整。
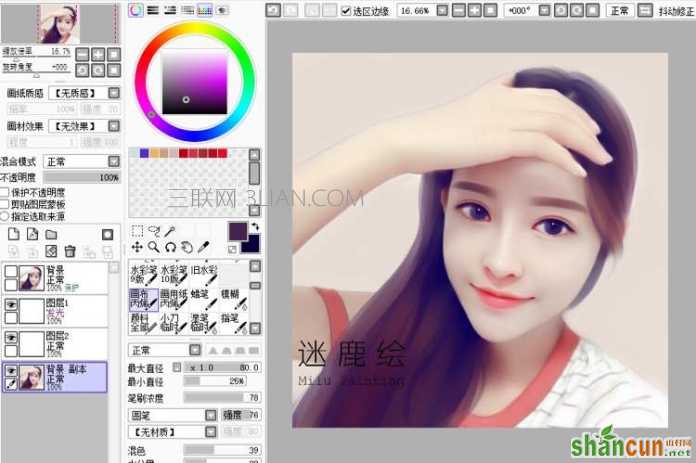
29、把JPG格式从PS里打开,进行再次的调色。如果已经满意了可以省略此步骤。
30、选择PS“滤镜”里“液化”对人物进行修整。这步也可以在第一步进行。我个人比较喜欢最后修整 ,使用左上角第一个工具,小幅度的修饰。
最终效果:


