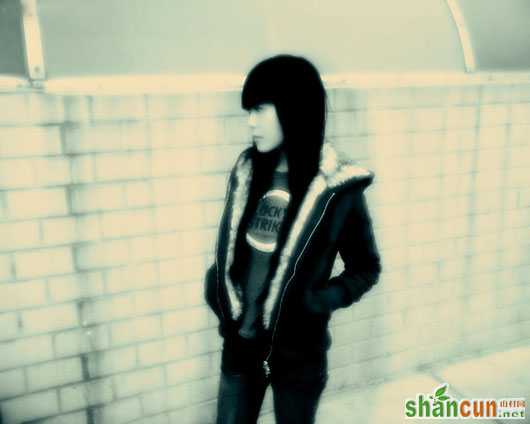
PS调色教程,怀旧风格,
素材: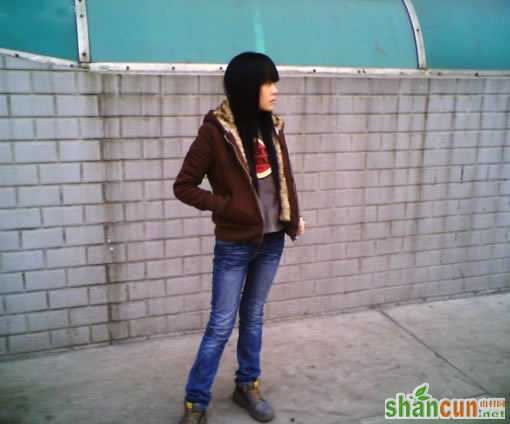 nmousewheel="return bbimg(this)" onload="javascript:resizepic(this)" border="0"/>
1、打开上面这副图片
把前景层复制一份 [ctrl+J]
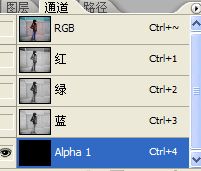
单击通道按钮
然后新建一通道, 得到Alpha1通道
 nmousewheel="return bbimg(this)" onload="javascript:resizepic(this)" border="0"/>
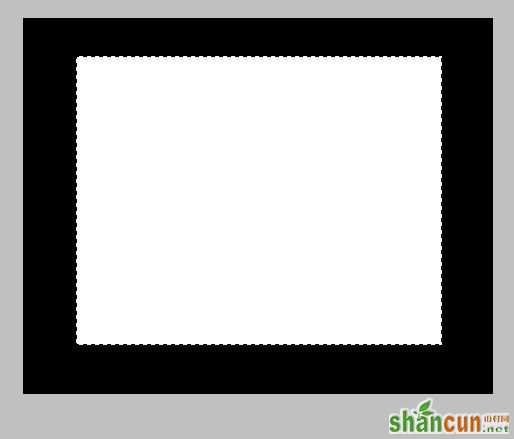
2、用矩形选区在Alpha1通道中建立一矩形
并填充白色
 nmousewheel="return bbimg(this)" onload="javascript:resizepic(this)" border="0"/>
3、取消[ctrl+D]对Alpha1通道执行滤镜-画笔描边-喷溅 ,喷色半径我这儿设的是11,平滑度4
 nmousewheel="return bbimg(this)" onload="javascript:resizepic(this)" border="0"/>
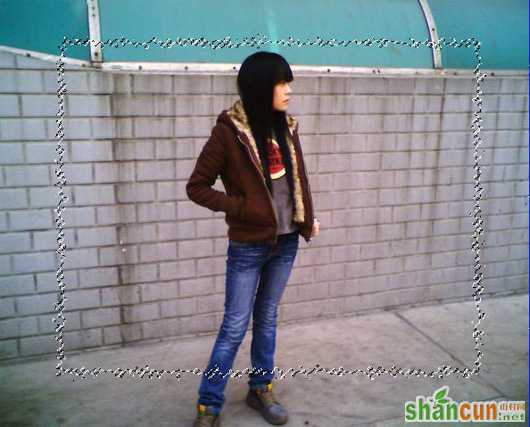
4、回到图层面板,载入alpha通道
 nmousewheel="return bbimg(this)" onload="javascript:resizepic(this)" border="0"/>
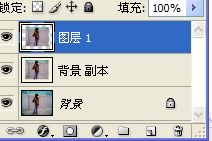
5、将选区里面的图形按[ctrl+J]复制,得到图屋1
 nmousewheel="return bbimg(this)" onload="javascript:resizepic(this)" border="0"/>
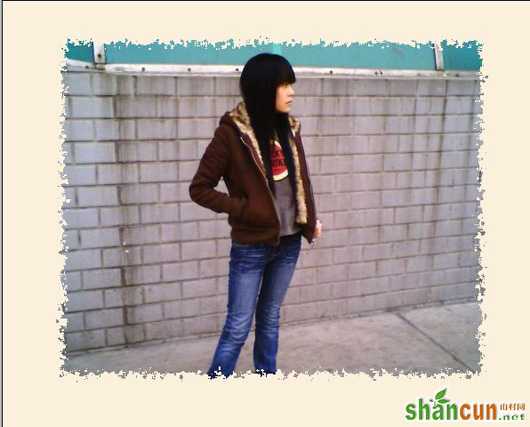
6、把背景副本层填充颜色 #faf0db,
 nmousewheel="return bbimg(this)" onload="javascript:resizepic(this)" border="0"/>
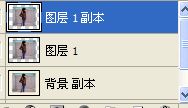
7、将图层1复制一层,得到图层1副本
 nmousewheel="return bbimg(this)" onload="javascript:resizepic(this)" border="0"/>
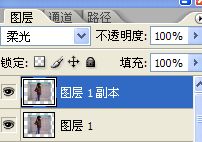
8、对图层1副本执行滤镜-模糊-高斯模糊, 半径我设的是2.5
把图层1副本的混合模式改为柔光
 nmousewheel="return bbimg(this)" onload="javascript:resizepic(this)" border="0"/>
9、将图层1副本和图层1合并[Ctrl+E]
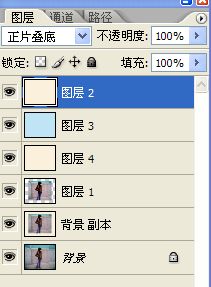
10、新建一层,填充#faf0db
将刚填充好的图层2混合模式改为正片叠底
再新建图层3,填充#bfe4f5
将图层3拖到图层2下面,3lian素材,将混合模式改为:颜色加深
再新建一层图层4,填充#faf0db
把图层4拖到图层3下面,并将其混合模式改为颜色
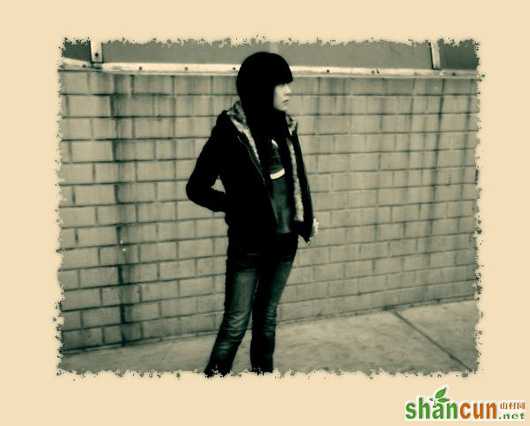
图层关系如图所示:
 nmousewheel="return bbimg(this)" onload="javascript:resizepic(this)" border="0"/>
 nmousewheel="return bbimg(this)" onload="javascript:resizepic(this)" border="0"/>
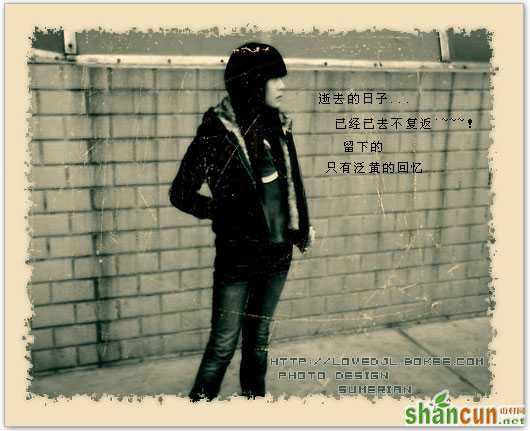
11、最后新建一层,加一点陈旧的碎片笔刷 ,给人以颓废陈旧的感觉
 nmousewheel="return bbimg(this)" onload="javascript:resizepic(this)" border="0"/>
你还可以偿试隐藏图层2、调节各层不透明度等操作,得到不同的色调~~!
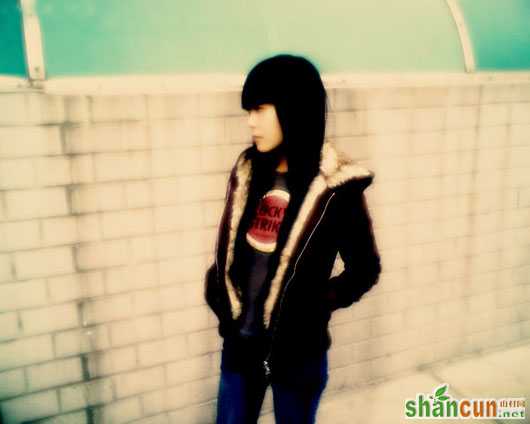
举一反三,大家还可以试试下面的感觉`~~
 nmousewheel="return bbimg(this)" onload="javascript:resizepic(this)" border="0"/>
色调1:
 nmousewheel="return bbimg(this)" onload="javascript:resizepic(this)" border="0"/>
色调2:
 nmousewheel="return bbimg(this)" onload="javascript:resizepic(this)" border="0"/>
色调3:
 nmousewheel="return bbimg(this)" onload="javascript:resizepic(this)" border="0"/>
 nmousewheel="return bbimg(this)" onload="javascript:resizepic(this)" border="0"/>


