调色技巧,PS打造童话色调教程
原图(本图是使用TOP滤镜的到的效果,使用方法请参照教程)
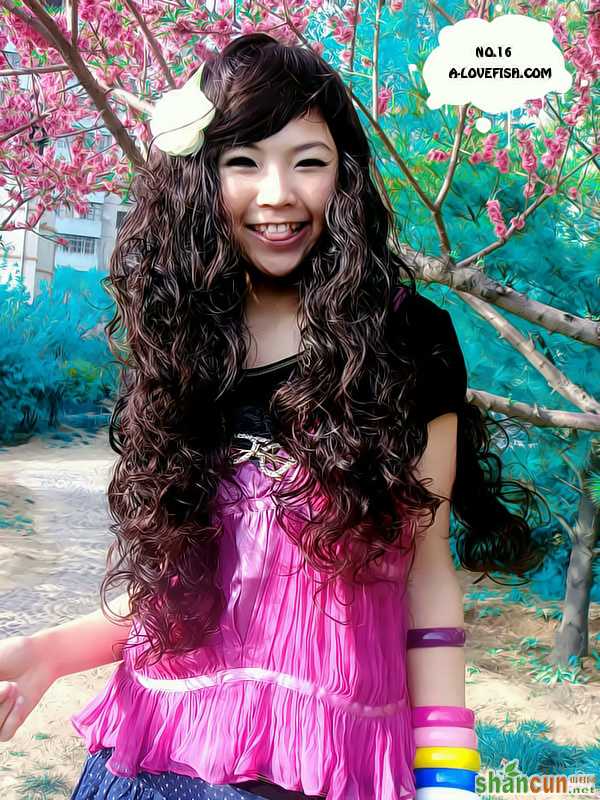 nmousewheel="return bbimg(this)" onload="javascript:resizepic(this)" border="0"/>
最终效果 nmousewheel="return bbimg(this)" onload="javascript:resizepic(this)" border="0"/>
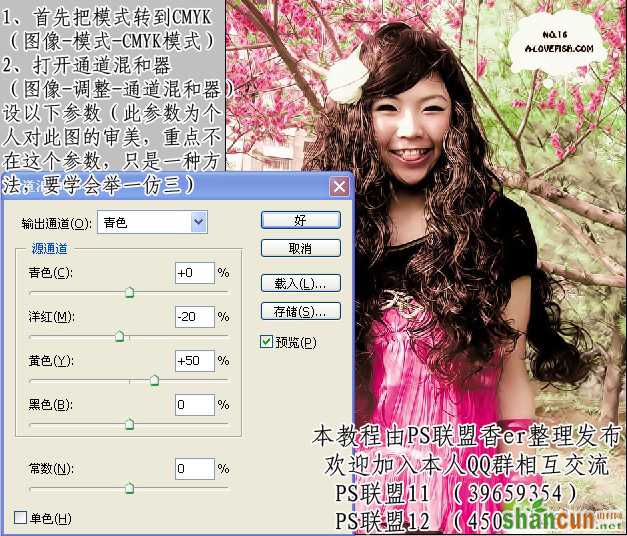
1.打开原图,选择菜单 : 图像 > 模式 > CMYK模式
2.选择菜单: 图相 > 调整 > 通道混合器 参数设置如下图
 nmousewheel="return bbimg(this)" onload="javascript:resizepic(this)" border="0"/>
<图1>
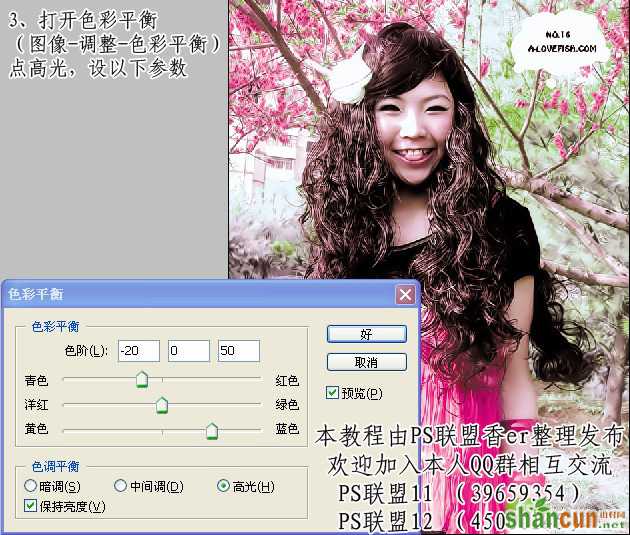
3.选择菜单 : 图像 > 调整 > 色彩平衡 点高光,参数设置如下图
 nmousewheel="return bbimg(this)" onload="javascript:resizepic(this)" border="0"/>
<图2>
4.选择菜单 : 图像 > 模式 > RGB模式 得到最终效果。
 nmousewheel="return bbimg(this)" onload="javascript:resizepic(this)" border="0"/>
<图3>
5.完成最终效果后只要做下简单的调整又可以得到其他不错的效果。点通道控制面板,再点下绿色通道 按 Ctrl + A 全选,按Ctrl + C 复制,然后点 蓝色通道,按Ctrl + V粘贴就可以得到下图的效果。
 nmousewheel="return bbimg(this)" onload="javascript:resizepic(this)" border="0"/>
<图4>
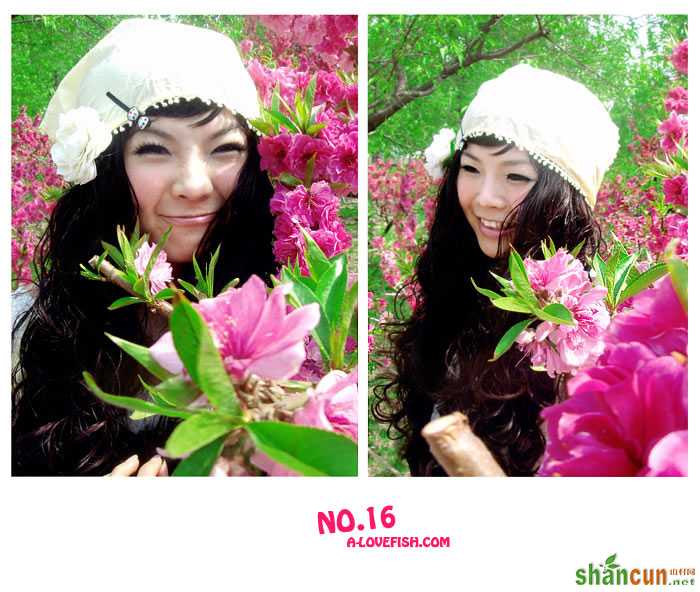
下图为简单的应用(希望大家能够受到启发,以后调色可以应用自如!也再次感谢香er给我们分享经验!期待作者更多教程!!!)
 nmousewheel="return bbimg(this)" onload="javascript:resizepic(this)" border="0"/>
<图5>
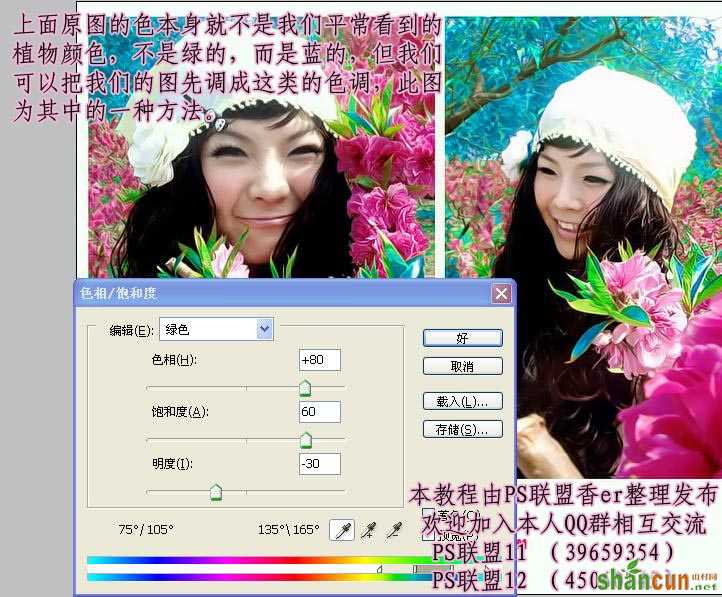 nmousewheel="return bbimg(this)" onload="javascript:resizepic(this)" border="0"/>
<图6>
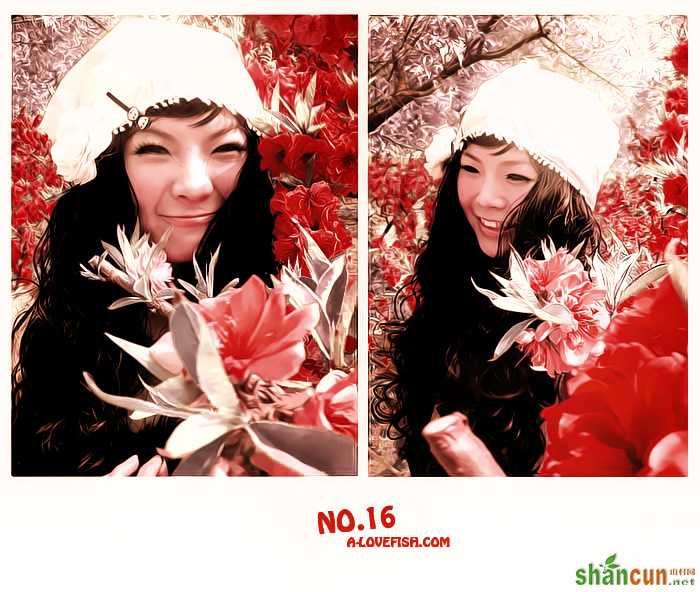 nmousewheel="return bbimg(this)" onload="javascript:resizepic(this)" border="0"/>
<图7>


