
调色技巧
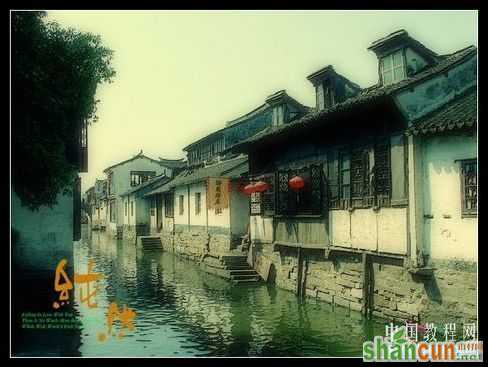
最终效果图
 nmousewheel="return bbimg(this)" onload="javascript:resizepic(this)" border="0"/> 一、用photoshop打开一张江南水乡照片素材,再新建一个图层,填充#FCE278黄色,该层的混合模式为正片叠底,再建一个新图层,执行CTRL+SHIFT+ALT+E盖印可见图层。
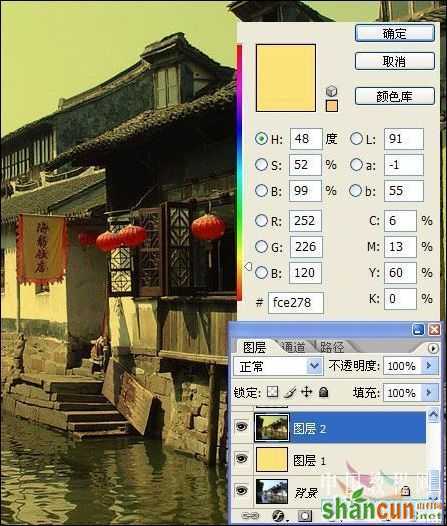 nmousewheel="return bbimg(this)" onload="javascript:resizepic(this)" border="0"/> 二、点击图层面板下方的“创建新的填充或调整图层”按钮,选择创建色彩平衡调整图层,中间调下的色阶为-47、-8、+20,勾选保持亮度,再创建一个曲线调整层。
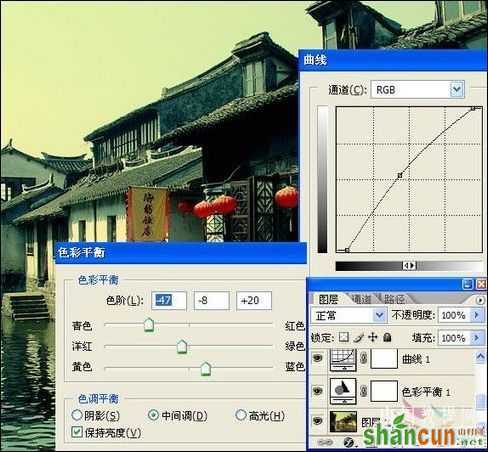 nmousewheel="return bbimg(this)" onload="javascript:resizepic(this)" border="0"/> 三、新建一个图层并盖印,再建一个层来制作抽丝效果,把该层的混合模式设为正片叠底。
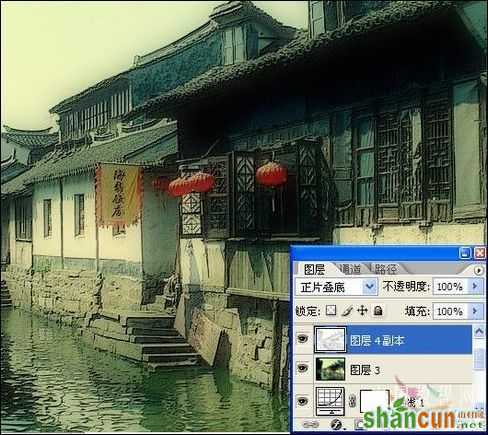 nmousewheel="return bbimg(this)" onload="javascript:resizepic(this)" border="0"/> 四、最后再创建一个曲线调整层来对图像作最后的调整,然后加上黑色的边框就OK了,是不是挺简单的。
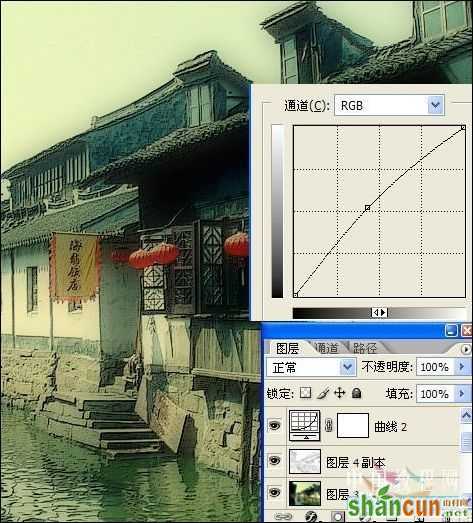 nmousewheel="return bbimg(this)" onload="javascript:resizepic(this)" border="0"/>
 nmousewheel="return bbimg(this)" onload="javascript:resizepic(this)" border="0"/>


