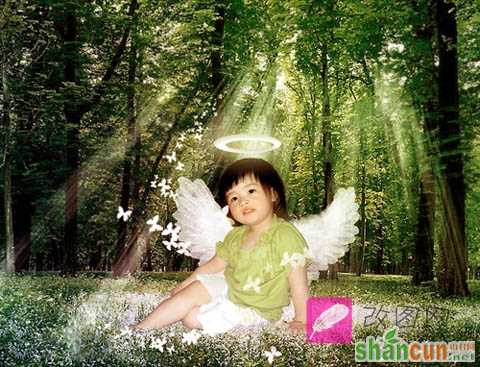
作者的创意思路非常不错。用一些非常普通的素材加工成梦幻的效果。制作过程也比较简单。先组织好素材,然后把需要的素材抠出来放到背景文档里面,后期再调色及加上一些梦幻的装饰效果即可。
最终效果
 nmousewheel="return bbimg(this)" onload="javascript:resizepic(this)" border="0"/>
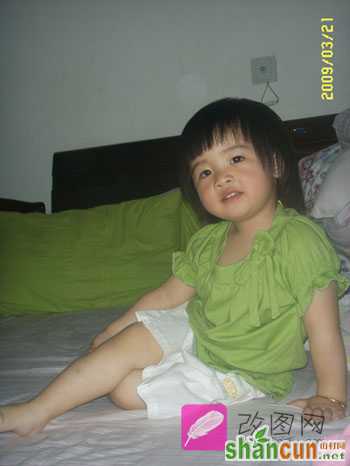
1、既然是合成,第一步拿到图片就先抠图,扣出人物主体部分。磨皮,美白。这里我用的是钢笔工具,可以更精细的抠出人物。然后把人物放在背景素材上。
 nmousewheel="return bbimg(this)" onload="javascript:resizepic(this)" border="0"/>
 nmousewheel="return bbimg(this)" onload="javascript:resizepic(this)" border="0"/>
 nmousewheel="return bbimg(this)" onload="javascript:resizepic(this)" border="0"/>
2、因为人物图片不是很完整,这时我们就要用选取工具截取绿草部分来掩盖人物的脚和手,让画面看起来更和谐。
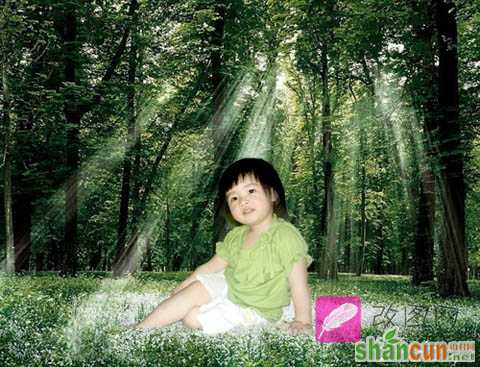 nmousewheel="return bbimg(this)" onload="javascript:resizepic(this)" border="0"/>
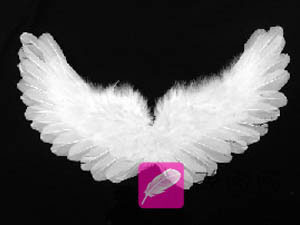
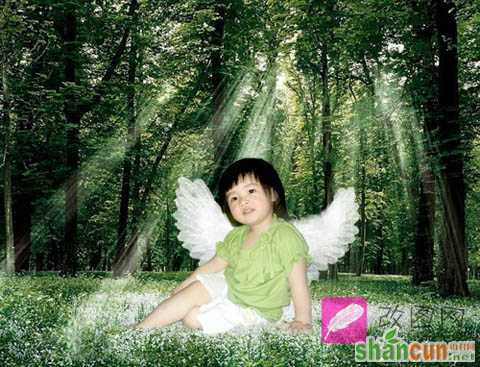
3、添加天使翅膀,用魔术棒扣出天使的羽毛翅膀放置图片上,用编辑下的变换工具调整到适合的位子再用橡皮擦透明度降低到50%擦掉羽毛边缘部分使边缘有一定的透明度可以看到背景的颜色。
 nmousewheel="return bbimg(this)" onload="javascript:resizepic(this)" border="0"/>
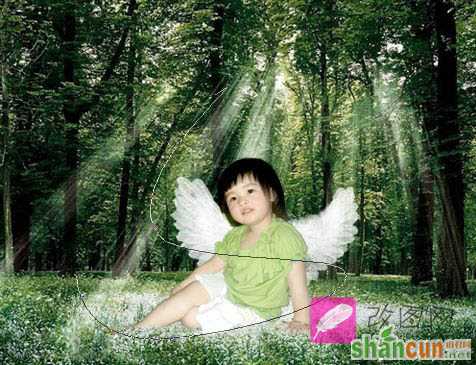
 nmousewheel="return bbimg(this)" onload="javascript:resizepic(this)" border="0"/>4、画飞舞的蝴蝶首先用钢笔工具画一条曲线,选择蝴蝶画笔(PS自带画笔29),主直径为20。然后调整它的属性。具体数值如下。
 nmousewheel="return bbimg(this)" onload="javascript:resizepic(this)" border="0"/>
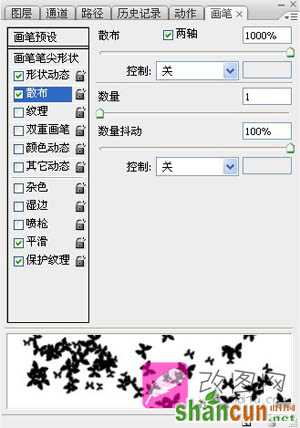 nmousewheel="return bbimg(this)" onload="javascript:resizepic(this)" border="0"/>
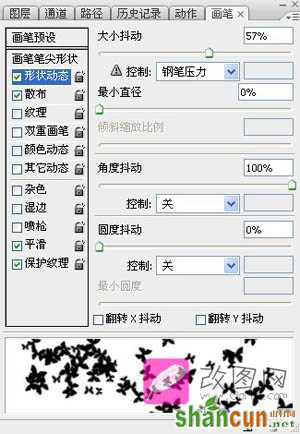 nmousewheel="return bbimg(this)" onload="javascript:resizepic(this)" border="0"/>
5、调整好画笔后回到我们刚画的路径,点选钢笔工具—右键—描边路径,然后用橡皮擦去除过多的蝴蝶直到自己满意为止。
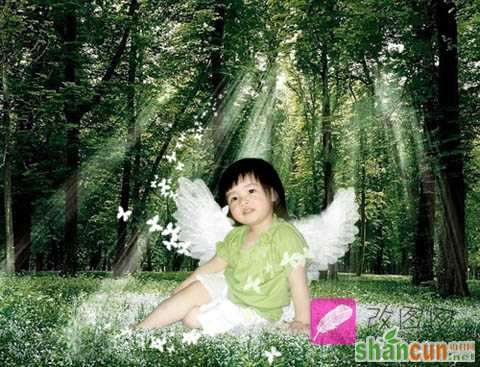 nmousewheel="return bbimg(this)" onload="javascript:resizepic(this)" border="0"/>
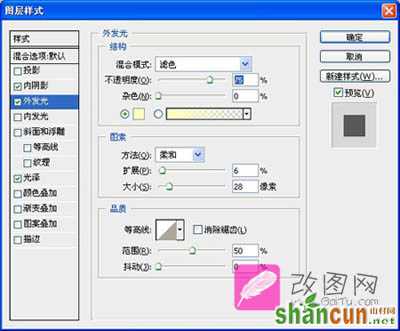
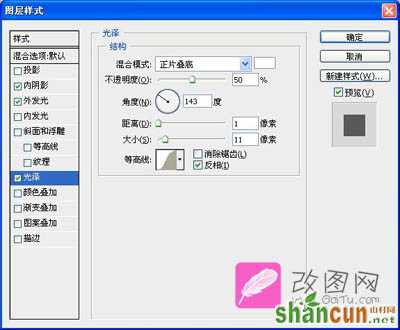
6、绘制光圈。画出个圆环形状然后调整图层样式。3lian素材,内阴影的数值分别为75;120;4;0;4;0。外发光75;0;6;28;50;0。光泽50;143;1;11。
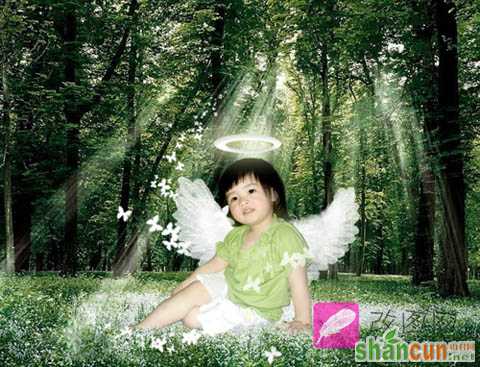 nmousewheel="return bbimg(this)" onload="javascript:resizepic(this)" border="0"/>
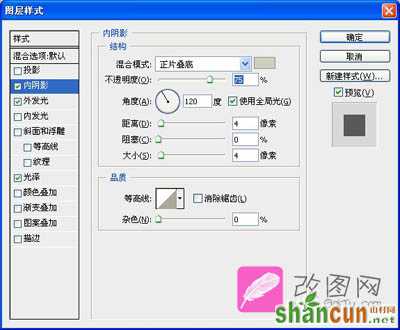 nmousewheel="return bbimg(this)" onload="javascript:resizepic(this)" border="0"/>
 nmousewheel="return bbimg(this)" onload="javascript:resizepic(this)" border="0"/>
 nmousewheel="return bbimg(this)" onload="javascript:resizepic(this)" border="0"/>
7、最后新建一个图层拉一个渐变图层模式改为“柔光”。透明度改为30%。对人物稍作修整后完成最终效果。
 nmousewheel="return bbimg(this)" onload="javascript:resizepic(this)" border="0"/>


