
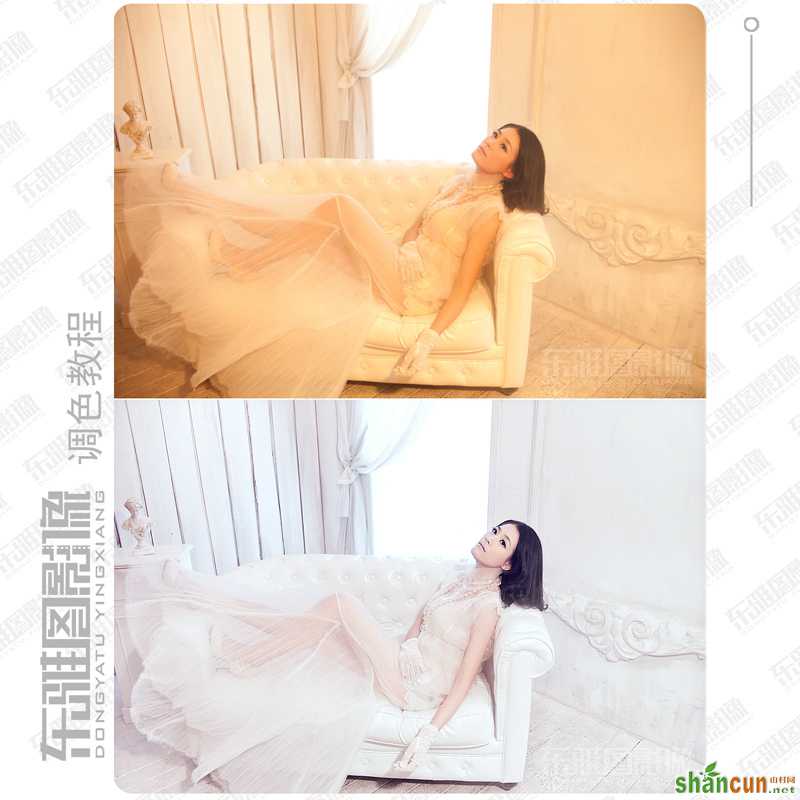
简介:本文介绍用PS调整一张高色温的私房写真照,经后期调色处理成粉粉的色调,女生比较喜欢的调调,影楼后期常见的效果 ,
喜欢的同学可以学习一下!
原片与效果图:
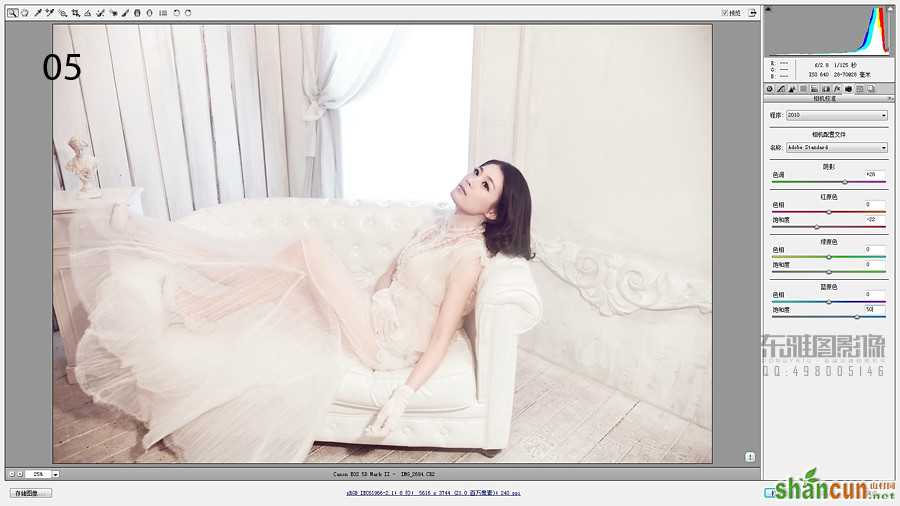
1.进行原片分析,定调。
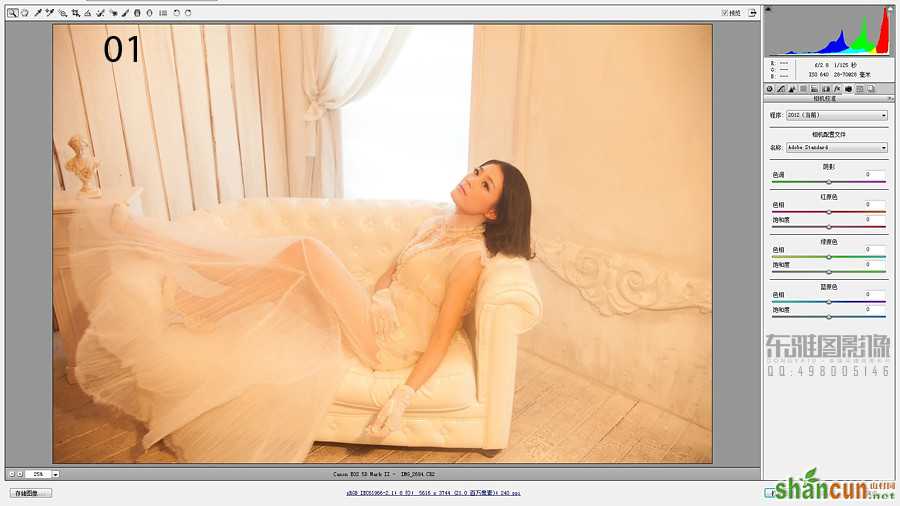
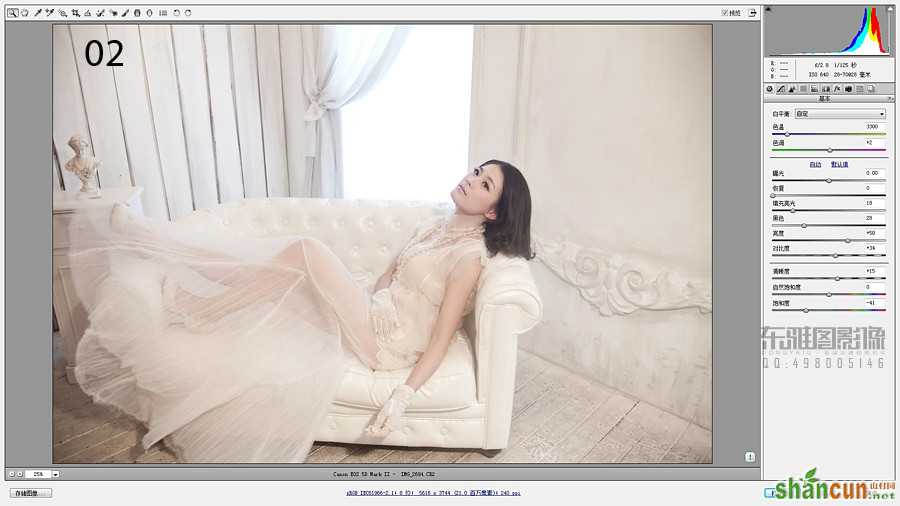
2.曝光和色温处理
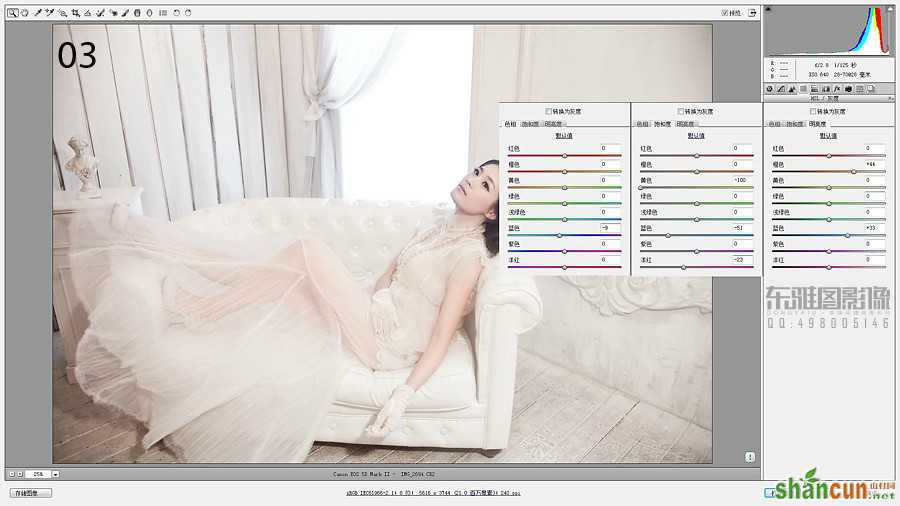
3.调整肤色层次
4.对四周的暗角进行提亮处理。
5. 对照片的色彩层次处理,然后保存后打开图像
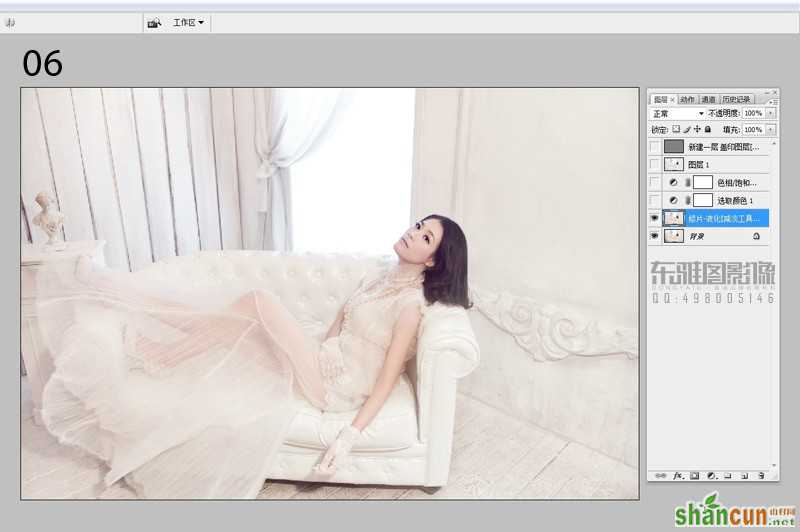
6. 对照片精修液化处理
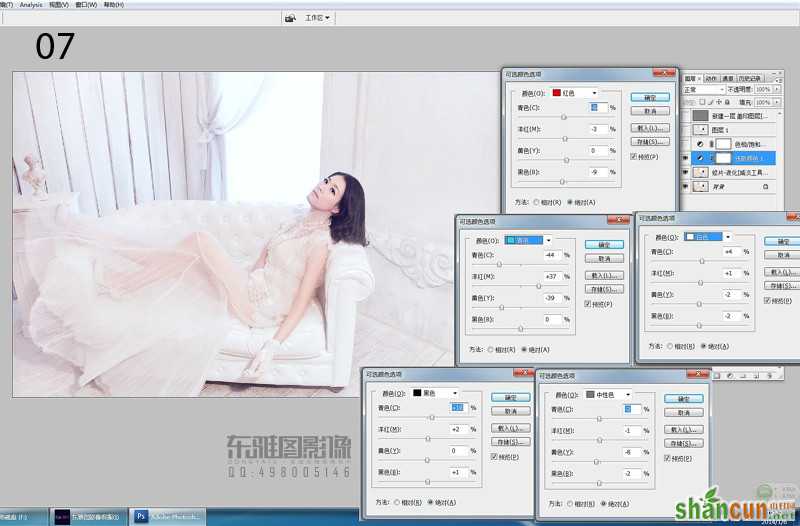
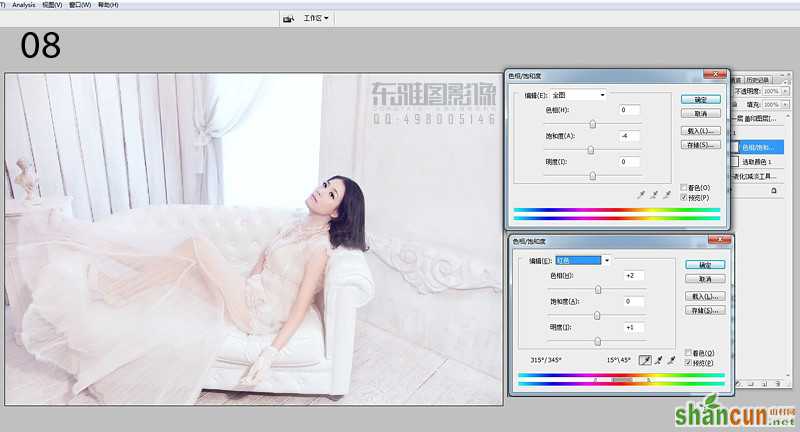
7.调整可选颜色
8.细微调整偏品红的肤色
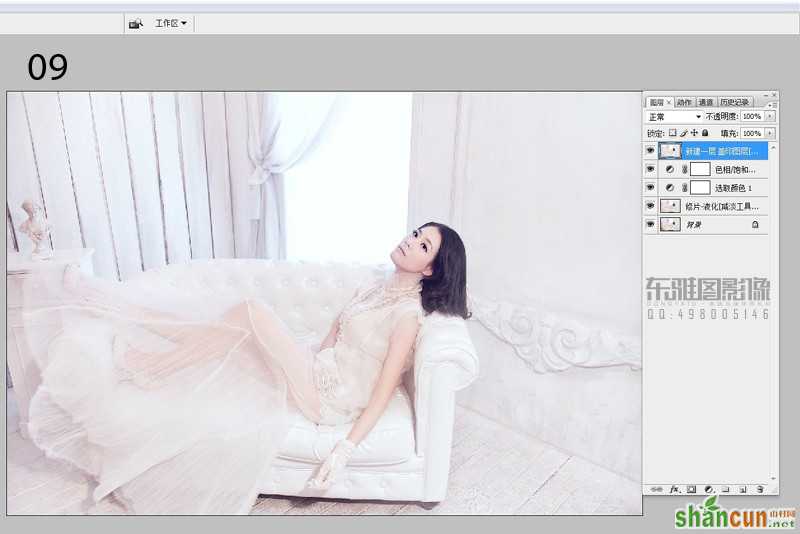
9.锐化-搞定!
最终效果对比!
注:更多精彩教程请关注山村photoshop教程栏目,山村PS群:311270890欢迎你的加入


