
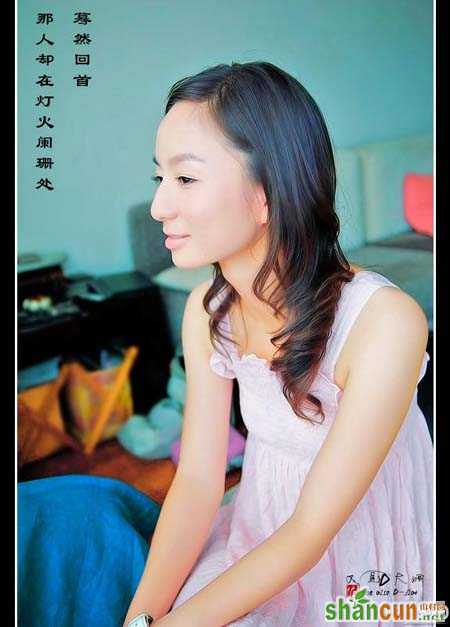
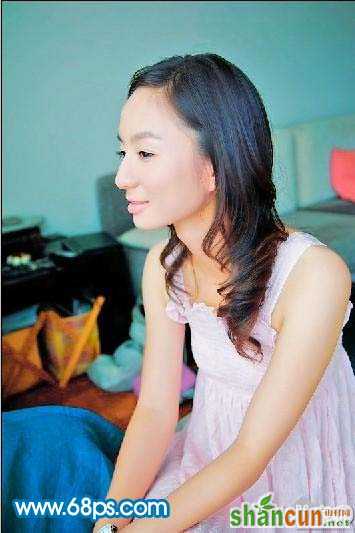
调色技巧教程,原图素材感觉色彩有点平淡,作者适当增加了一些橙红的暖色调。照片看起来就舒服很多,层次感也强了很多。
原图 nmousewheel="return bbimg(this)" onload="javascript:resizepic(this)" border="0"/>
最终效果
 nmousewheel="return bbimg(this)" onload="javascript:resizepic(this)" border="0"/>
1、打开素材,CTRL+J复制一层,图象--调整--阴影/高光,参数及效果如下图。
 nmousewheel="return bbimg(this)" onload="javascript:resizepic(this)" border="0"/>
 nmousewheel="return bbimg(this)" onload="javascript:resizepic(this)" border="0"/>
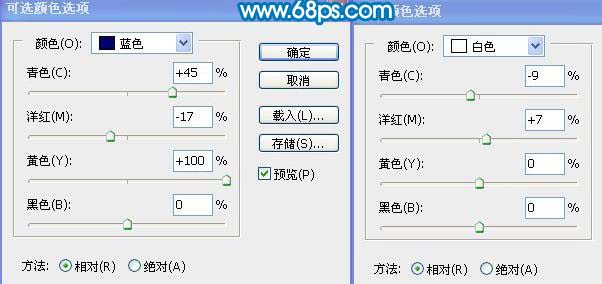
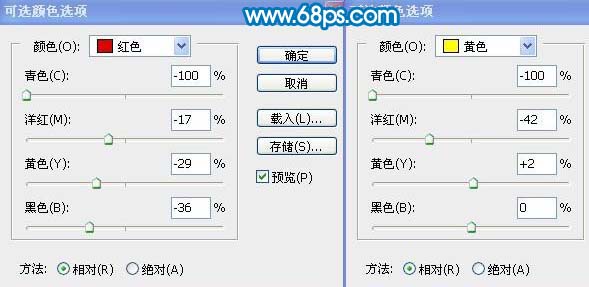
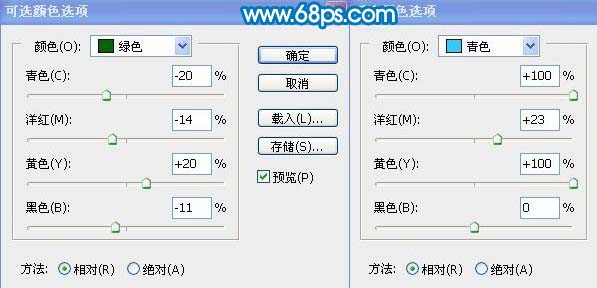
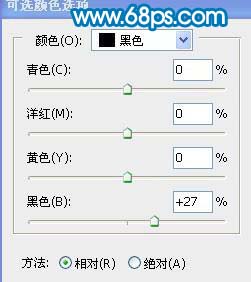
2、创建可选颜色调整图象,参数如下:
 nmousewheel="return bbimg(this)" onload="javascript:resizepic(this)" border="0"/>
 nmousewheel="return bbimg(this)" onload="javascript:resizepic(this)" border="0"/>
nmousewheel="return bbimg(this)" onload="javascript:resizepic(this)" border="0"/>
 nmousewheel="return bbimg(this)" onload="javascript:resizepic(this)" border="0"/>
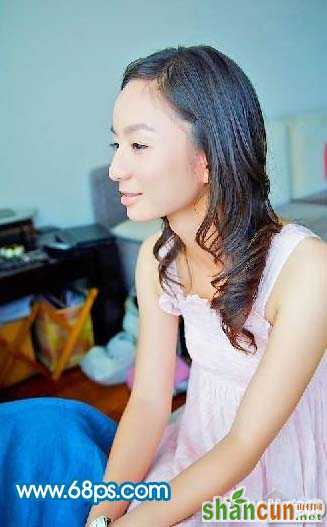
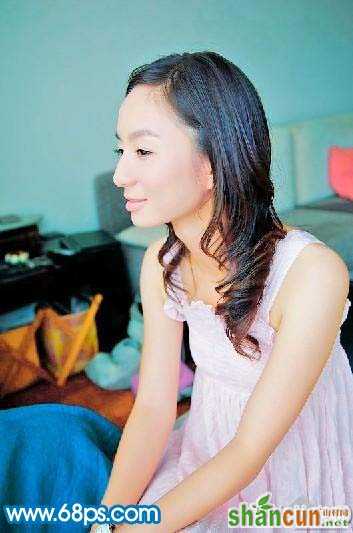
3、确定后用黑色画笔对头发进行适当擦一下,效果如下图。
 nmousewheel="return bbimg(this)" onload="javascript:resizepic(this)" border="0"/>
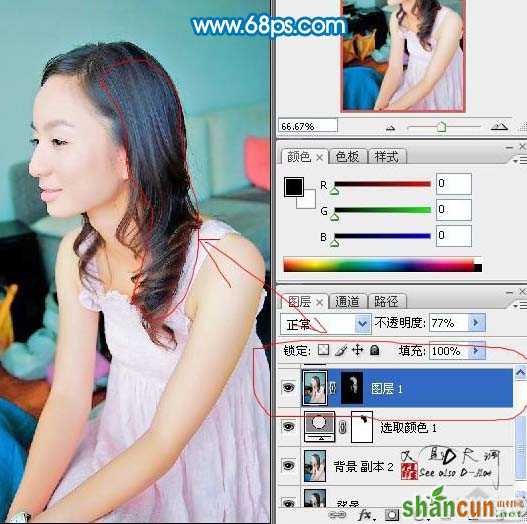
4、盖印(SHIFT+CTRL+ALT+E),滤镜--模糊--高斯模糊(半径4.6),把图层不透明度调为77%,添加蒙板,填充黑色,用24%左右的画笔擦下头发,省得别人说没用飘柔洗发水。
 nmousewheel="return bbimg(this)" onload="javascript:resizepic(this)" border="0"/>
5、新建1个图层,盖印,图层混合模式改为正片叠底,不透明为15%。
 nmousewheel="return bbimg(this)" onload="javascript:resizepic(this)" border="0"/>
6、盖印图层后用TOPAZ处理下吧,3lian素材,参数如
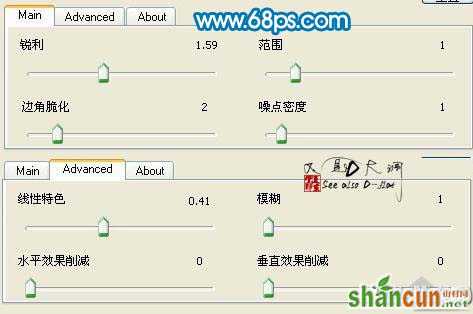 nmousewheel="return bbimg(this)" onload="javascript:resizepic(this)" border="0"/>
7、完善下细节,把背景弄糊点突出主题,加上文字,完成。
nmousewheel="return bbimg(this)" onload="javascript:resizepic(this)" border="0"/>


