
调出失真人物图片完美的橙红色
素材图片有点偏暗,人物肤色部分有点失真。美化的时候先从美白开始,局部偏暗的部分需要用选区选区后再调白。然后再整体润色,为了突出阳光效果,画面出来用暖色外,还需要加上一些高光。
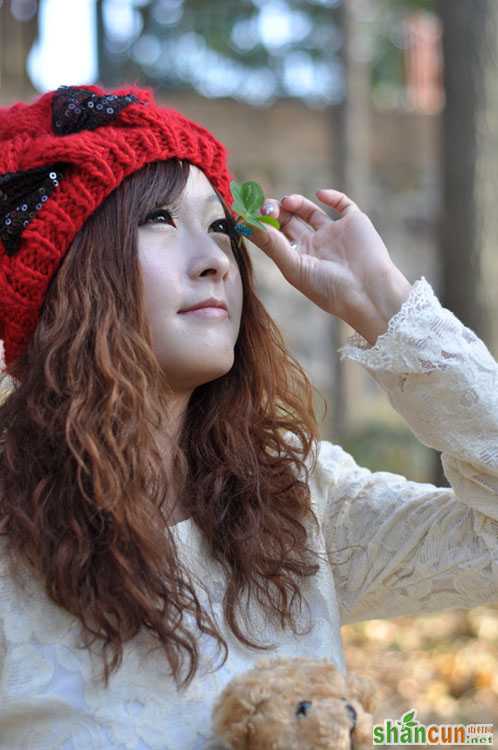
原图
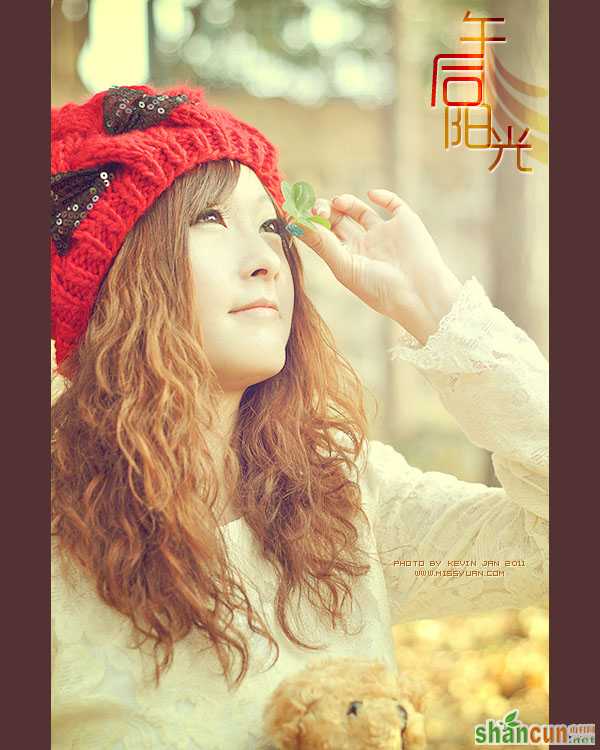
最终效果
1、打开人物素材,创建色阶调整图层,适当调亮一点,参数设置如下图。
2、创建曲线调整图层,对RGB进行调整,参数如下图。

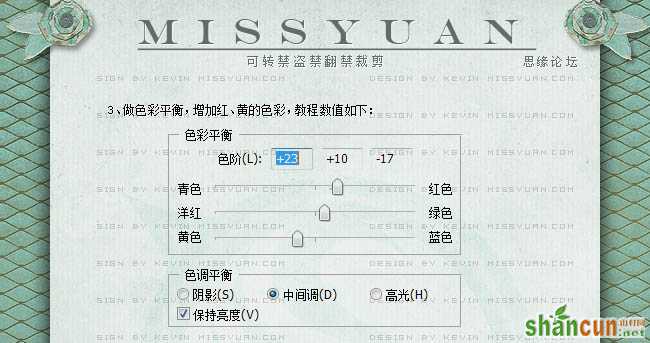
3、创建色彩平衡调整图层对中间调进行调整,增加红、黄的色彩,参数如下图。
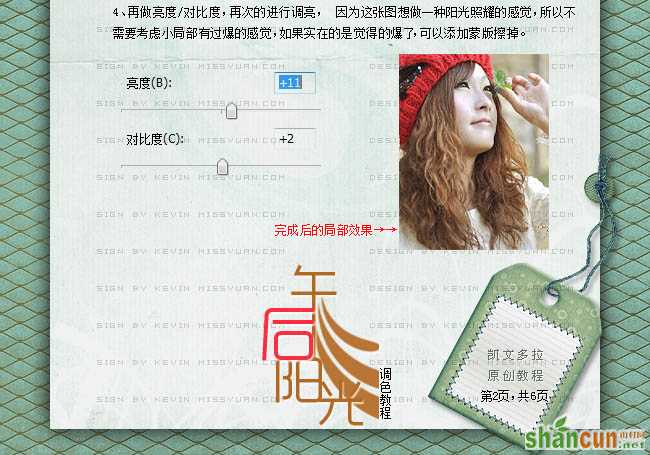
4、创建亮度/对比度调整图层,再次进行调亮,因为这张图想做一种阳光照耀的感觉,所以不需要考虑小局部有过曝的感觉,如果哦实在是觉得过渡了,可以添加蒙版擦掉过曝的部分。
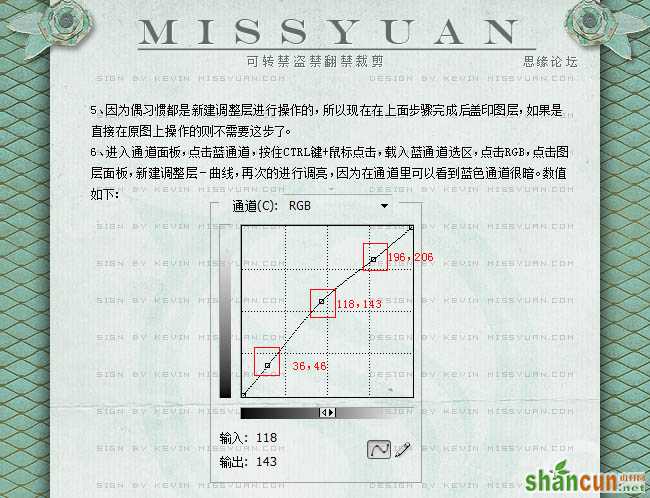
5、因为我习惯都是新建调整层进行操作的,所以现在在上面步骤完成后盖印图层,如果是直接在原图上操作的则不需要这步。
6、进入通道面板,点击蓝通道,按住Ctrl 键 + 鼠标点击,载入蓝通道选区,点击RGB后再点击图层面板,新建曲线调整图层,再次调亮,以往内在通道里可以看到蓝色通道很暗,参数设置如下图。
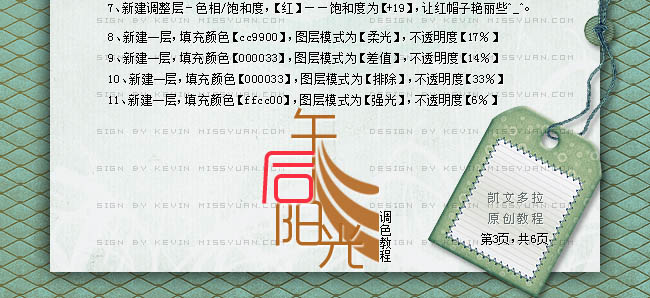
7、创建色相/饱和度调整图层,对红色进行调整,把饱和度设置为:+19,让帽子鲜艳些。
8、新建一个图层填充颜色:#cc9900,图层混合模式改为“柔光”,不透明度改为:17%。
9、新建一个图层填充颜色:#000033,图层混合模式改为“差值”,不透明度改为:14%。
10、新建一个图层填充颜色:#000033,图层混合模式改为“排除”,不透明度改为:33%。
11、新建一个图层,填充颜色:ffcc00,图层混合模式改为“强光”,不透明度改为:6%。
12、新建一个图层,按Ctrl + Alt + Shift + E 盖印图层。图层混合模式改为“滤色”,不透明度改为:16%。
13、这时可以看到人物的脸部还是比较暗的,那么用套索工具大概选择一些脸部的位置,羽化20像素后用曲线调亮,参数设置如下图。

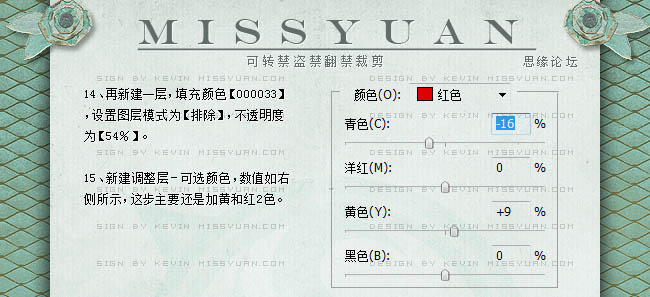
14、再新建一层,填充颜色:#000033,图层混合模式改为“排除”,不透明度改为:54%。
15、创建可选颜色调整图层,对红色进行调整,参数设置如下图。
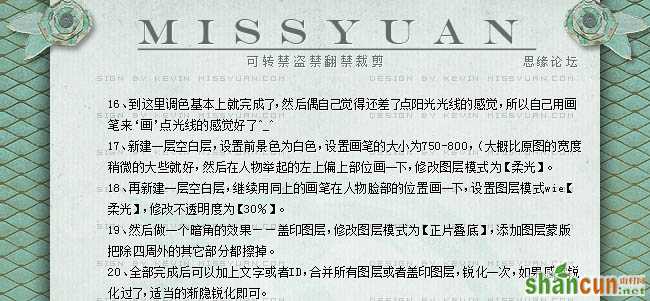
16、到这里调色基本上就完成了,然后我自己觉得还差了点阳光光线的感觉,所以自己用画笔来画点光线的感觉。
17、新建一个图层,把前景颜色设置白色,设置画笔的大小为:750 - 800,然后在人物举起的左手偏上部位画一下,修改图层混合模式为“柔光”。
18、再新建一个图层,继续用同上的画笔在人物脸部的位置画一下,设置图层混合模式为“柔光”,不透明度改为:30%。
19、然后做一个暗角的效果。盖印图层,图层混合模式改为“正片叠底”,添加图层蒙版用黑色画笔把除四周以外的部分擦出来。
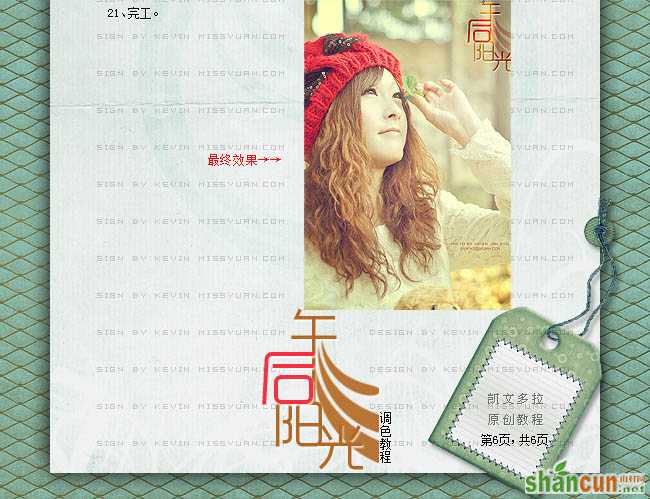
20、最后加上装饰文字,适当把图层锐化一下,完成最终效果。
最终效果:


