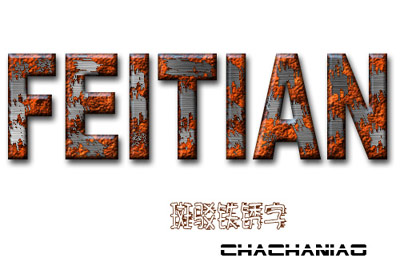
用PS制作铁锈文字教程的最终效果图
 nmousewheel="return bbimg(this)" onload="javascript:resizepic(this)" border="0"/>
1、新建文件背景为白色,使用文字工具输入"feitian",选项栏如图1。
 nmousewheel="return bbimg(this)" onload="javascript:resizepic(this)" border="0"/>
图1
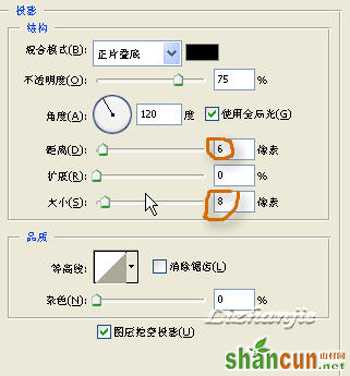
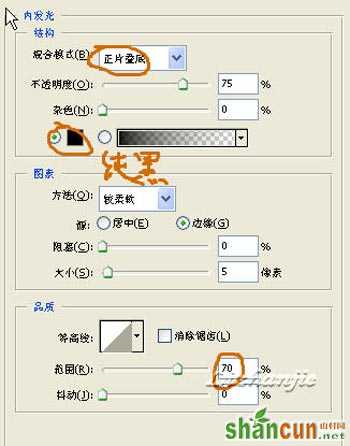
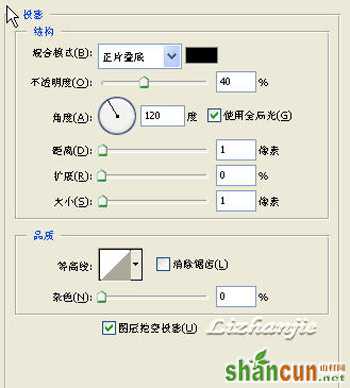
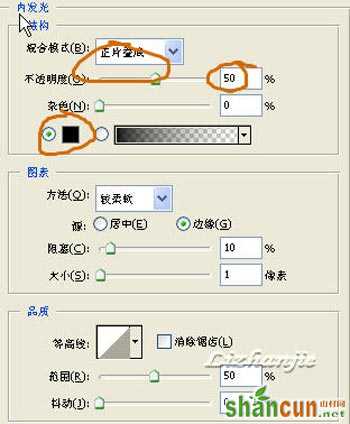
2、切换到图层面板,调出文字的图层样式,做出如图的改动.图2,图3,图4,确定。
 nmousewheel="return bbimg(this)" onload="javascript:resizepic(this)" border="0"/>
图2
 nmousewheel="return bbimg(this)" onload="javascript:resizepic(this)" border="0"/>
图3
 nmousewheel="return bbimg(this)" onload="javascript:resizepic(this)" border="0"/>
图4 3、创建新图层,确认前景色是黑背景白色.选择菜单命令"滤镜-渲染-云彩",在选择"滤镜-杂色-添加杂色",数量是10%,分布高斯,单色.图5。
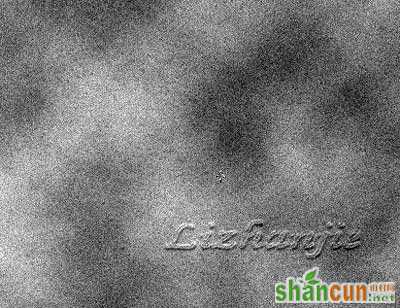 nmousewheel="return bbimg(this)" onload="javascript:resizepic(this)" border="0"/>
图5
4、选择"滤镜-模糊-动感模糊"角度0,距离30.“滤镜-锐化-锐化”在图层选项面板上,按alt键在图层1和字体图层间单击,获得金属拉丝效果。
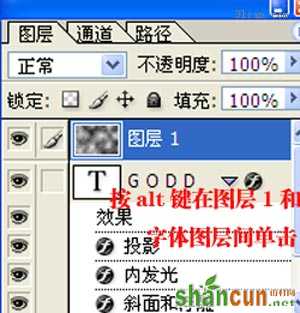 nmousewheel="return bbimg(this)" onload="javascript:resizepic(this)" border="0"/>
图6
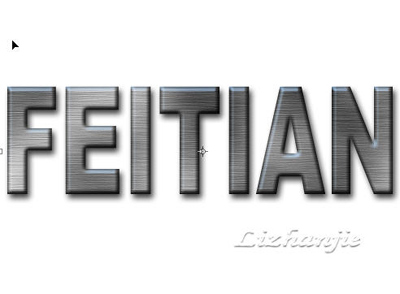 nmousewheel="return bbimg(this)" onload="javascript:resizepic(this)" border="0"/>
图7
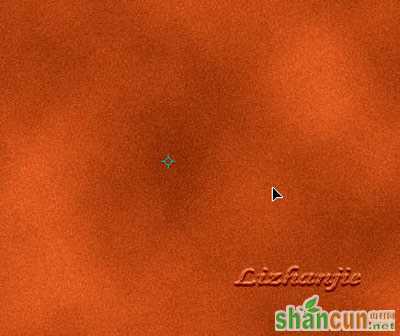
5、再创建一个图层,将前景色改成橙红色(r255g100b40)_背景褐色(_r140g40b0),使用云彩滤镜.再添加杂色,数量3%。
 nmousewheel="return bbimg(this)" onload="javascript:resizepic(this)" border="0"/>
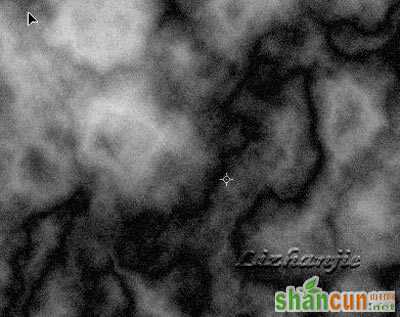
图8 6、切换到通道面板,创建新通道1,在该通道中进行"滤镜-渲染-分层云彩"再添加3%的杂色。重复使用一次,这次添加杂色2%。
 nmousewheel="return bbimg(this)" onload="javascript:resizepic(this)" border="0"/>
图9
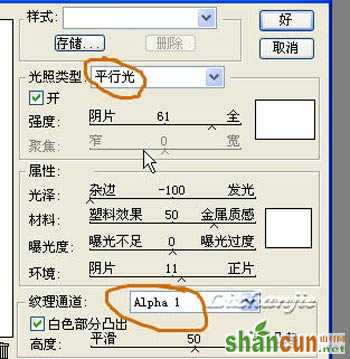
7、选择RGB模式,回到正常视图,选择"滤镜-渲染-关照"平行光,纹理选择通道1.并进行设置。
 nmousewheel="return bbimg(this)" onload="javascript:resizepic(this)" border="0"/>
图10
8、按下ctrl+g键将图层与下面两个图层编组.图11。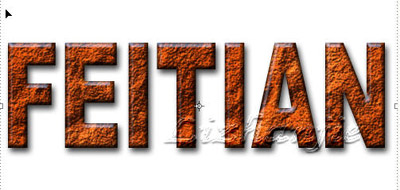 nmousewheel="return bbimg(this)" onload="javascript:resizepic(this)" border="0"/>
图11
8、选择橡皮工具,直径为39像素的喷溅画笔,模式为铅笔,在文字上擦除部分铁锈.漏出金属拉丝。最后为铁锈图层添加图层样式,图12,图13 好了,最终效果图14,像不像那?
 nmousewheel="return bbimg(this)" onload="javascript:resizepic(this)" border="0"/>
图12
 nmousewheel="return bbimg(this)" onload="javascript:resizepic(this)" border="0"/>
图13
 nmousewheel="return bbimg(this)" onload="javascript:resizepic(this)" border="0"/>
图14


