制作漂亮鲜花文字效果——最终效果图
 nmousewheel="return bbimg(this)" onload="javascript:resizepic(this)" border="0"/>
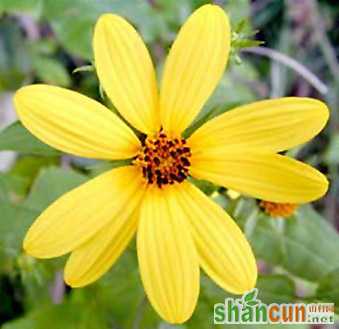
素材
 nmousewheel="return bbimg(this)" onload="javascript:resizepic(this)" border="0"/>
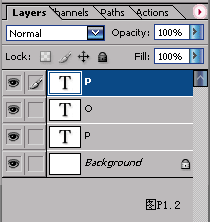
1.新建一个文档,用文字工具分别输入3个字母,形成3个单独的文字层。分别自由变换缩放,并移动到合适的位置。(图P-1.1,图P-1.2所示)
 nmousewheel="return bbimg(this)" onload="javascript:resizepic(this)" border="0"/>
 nmousewheel="return bbimg(this)" onload="javascript:resizepic(this)" border="0"/>
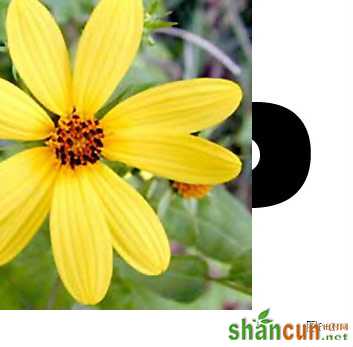
2.选择一张素材图片,用移动工具拖拽到当前的文件上,形成一个新图层。(图P-2所示)
 nmousewheel="return bbimg(this)" onload="javascript:resizepic(this)" border="0"/>
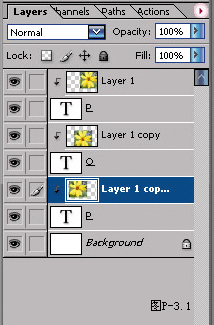
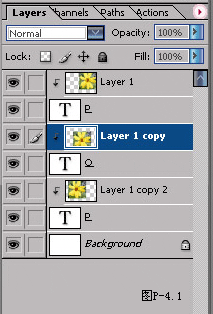
3.在素材图片层上按2次CTRL+J快速复制,然后分别把这3个图层移动到相应的字母层上,CTRL+G分别编组。(图P-3.1,图P-3.2所示)
 nmousewheel="return bbimg(this)" onload="javascript:resizepic(this)" border="0"/>
 nmousewheel="return bbimg(this)" onload="javascript:resizepic(this)" border="0"/>
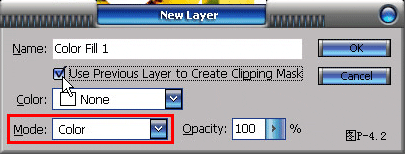
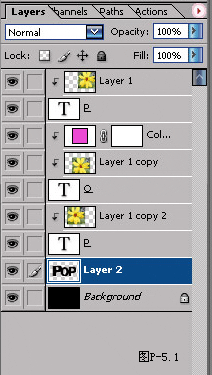
4.当前层是字母O上面的图片层,按住ALT键点选调整图层里面的solid color(纯色填充层),在弹出的对话框中,选择混合模式为color(颜色)。勾选编组的复选框。(图P-4.1,图P-4.2所示)
 nmousewheel="return bbimg(this)" onload="javascript:resizepic(this)" border="0"/>
 nmousewheel="return bbimg(this)" onload="javascript:resizepic(this)" border="0"/>
 nmousewheel="return bbimg(this)" onload="javascript:resizepic(this)" border="0"/>
 nmousewheel="return bbimg(this)" onload="javascript:resizepic(this)" border="0"/>
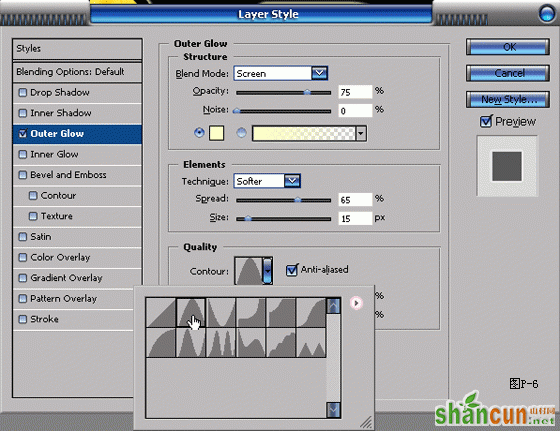
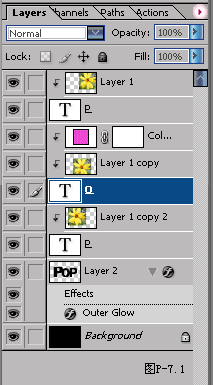
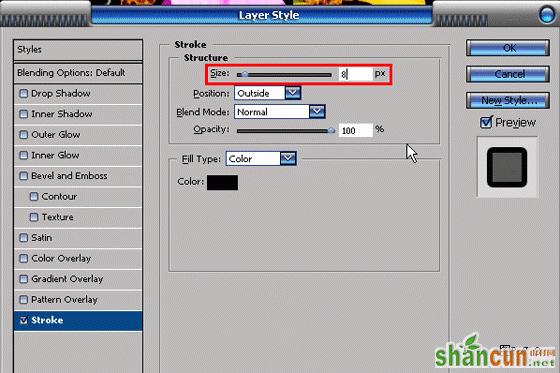
6.CTRL+D取消选取,对图层执行outer glow(外发光)的图层样式,在contour(等高线)选项中选择如图的等高线样式。并设置spread和size的数值。(图P-6所示)
 nmousewheel="return bbimg(this)" onload="javascript:resizepic(this)" border="0"/>
 nmousewheel="return bbimg(this)" onload="javascript:resizepic(this)" border="0"/>
 nmousewheel="return bbimg(this)" onload="javascript:resizepic(this)" border="0"/>
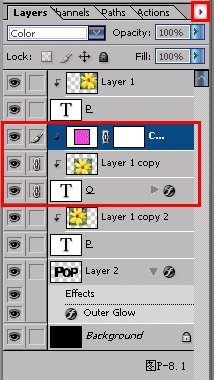
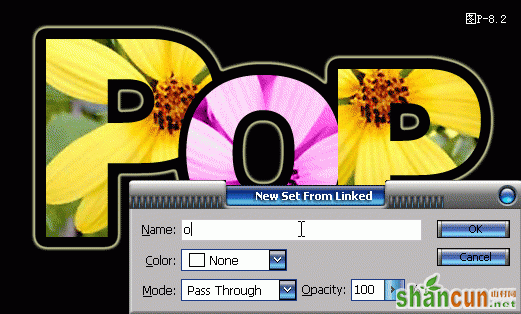
8.点选图层眼睛图标后面的空格,链接和字母O相关的3格图层,在图层面板的三角隐藏菜单中选择new set from linked(从链接图层建立新图层组)。(图P-8.1,图P-8.2所示)
 nmousewheel="return bbimg(this)" onload="javascript:resizepic(this)" border="0"/>
 nmousewheel="return bbimg(this)" onload="javascript:resizepic(this)" border="0"/>
9.把O的图层组移动到图层的最上面,完成整个操作。(图P-9.1,图P-9.2所示)。
 nmousewheel="return bbimg(this)" onload="javascript:resizepic(this)" border="0"/>
 nmousewheel="return bbimg(this)" onload="javascript:resizepic(this)" border="0"/>


