
本Photoshop教程介绍儿童照片的调色和美化。大致思路:先把照片整体调色,尽量调鲜艳一点,然后给人物磨下皮。再用模糊工具强化主体效果,把背景等模糊处理!
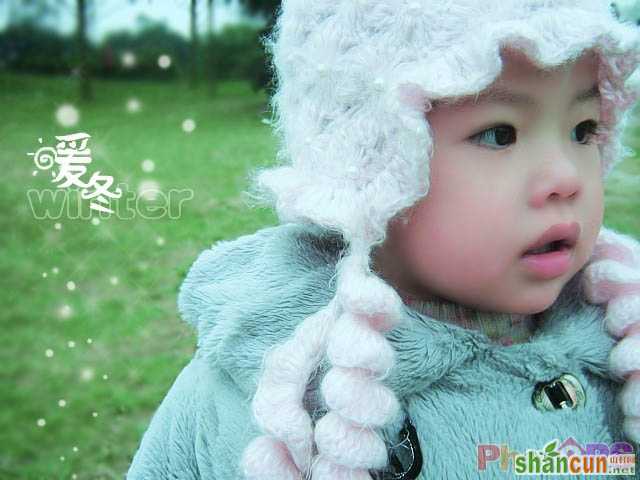
原图

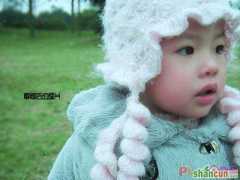
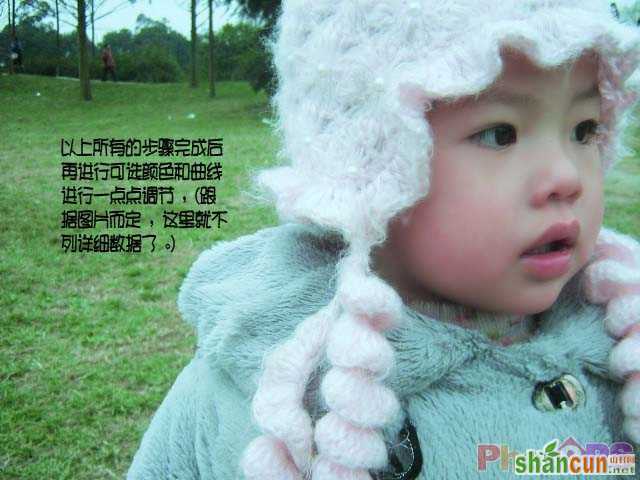
最终效果
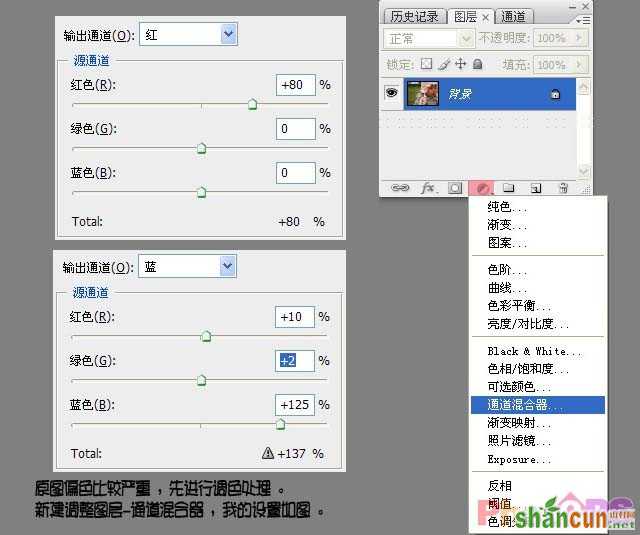
1、打开原图创建通道混合器调整图层,参数设置如下图。
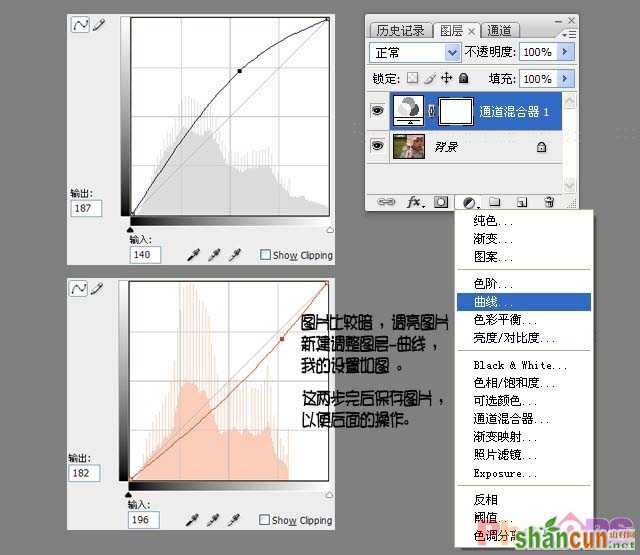
2、创建曲线调整图层,参数设置如下图。确定后合并所有图层。
3、执行菜单:滤镜 > 模糊 > 高斯模糊,数值为2。
3、按Ctrl + J复制一层,执行菜单:滤镜 > 模糊 > 高斯模糊,数值为2,确定后按Alt加上图层蒙版,用白色画笔在宝宝皮肤沙上涂抹。
4、创建可选颜色及曲线调整图层适当的把颜色调整一下。
5、新建一个图层按Ctrl + Alt + Shift + E盖印图层,适当的使用Topaz滤镜锐化一下。
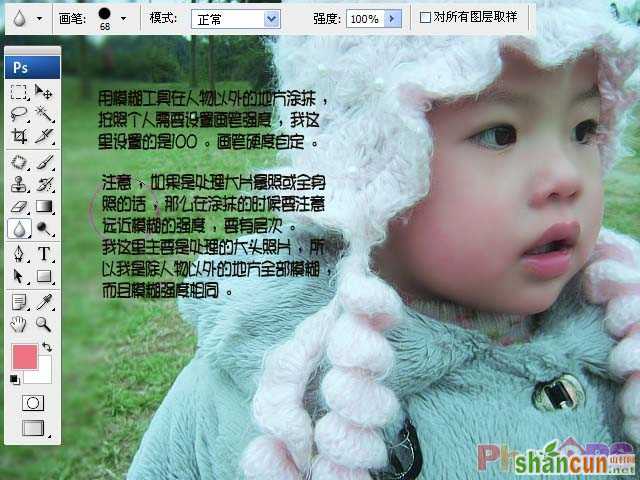
6、用模糊工具在人物以外的地方涂抹。
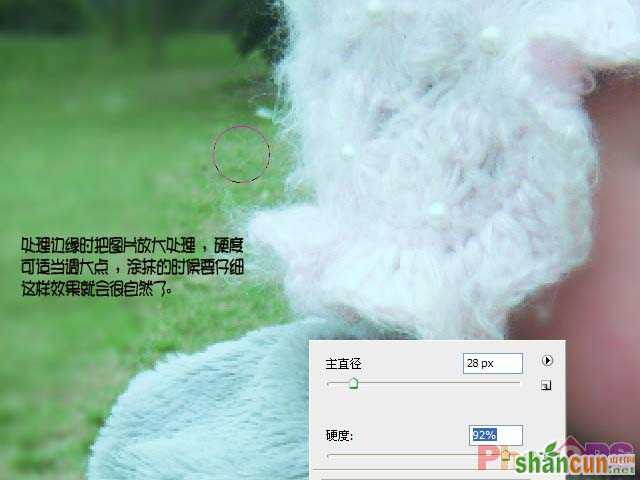
7、处理边缘时,模糊工具的硬度适当调大点。
8、大致处理好的图片。
最后加上文字和装饰笔刷完成最终效果。


