

原图

效果

效果2

详细教程
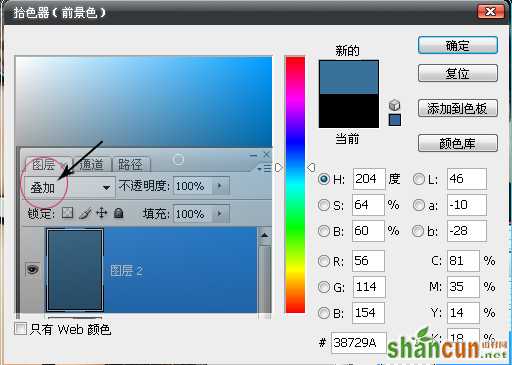
打开我们的图............... CTRL+J 复制一层背景层`(良好习惯必须) 再新建一层填充颜色(如图) 然后按左边的设置............
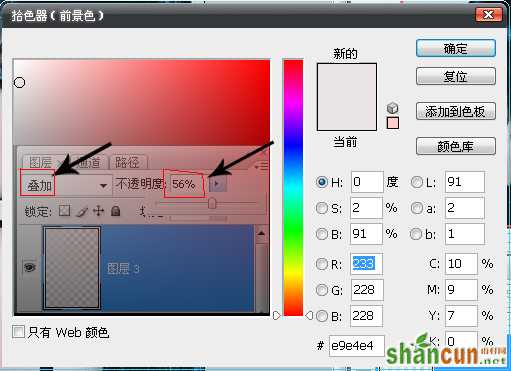
CTRL+AIL+~ 选取高光区然后直接新建一层别取消选择区```直接填充这样的颜色``然后按左边的设置
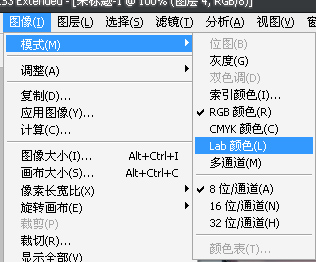
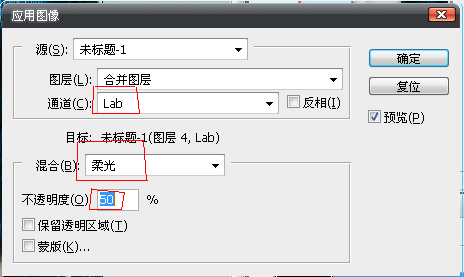
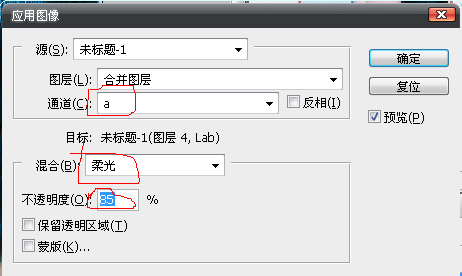
SHIFT+CTRL+AIT+E盖印图层 `然后```CTRL+J复制一层再转换模式........ 然后再应用图像如图设置 按顺序哦做完后把格式转换会RGB
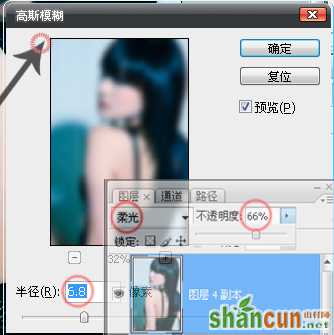
再复制一层CTRL+J 然后高斯模糊一下再按图设置
然后把原始的图片找出来 放到最图层的最上面按图设置....... 这是第一次效果完成 END


在看下最终效果


