
效果图:

原图:

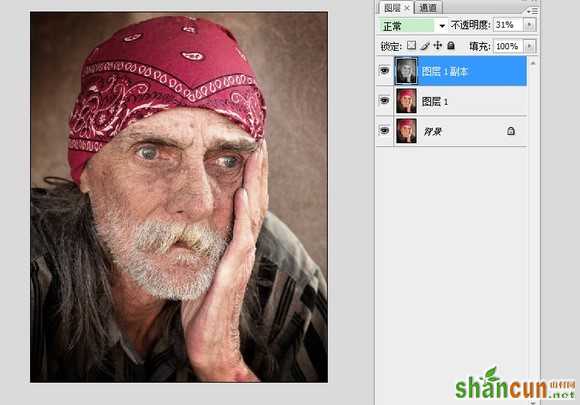
1、打开原图,复制两层,最上面一层图层1副本执行图像—调整—去色。
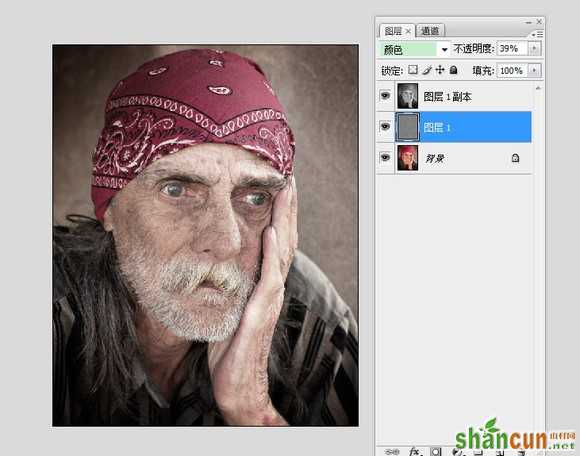
2、对图层1执行滤镜—其它—高反差保留,设置如下:

模式设为:颜色,降低不透明度。
按Ctrl+Alt+Shift+E盖印图层,模式设为:柔光,不透明度37%。就完成了!
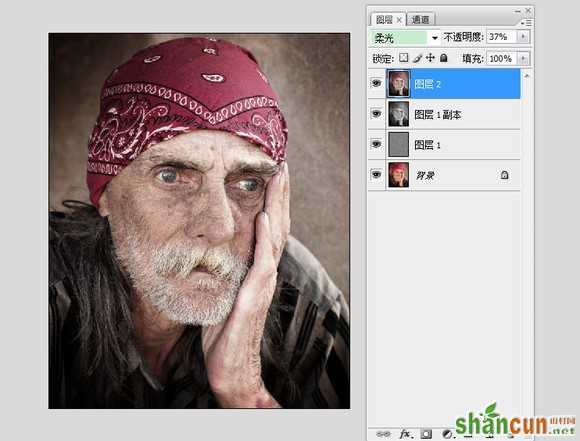
最终效果!
效果图:
原图:
1、打开原图,复制两层,最上面一层图层1副本执行图像—调整—去色。
2、对图层1执行滤镜—其它—高反差保留,设置如下:
模式设为:颜色,降低不透明度。
按Ctrl+Alt+Shift+E盖印图层,模式设为:柔光,不透明度37%。就完成了!
最终效果!

手机看新闻


网站客服
法定工作日
8:30-17:30
微信扫描关注


