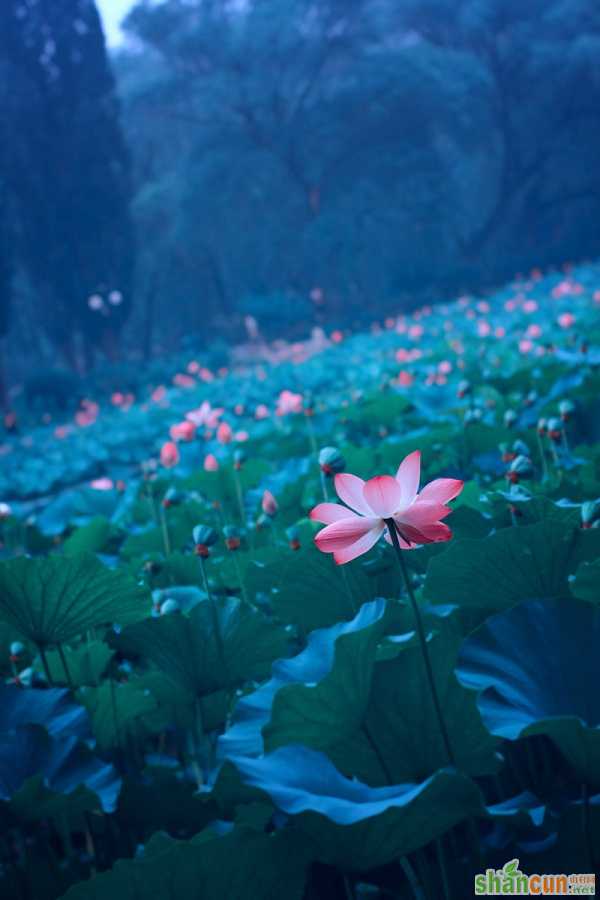
介绍PhotoShop在LAB色彩空间下制作迷幻色彩荷花,主要是在LAB模式下来完成了,方法挺简单的,喜欢的同学可以一起来学习一下!
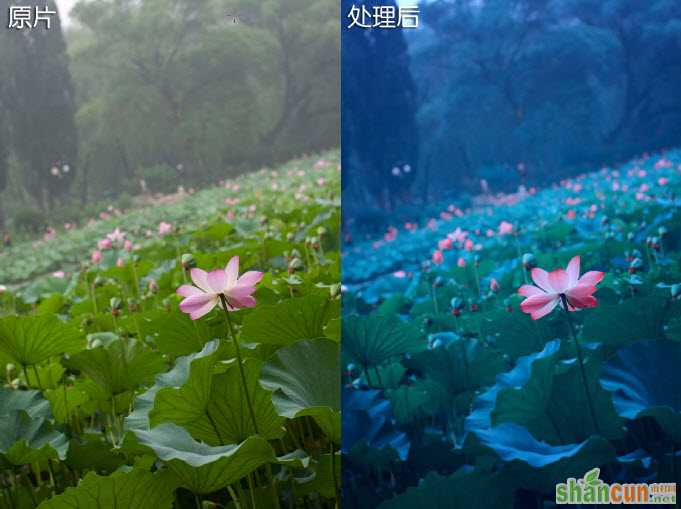
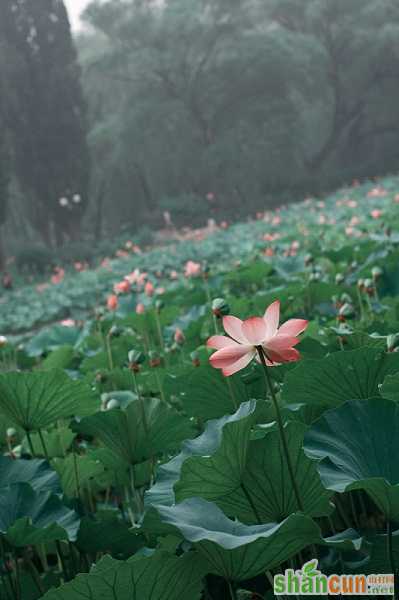
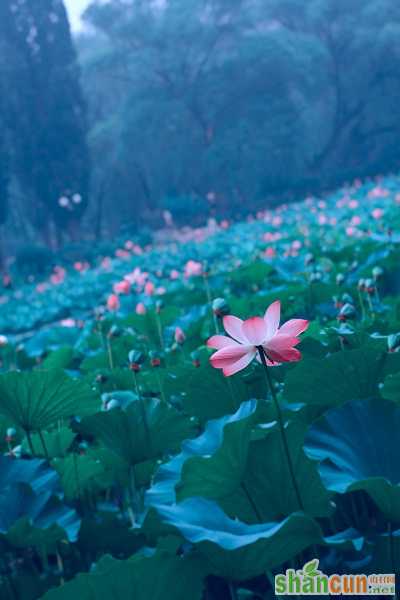
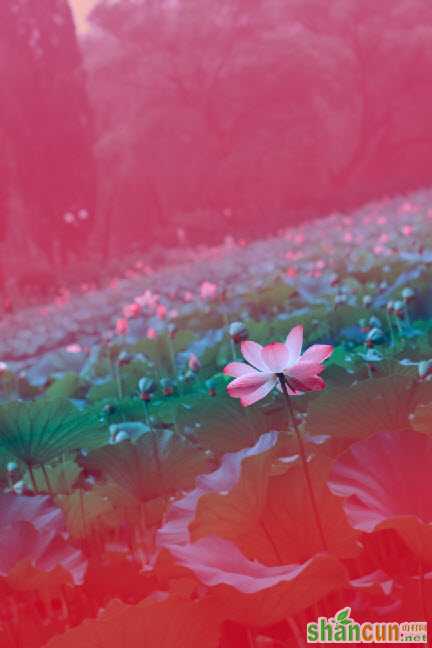
先看效果对比图:
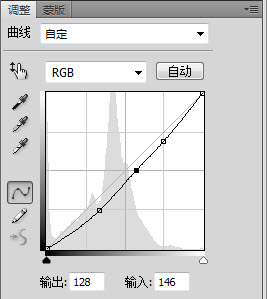
处理前的准备
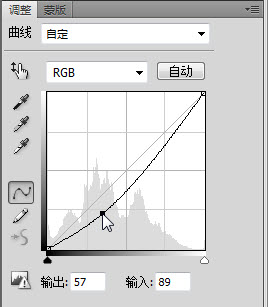
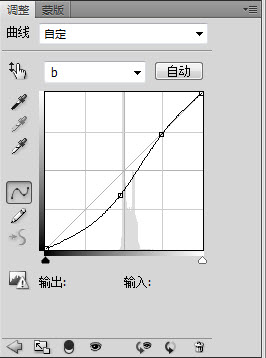
先用【曲线】压低亮度,便于营造气氛
然后【图像->模式->LAB】转到LAB空间下操作
弹出窗口中选择【合并】
LAB下混合通道信息
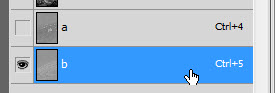
进入【通道】窗口按住Ctrl键,点选【A】
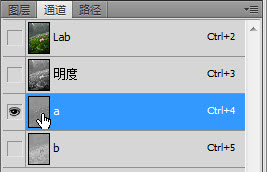
【A】通道被载入,按下Ctrl+C复制选区
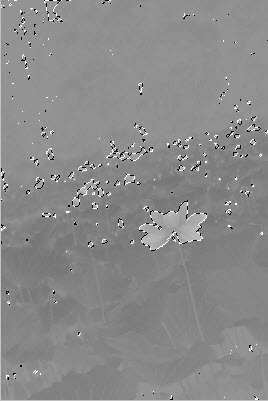
选择【B】通道,按下Ctrl+V,粘贴之前的选区,即来自【A】通道的色彩信息
随后图片色彩有所变化
【A】通道的红/绿信息被复制到了【B】通道,由图可见荷叶以及荷花的变化 LAB下曲线操作
添加【曲线】,对【A】【B】通道分别处理
对【A】通道操作将增加绿/红的鲜艳度
对【B】通道操作将使画面整体色调偏蓝,以营造一种迷幻的氛围
效果:
制作景深
合并所有图层并回到【RGB】色彩下,选择【快速蒙板】工具
【快速蒙版】按钮为按下时,选择【渐变工具】中的【对称渐变】
以地平线为对称轴创建选区
按下Shift+Ctrl+I,反选
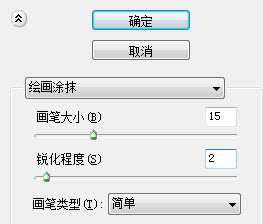
使用滤镜->艺术效果->绘画涂抹
设置如下(根据图片适当调整)
保持选区载入的状态
使用 滤镜->模糊->高斯模糊
设置为4(根据图片尺寸适当调整)
制作暗角
添加【曲线】图层,压低亮度
选择该图层的【蒙板】
使用【渐变工具】下的【径向渐变】
以画面中心为起点,制造一个球状蒙板
完成整体效果如下!