
很多朋友都会觉得专业影楼拍出来的照片特别漂亮,自己手中的数码相机怎么也得不到那样的效果,其实影楼除了器材更优秀外,一整套Photoshop技术也是提升照片素质的关键,这次为大家带来影楼常用的调色教程,能让照片增色不少的喔!
先看看原图和效果图:
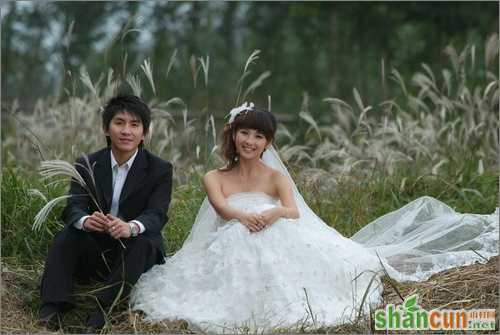
原图

效果图
一、打开原图,ctrl+J复制一层,执行图像-调整-色阶-自动色阶,或者shift+ctrl+L快捷键执行自动色阶。
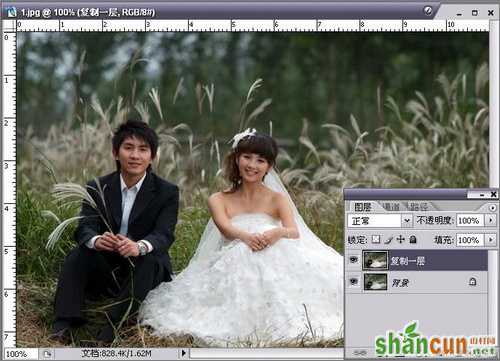
图1
二、建立可选颜色调整层,设置参数如图所示:
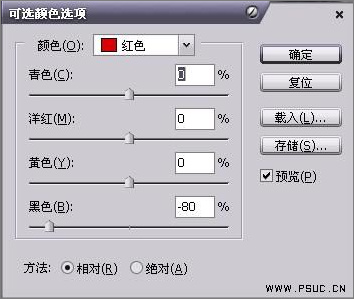
图2
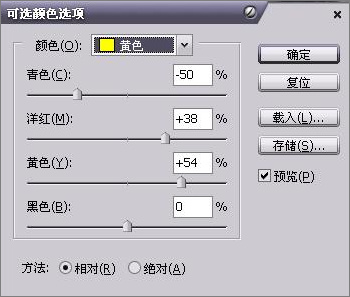
图3
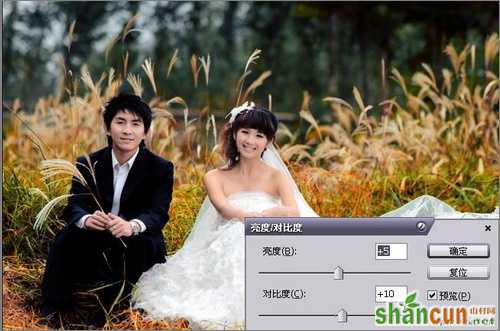
图4
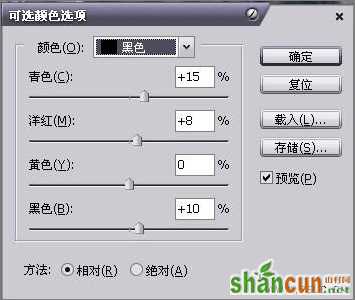
图5
得到如下效果:
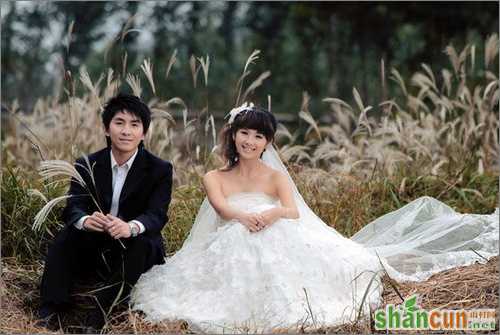
图6
三、再建立色相/饱和度调整层,用吸管工具吸取人物身后的草地颜色,也可以直接选择红色通道调整,设置参数如图所示:
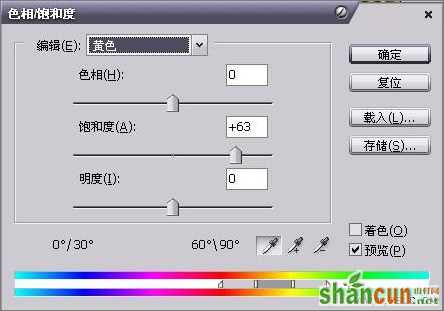
图7
四、选择画笔工具,用黑色画笔在色相/饱和度蒙版层上把人物皮肤擦出来,尽力不要碰到背景,效果如图所示:
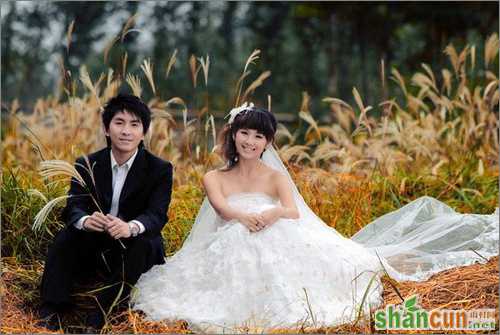
图8
五、再做亮度/对比度调整层,设置参数如图:
图9
六、继续做调整图层,曲线,设置如图所示:
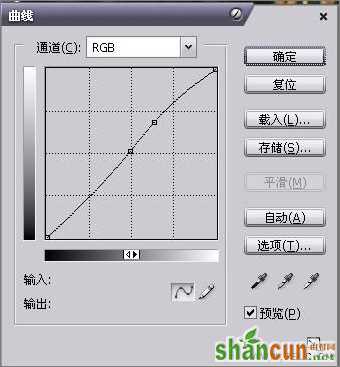
图10
七、为了使人物和背景看起来更融洽,做照片滤镜调整层,设置参数如图:
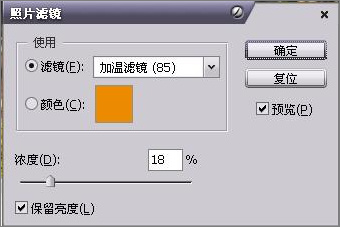
图11
八、shift+ctrl+alt+E,盖印可见图层,执行 滤镜-锐化-USB锐化,设置参数如图:
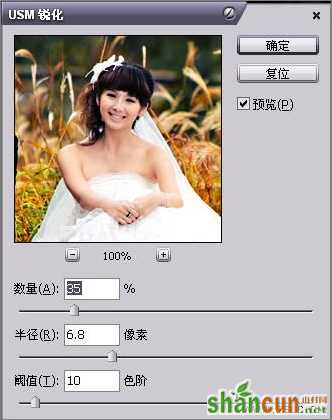
图12
最终效果:
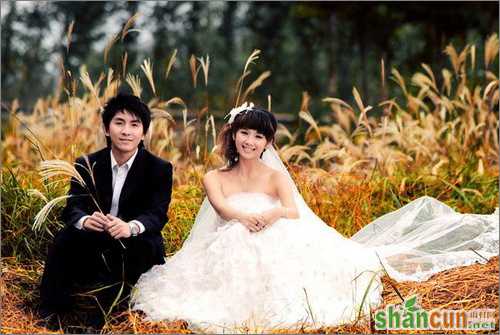
图13


