
本节课程中,PS学堂告诉你如何用Photoshop模拟旧相机颜色和光线曝光效果。主要用曲线以及纯色调整层来实现效果。
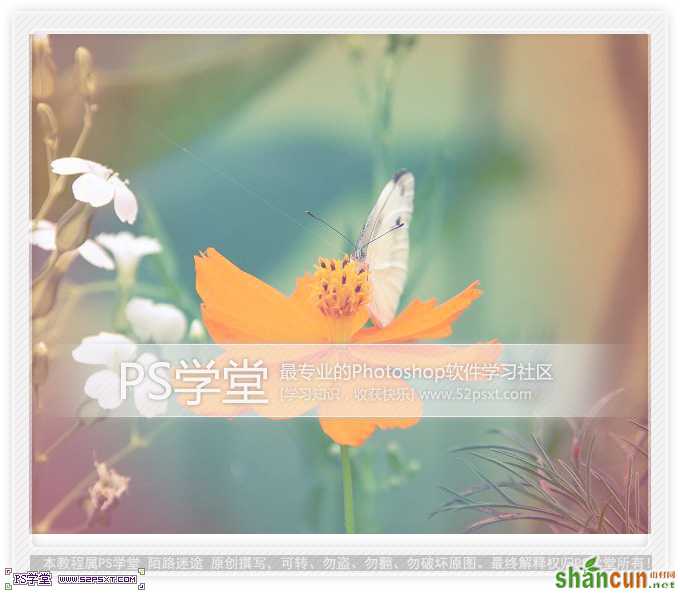
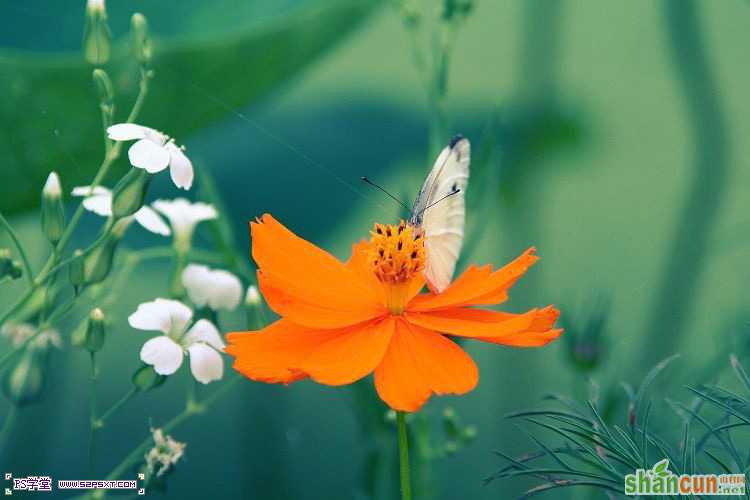
效果图:
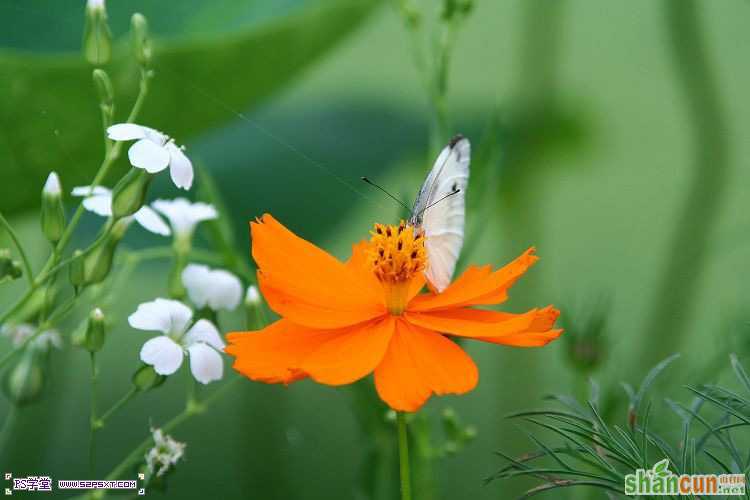
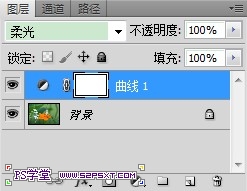
1、打开照片 添加曲线调整图层
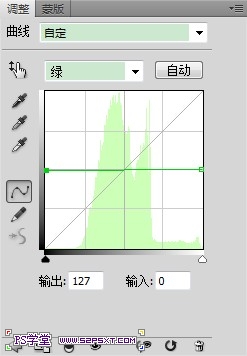
调整绿通道
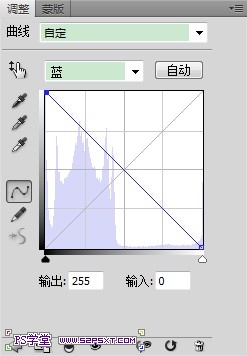
调整蓝通道
改变图层模式为柔光
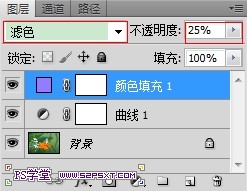
2、添加一个颜色为#927cff的纯色填充图层并设置图层模式为滤色,不透明度25%

3、添加一个渐变调整层 设置为白色到透明,缩放150%,角度为45
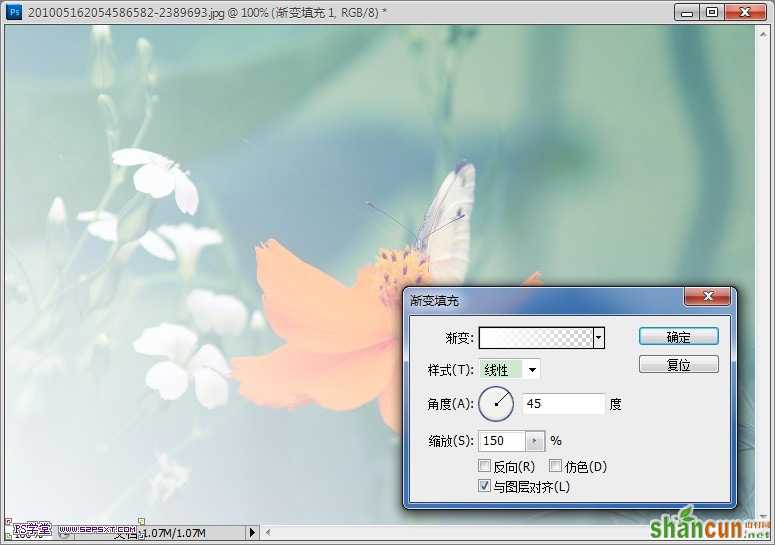
设置渐变调整层模式为柔光,不透明度75%
4、再次添加颜色为#ffdc7f 的纯色调整图层,设置混合模式为柔光,不透明度50%
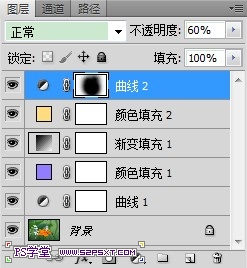
5、最后我们添加一些光线外泄的效果
新建一个曲线调整层,红通道曲线向上拉,绿色和蓝色通道曲线向下拉

这将影响整个图层,添加蒙版擦除不想要的部分。并设置该曲线调整层不透明度为60%
最终效果!


