
先发原图和效果图~
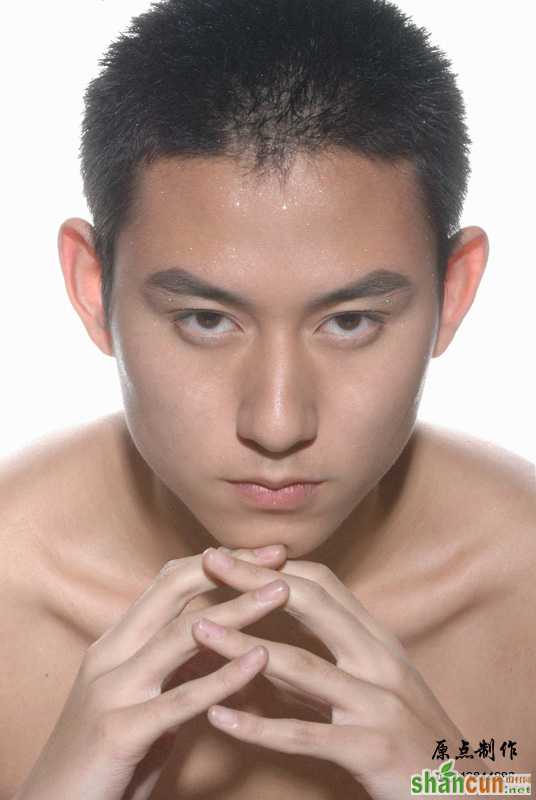
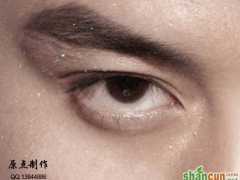
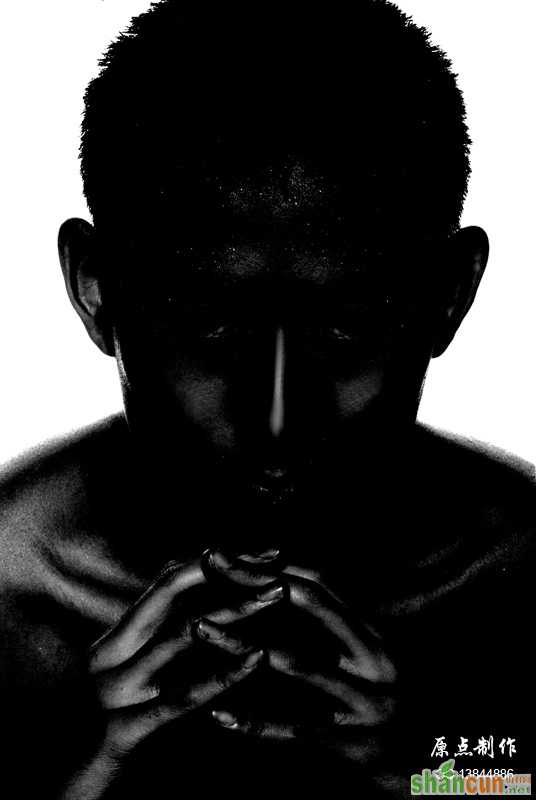
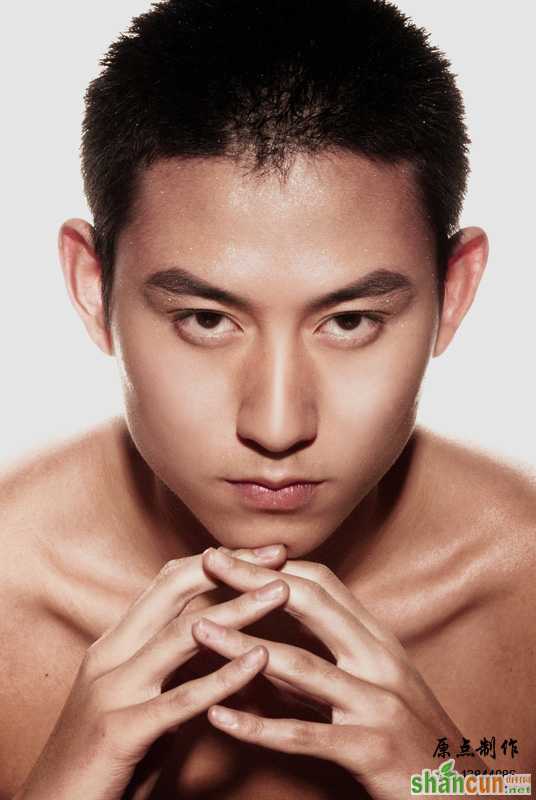
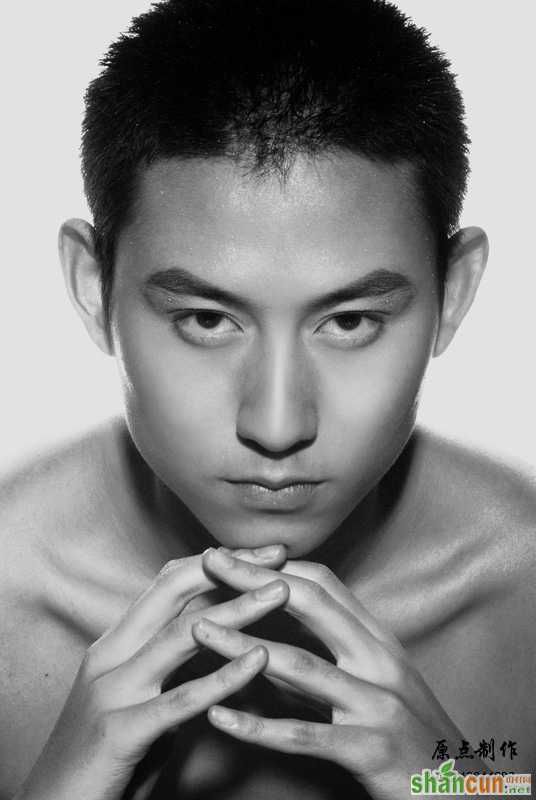
原图:
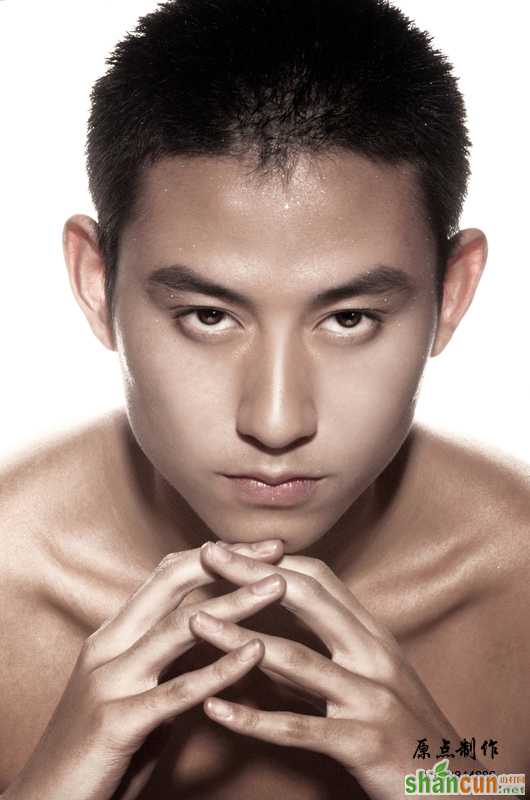
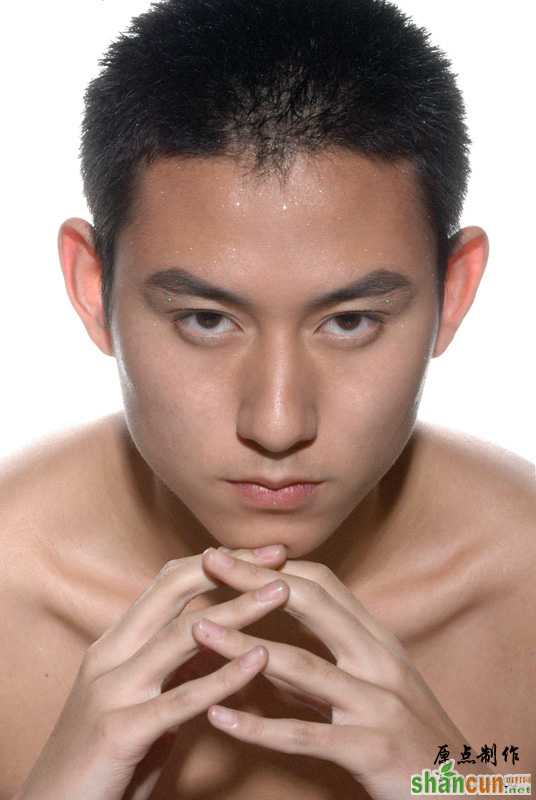
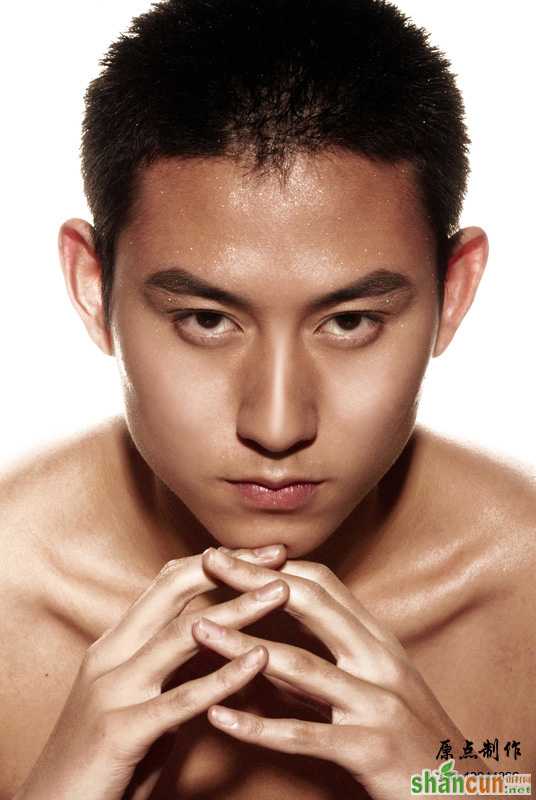
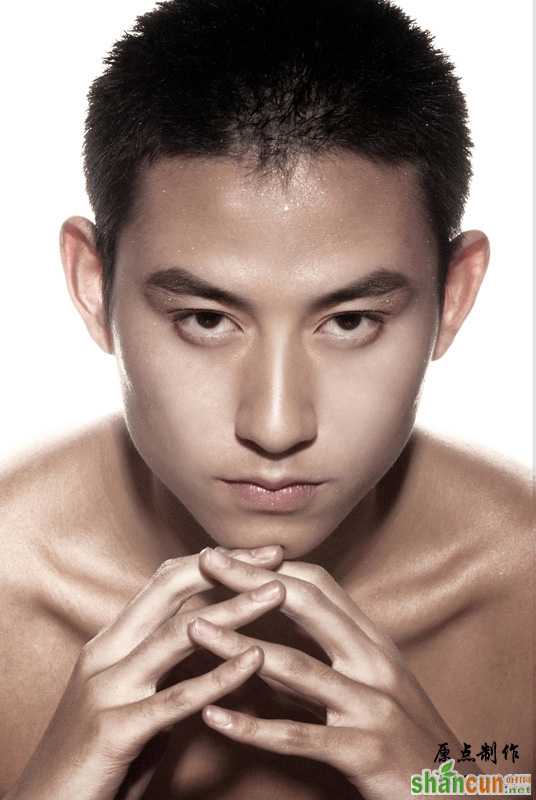
效果图:
下面开始了~
1首先在PHOTOSHOP CS中打开我们要制作的照片,进行简单的对比度的处理。
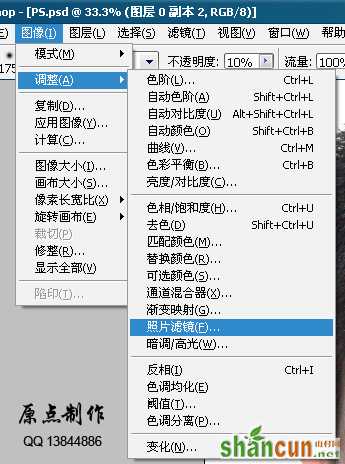
2为了达到我想要的古铜色肌肤效果,给照片进行滤镜上色操作:选择菜单栏“图象”/“调整”/“照片滤镜”(如图03)。
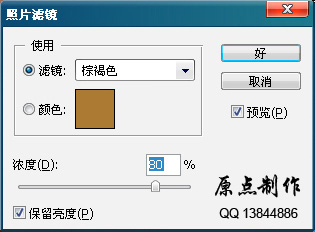
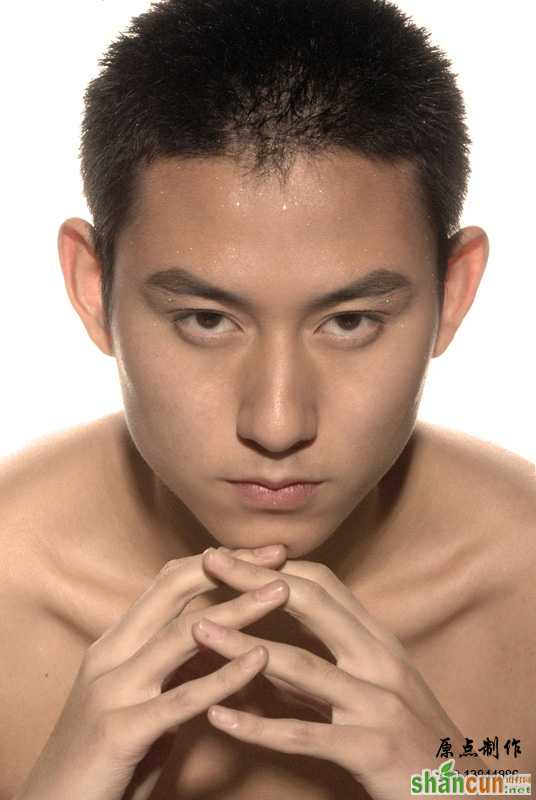
在弹出的“照片滤镜”窗口中选择“棕褐色”滤镜,“浓度”为80%,选择“保留亮度” (如图04),效果如图05。
3复制图层,柔光效果(如图06),适当调整饱和度和色相(如图07)。
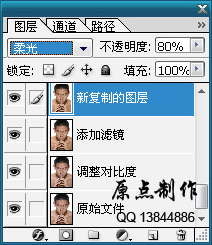
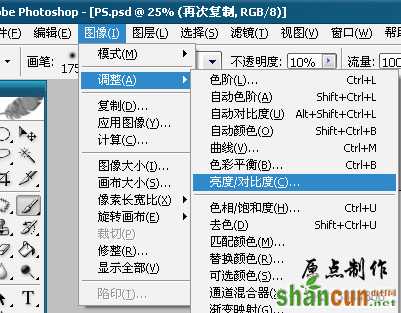
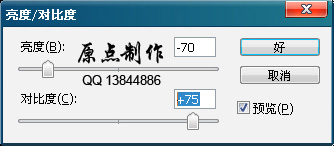
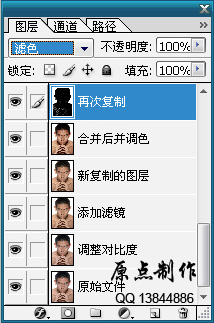
4复制这个图层,去色为黑白效果(如图08、09),调整对比度,亮度为-75,对比度为+75(如图10、11),这样调整的目的是将画面的高光部分
分离出来(如图12)。然后图层样式为滤色(如图13),这样更改后的照片便是我们想要的油光效果(如图14)。

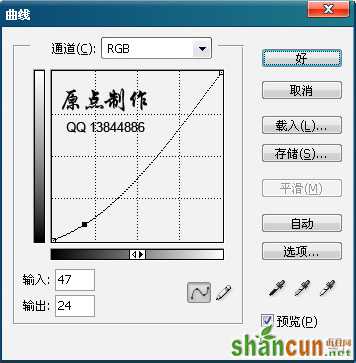
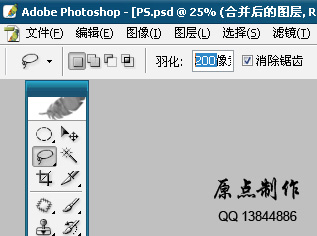
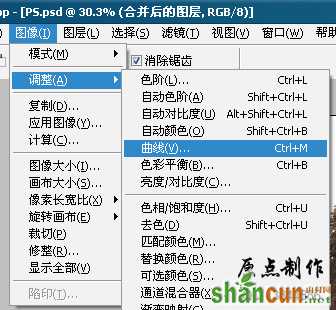
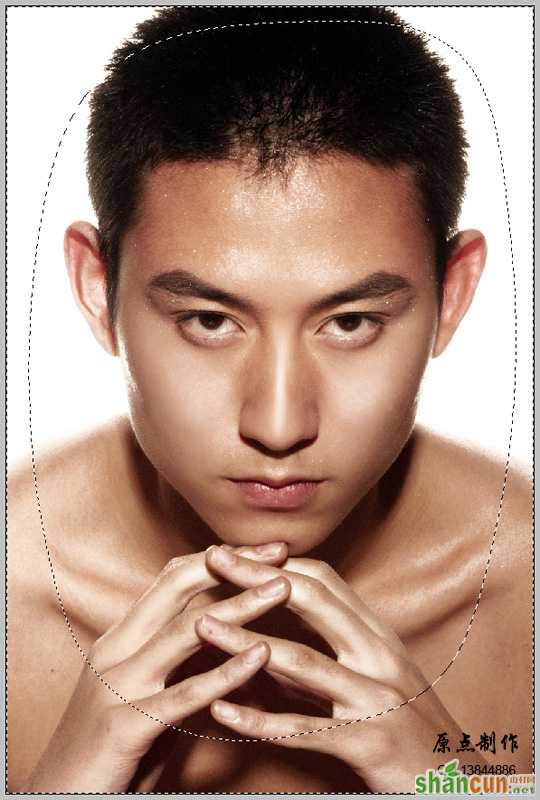
5向下合并图层并适当调整色彩,然后选择套索工具,将羽化值调整为200(如图15),选取我要提亮的额头部分(如图16),选择菜单栏“图象”/
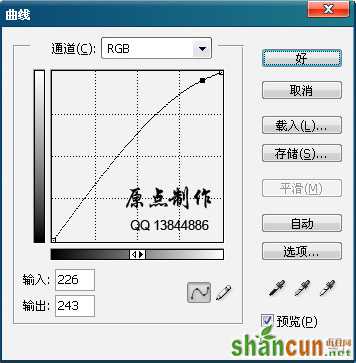
“调整”/“曲线”(如图17),进行适当提亮(如图18)。然后再把图片的四角进行压暗处理,先框选不压暗的部分(如图19),再使用“Shift+Ctrl+L”
进行反选(如图20),然后进行曲线调整(如图21)。调整后的图片影调就更加舒服(如图22)。

6复制这个图层,将其进行去色处理(如图23),然后把这个黑白图层的透明度调整为35%,这样整个画面的色彩就不至于太艳丽(如图24)。
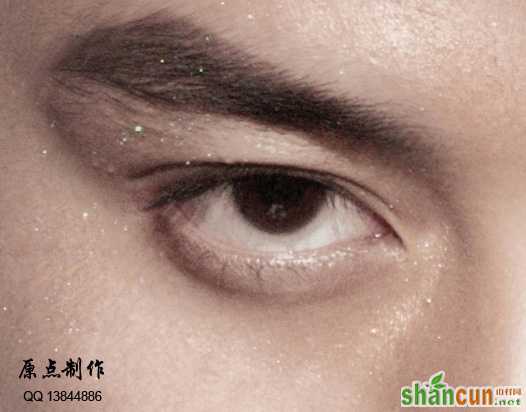
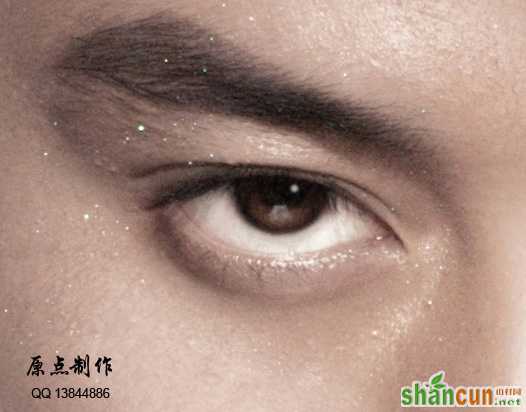
7这时候我的后期工作已经接近尾声了,但是发现模特的眼神有点不够犀利(如图25),再结合一点PHOTOSHOP的绘画功能,
使用画笔工具增加适当的高光和反光(如图26),这样人物看起来就一下有神了(如图27)。
最终效果图!


