
原图

最终效果图

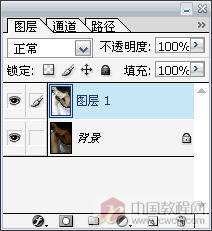
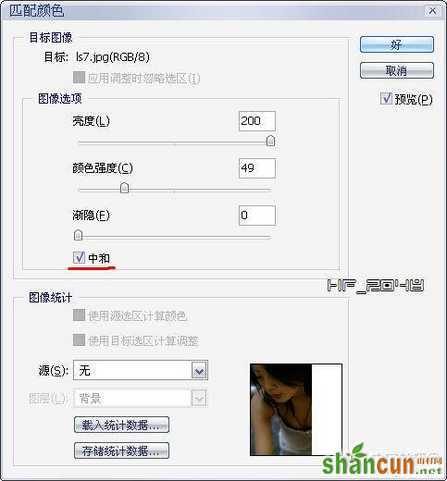
1.调偏色的方法很多,我这里用最简单最快捷的一种方法来调,先复制一层,执行"图像-调整-匹配颜色",把"中和"选项打勾,增加亮度,减小颜色强度。


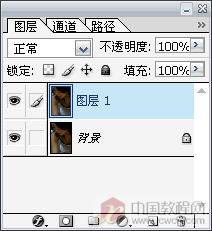

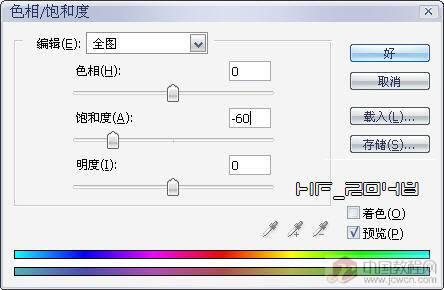
2.这下变亮了,但颜色显得太深,看上去不舒服,我们再复制一层,按Ctrl+U,执行"色相/饱和度",降低饱和度。

3.色彩上看着舒服了,可噪点太大,还是不够舒服,这下只能磨皮了。
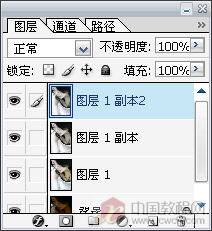
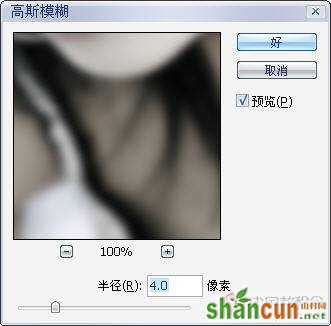
再复制一层,执行"滤镜-模糊-高斯模糊",然后按住Alt键点击"添加蒙板"按钮,给图层添加一个黑色蒙板,也就把模糊的这层全部档住了。

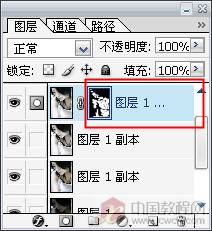
4.然后选择柔一点的白色画笔,在蒙板上对有噪点的地方涂抹,使其显示出高斯模糊,这样看上去就比较光滑,这就是简单的磨皮了。

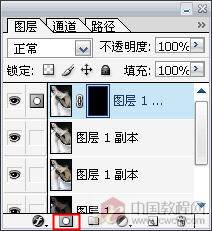
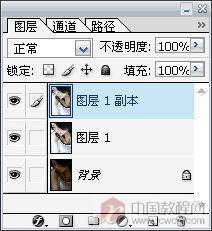
5.为了使色调更鲜明,我们还在对其进行调色处理。新建一层,按Ctrl+Shift+Alt+E,执行盖印可见层(如图)。再按Ctrl+M,进行"曲线"调整。


6.这步用加深和减淡工具作局部的处理,如给头发加深一些,嘴唇减淡一些等等。

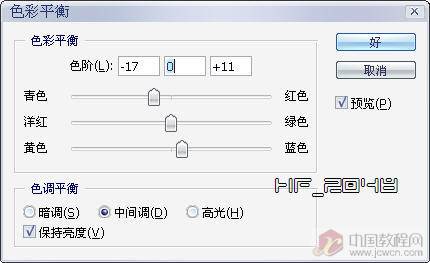
7.最后我们调一下整体色调就可完工了。执行"图像-调整-色彩平衡",给它加种泛蓝的冷色(如图)。
来看看最终效果吧:


