
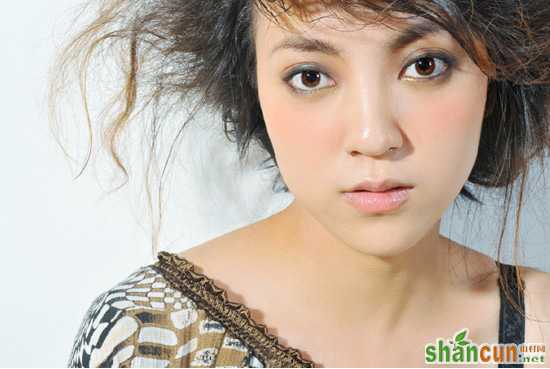
原图:
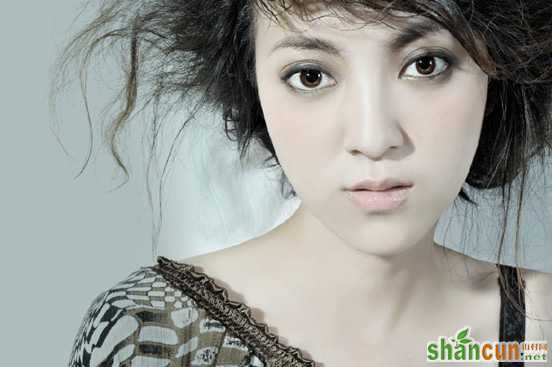
效果图:
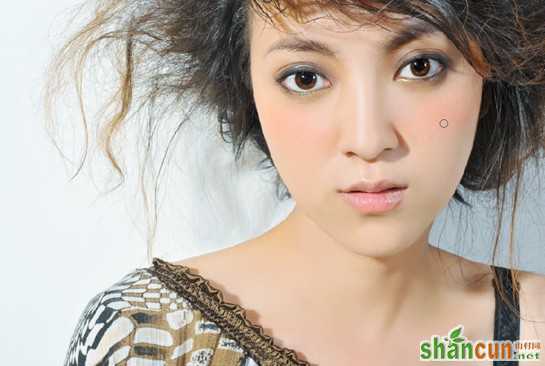
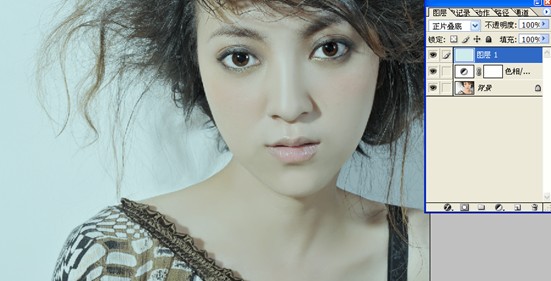
1、基础调片,这里我就不再多讲,主要是修饰美化人物皮肤和校正面部结构,以及校正人物肤色使肤色达到一致,如图所示。
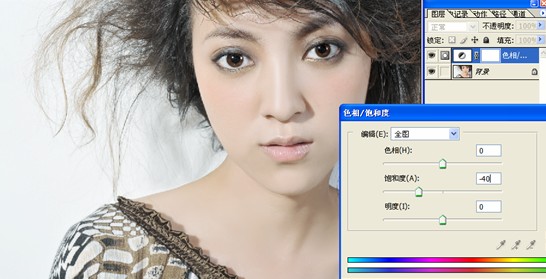
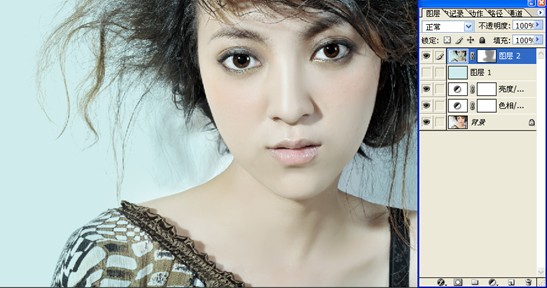
2、创建色相/饱和度调节层,将画面饱和度降低40,效果如图。
3、新建一个图层,填充颜色#D0EBEB(当然你也可以选择其他颜色),将其图层模式改为“正片叠底”,如图所示。
4、在色相/饱和度调节层上面(图层1下面),创建亮度/对比对调节层,增加画面的明暗层次,效果如图。

5、新建一个图层,Ctrl+Shift+Alt+E叠加盖印,为该图层添加蒙版,用快速蒙版将人物肤色部分选中,将前景色设为灰色,填充与蒙版中,
并将图层1隐藏,效果如图。
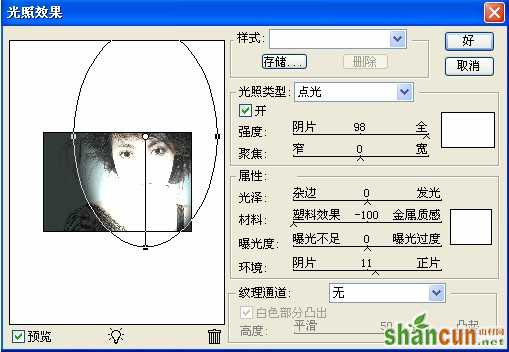
6、新建一个图层,Ctrl+Shift+Alt+E叠加盖印,执行滤镜—渲染—光照效果,为画面添加光效,效果如图。
7、将(光照效果)图层3不透明度设为20%,再次执行色相/饱和度调节层,在编辑里选择青色,将画面青色饱和度降低15,得到最终效果。
最终效果图!


