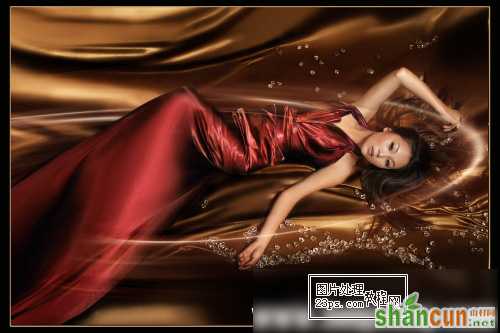
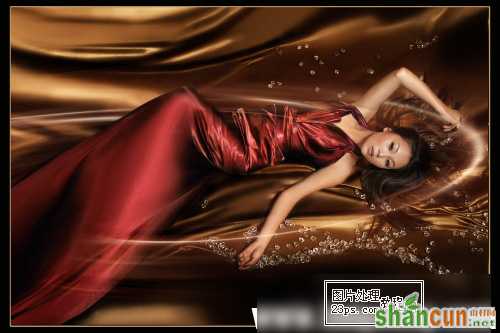
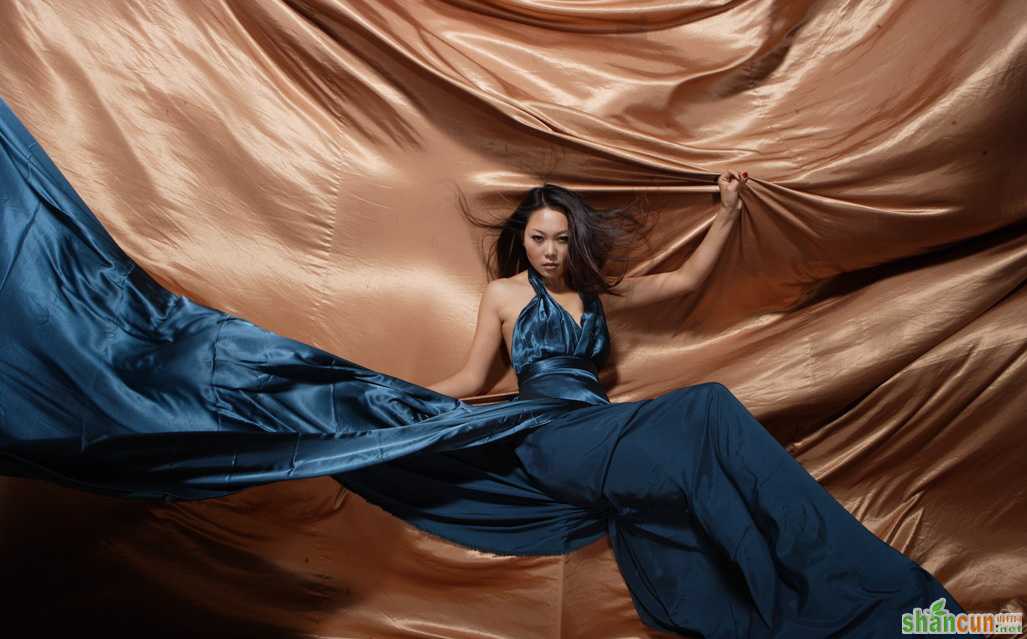
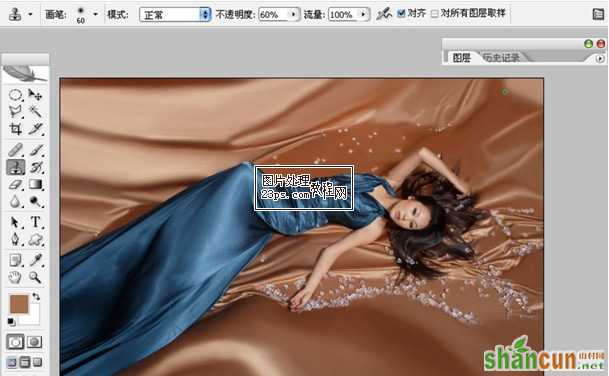
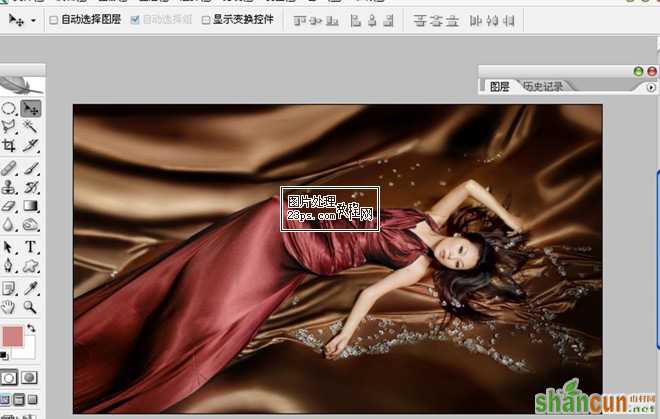
丝滑,柔顺,这些词是不是大多都出现在丝绸或者是我们最爱的巧克力身上呢?在图片中如果让丝绸像美味的巧克力一样,想过吗?在这里,就让我们一起来看看如何用photoshop来调出丝质柔滑的巧克力色调! 效果图:
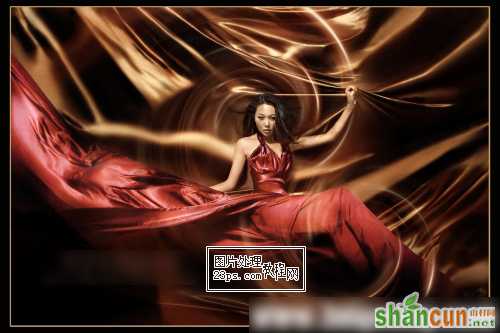
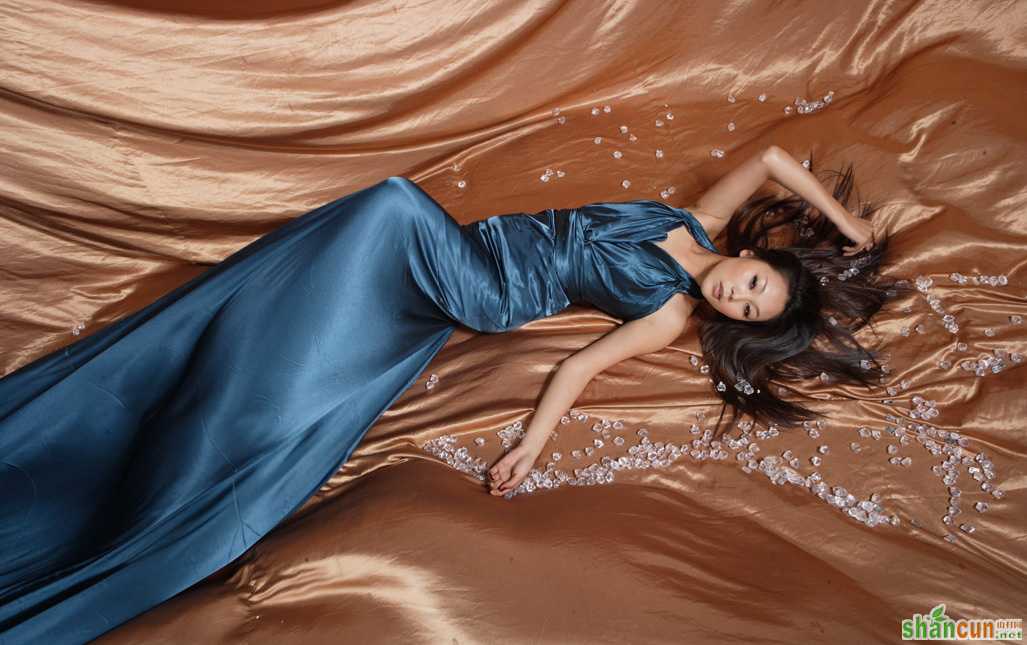
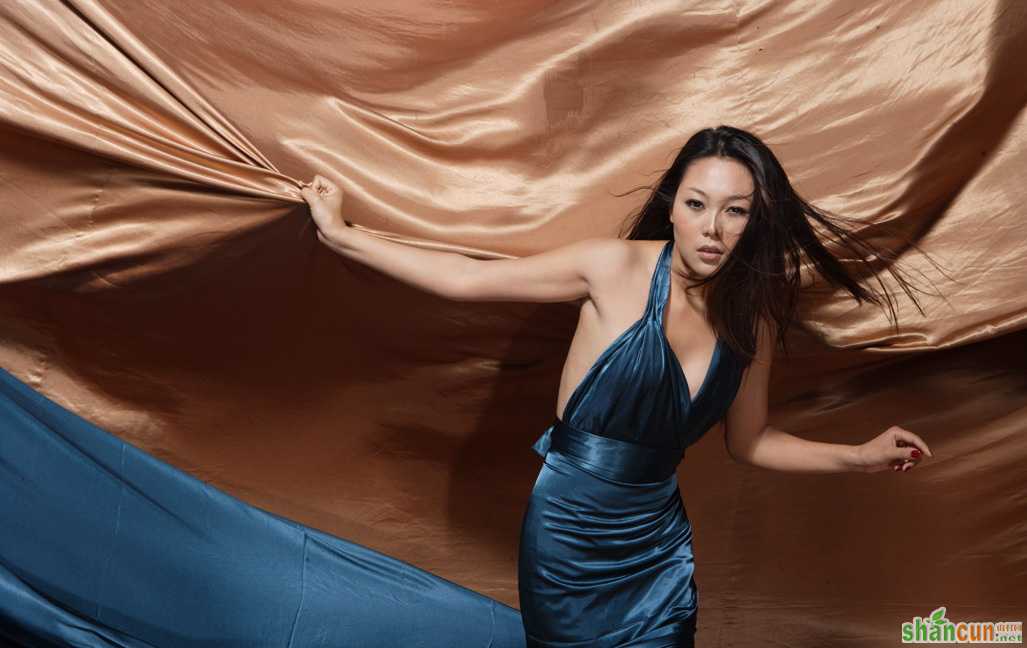
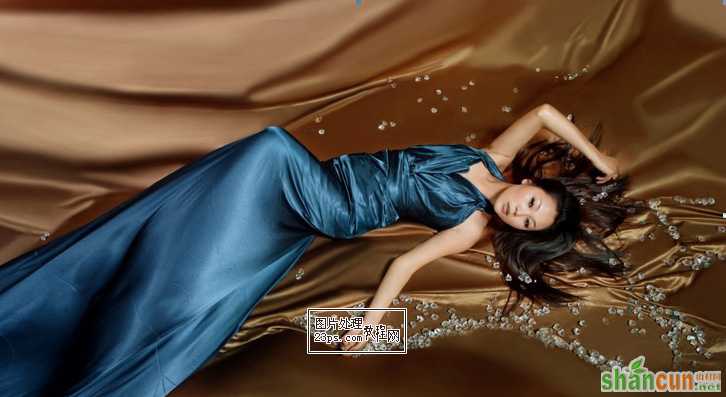
原片:
制作步骤:
(图1)首先,选择“图章工具”(图章工具参数设置:不透明度:50-100之间切换 流量:100)图章在photoshop中是比较常用的一个工具,可以使人物皮肤和物体表面光滑细腻,有光泽感。同样在这里我用到了这个工具来处理画面中背景的效果。
(图2)设定好工具参数后,按住Alt吸取背景,然后根据背景的高光、中间调、暗部,分别处理,把背景上的褶皱全部修掉,让背景更干净,光泽度更好。(注意事项:一定要保留背景比较大的层次,方便以后处理效果用)
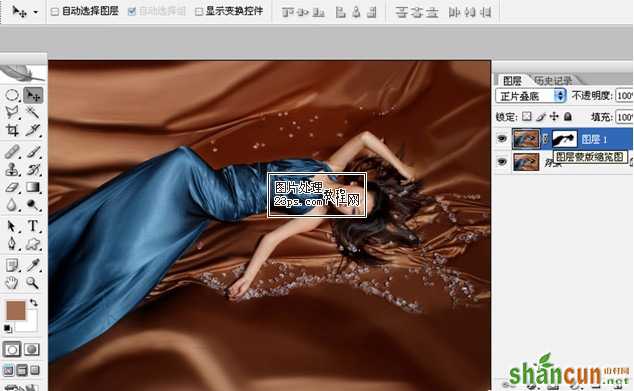
(图3)背景处理完后,Ctrl+J复图层,选择图层混合模式中的“正片叠底”选项,也相当于压暗照片的作用。用图层模式“正片叠底”照片的暗部层次细节保留的会很好,同时也会看到照片整体颜色的效果。
(图4)通过以上的步骤已经可以看到照片大体的色调了,选择“正片叠底”效果图层,单击图层面板下方,添加图层蒙板,选择“画笔工具”设置前景色为黑色,在图层蒙板中擦出人物保留背景颜色(注意事项:人物边缘细节要处理到位,不要出现明显的痕迹
(图5)处理完人物后在单击“图层缩览图”(也就是图层蒙板前的图层)在效果层上适当调整颜色,Ctrl+B打开“色彩范围”命令(选择-高光—“青色”值为-24% “黄色”值为+14%
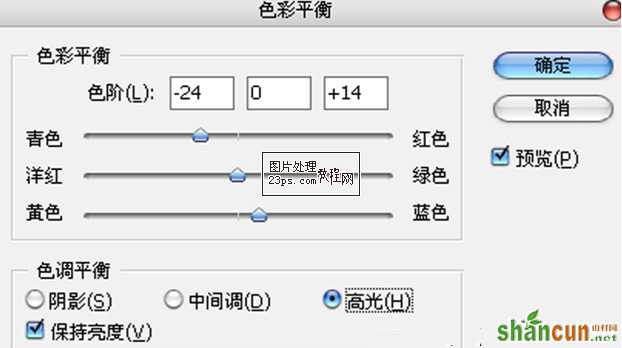
(图6)中间调-“青色”数值“-2%” “洋红”数值“+10%|”“黄色”数值“-84%”
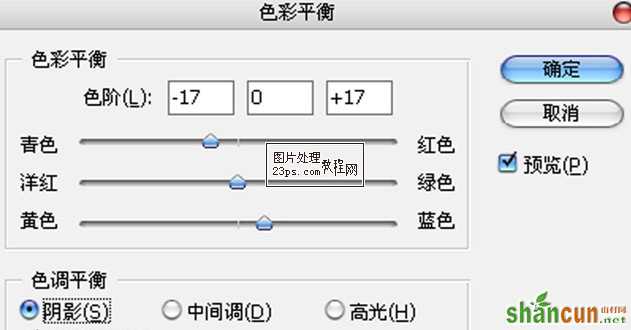
(图7)阴影-“青色”数值“-17%” “黄色”数值“+17%”
(图8)在调色过程中数值可以根据效果改变,为了达到更好的效果可以局部在调整一下颜色)
(图9)现在的色调已经差不多了,接下来就是背景。让背景更像巧克力我把背景比较大的褶皱加深,让层次感更突出更真实些。在这,用到了”加深工具“数值 “50%”,把背景中,暗部细节全部加深。这一步也是这张照片出效果的重点,也是为了强化整体影调感让背景更像巧克力。
(图10)局部加深后图片效果,在加深的时候要灵活运用“加深工具”根据效果调整数值,为了达到更好的效果。
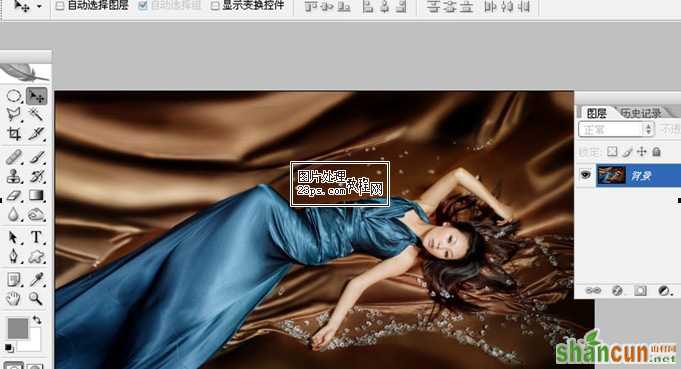
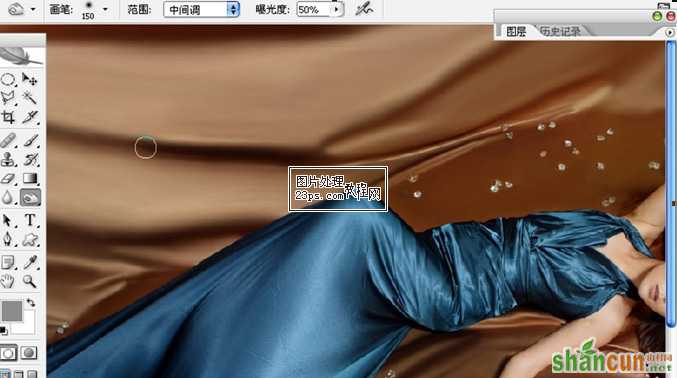
(图11)让整体照片颜色更协调,把人物的衣服颜色改变了一下。
在这用到了,“色相/饱和度”选择编辑中的任何一种颜色,用吸管工具点击人物的衣服,这是你会发现编辑中会自动默认为青色,这时在调整色相选择红色,在加点饱和度让颜色更亮。
“色相/饱和度”数值设置“编辑”“青色”“色相”数值+158% “饱和度”数值+7%。
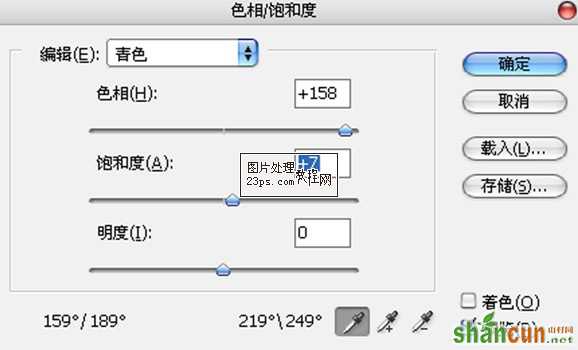
(图12)这样衣服的颜色和背景的颜色整体会更统一些。注意:在调整“色相”时衣服会有些“色块”。用上面(图2)讲过处理背景的方法,在调整衣服,这样细衣服的质感也会加强。
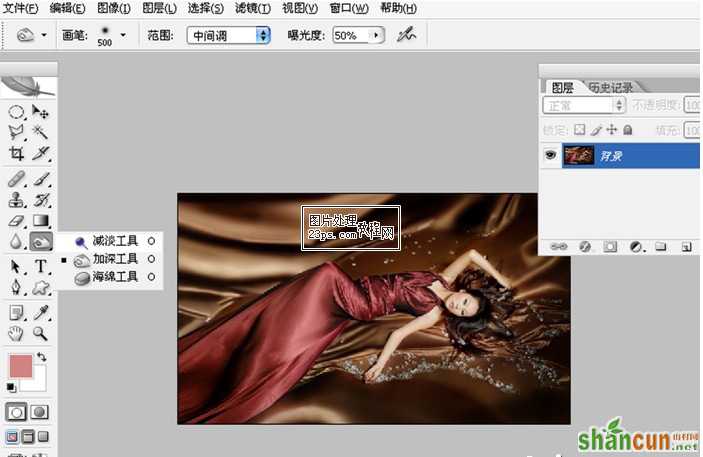
(图13)让照片背景光泽度更好,选择“减淡工具”—“高光”—数值“50%”,把背景比较量的区域,在用“减淡工具”把衣服和背景上的水晶都加些高光让照片更亮丽。
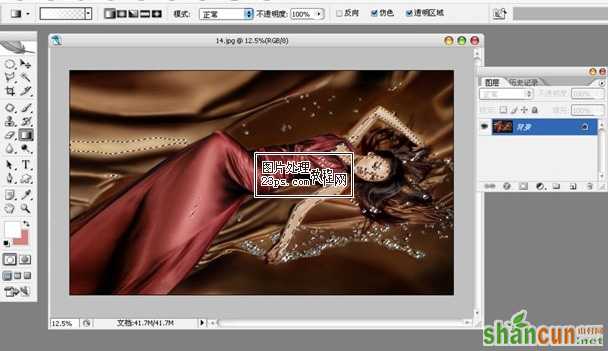
图14)ctrl+Alt+~自动提取照片中的高光区域
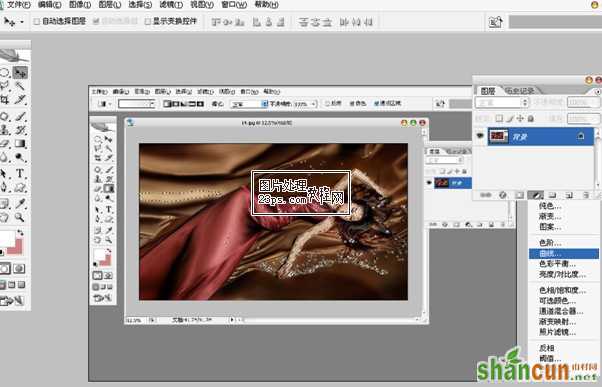
(图15)调整照片背景颜色和肤色,选择调整图层“曲线”。
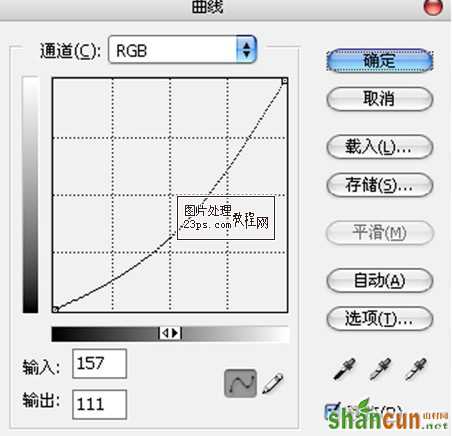
(图16)通道——“RGB”曲线数值:(输入157 输出111)这样整张照片的颜色会柔和一些,不会很生硬。
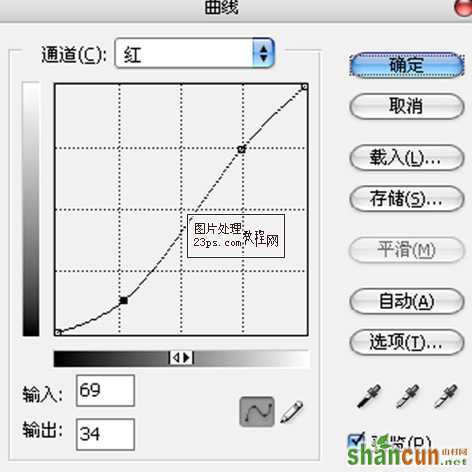
(图17)曲线选择红色通道,数值输入69 输出34)
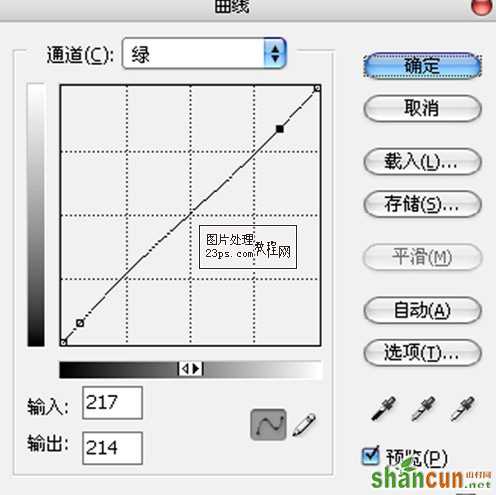
(图18)曲线选择绿色通道,数值输入217 输出214)
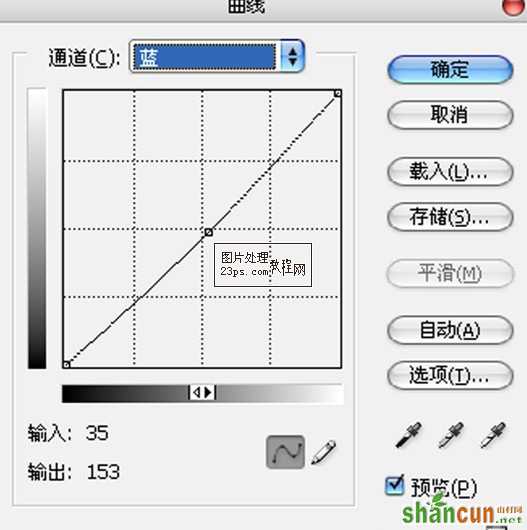
(图19)曲线选择蓝色通道,数值输入35 输出153)
完成最终效果!