来看看对比图:
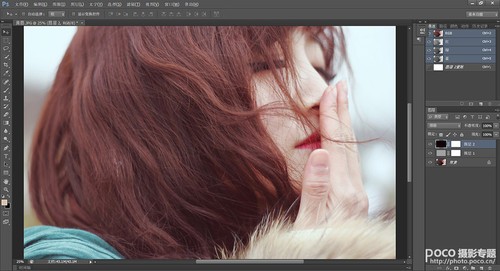
原图
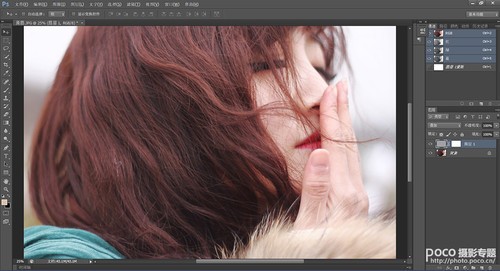
最终效果

第一步:利用蒙版提亮画面
在ps中打开原图,新建图层1。为图层1添加蒙版,”编辑/填充”为蒙版填充颜色,参数设置如下图所示。
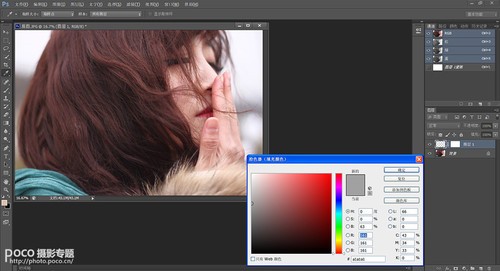
将图层模式设为叠加,效果如上图。
第二步:利用蒙版调出冷色调
新建图层2,为图层2添加蒙版。”编辑/填充”为蒙版填充颜色,参数设置如下图所示。

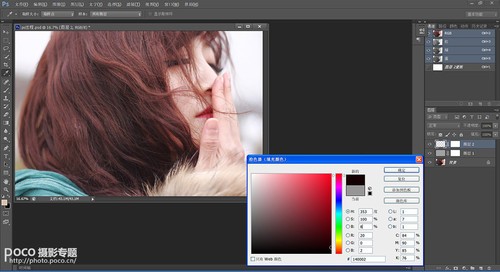
将图层模式设为排除,效果如上图。这一步大体调出素雅的冷色调,为空气感效果奠定基调。
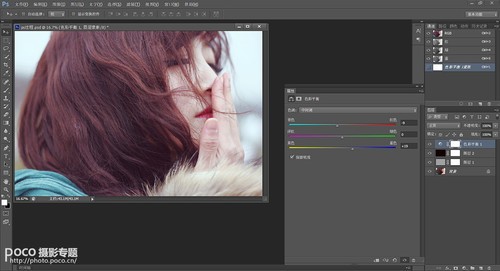
第三步:色彩平衡
调整图片颜色,继续为人物增加冷色调。
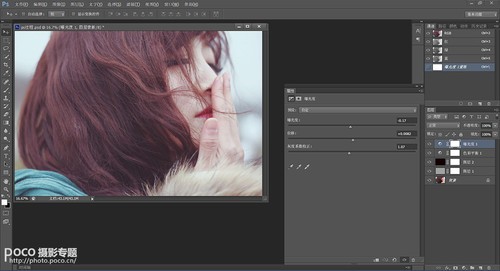
第四步:曝光度调整
降低曝光度,为人物增添些许朦胧感。
第五步:进一步提亮画面
新建图层3,为图层3添加蒙版。”编辑/填充”为蒙版填充颜色,参数设置如下所示。
将图层模式设为叠加,到此就大功告成了!