
原图

效果图

1、打开素材原图,复制背景图层。图层样式设置为“滤色”合并图层。如下图


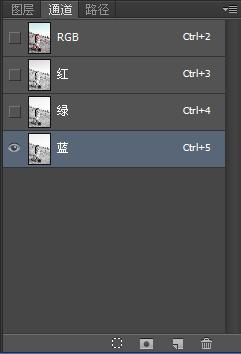
2、再把图层复制一层。转到通道面板,选择绿通道复制去蓝色通道。如下图

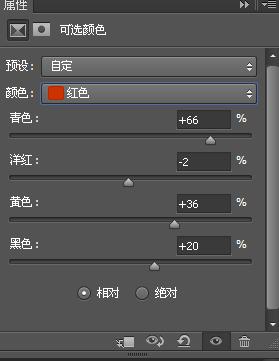
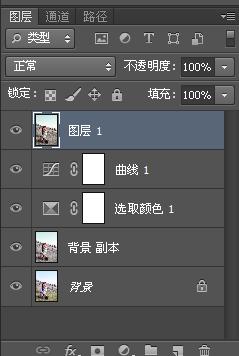
3、创建可选颜色图层,对红、中性色进行调整。参数设置如下图
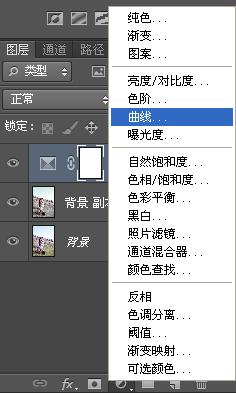

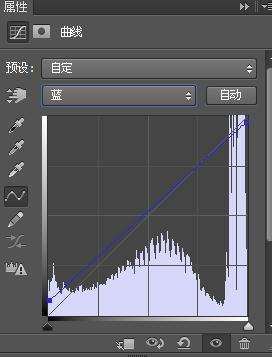
4、创建曲线图层,对RGB和蓝色进行调整。参数设置如下图

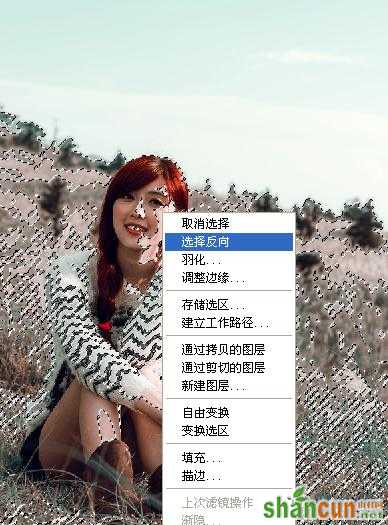
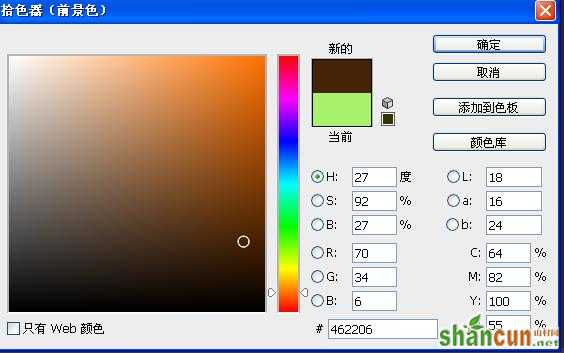
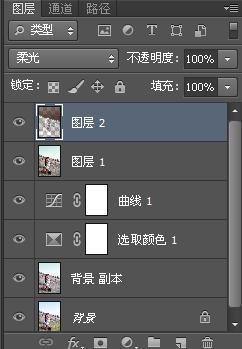
5、盖印图层,调出高光区,选择反选。填充颜色如下图 图层样式设置为“柔光”

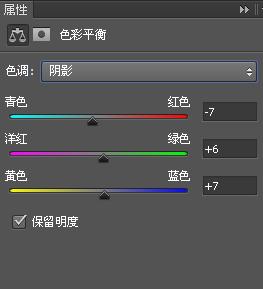
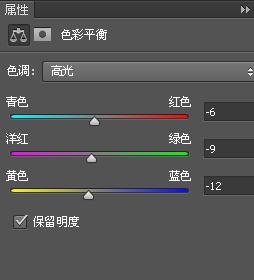
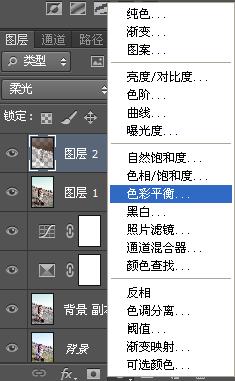
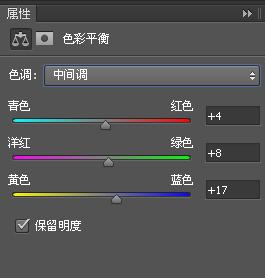
6、再创建色彩平衡图层,对高光、中间调和阴影进行调整。参数设置如下图

7、最终效果如下图
原图
效果图
1、打开素材原图,复制背景图层。图层样式设置为“滤色”合并图层。如下图
2、再把图层复制一层。转到通道面板,选择绿通道复制去蓝色通道。如下图
3、创建可选颜色图层,对红、中性色进行调整。参数设置如下图
4、创建曲线图层,对RGB和蓝色进行调整。参数设置如下图
5、盖印图层,调出高光区,选择反选。填充颜色如下图 图层样式设置为“柔光”
6、再创建色彩平衡图层,对高光、中间调和阴影进行调整。参数设置如下图
7、最终效果如下图

手机看新闻


网站客服
法定工作日
8:30-17:30
微信扫描关注


