
本教程主要使用Photoshop调出外景美女写真复古暖黄色效果,今天作者带大家来调一下复古暖黄色的效果,这种效果我们以前发过很多的动作,今天一起来学习一下教程吧,喜欢的朋友让我们以前来学习吧。
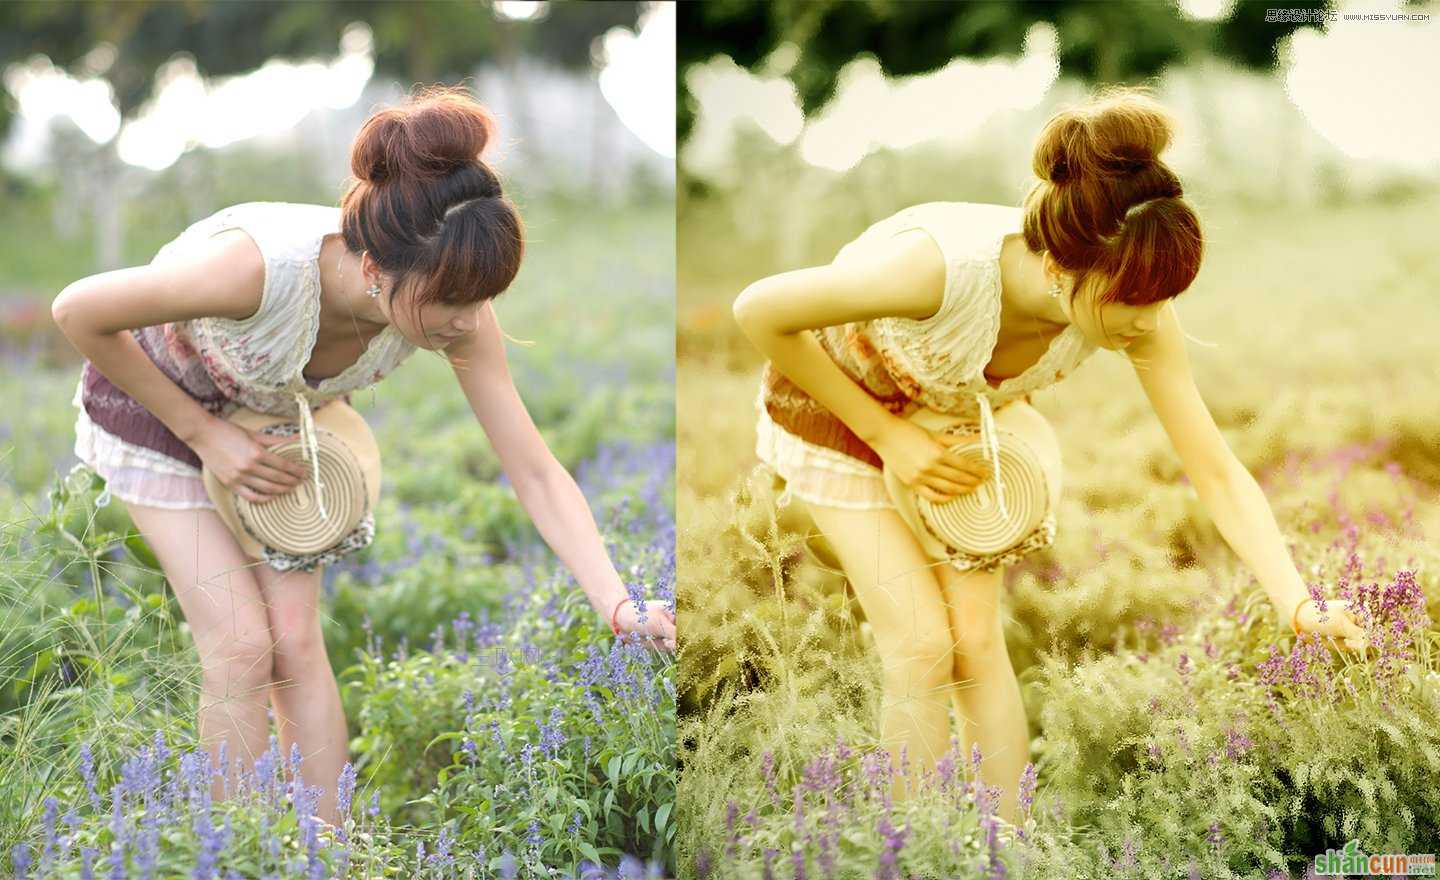
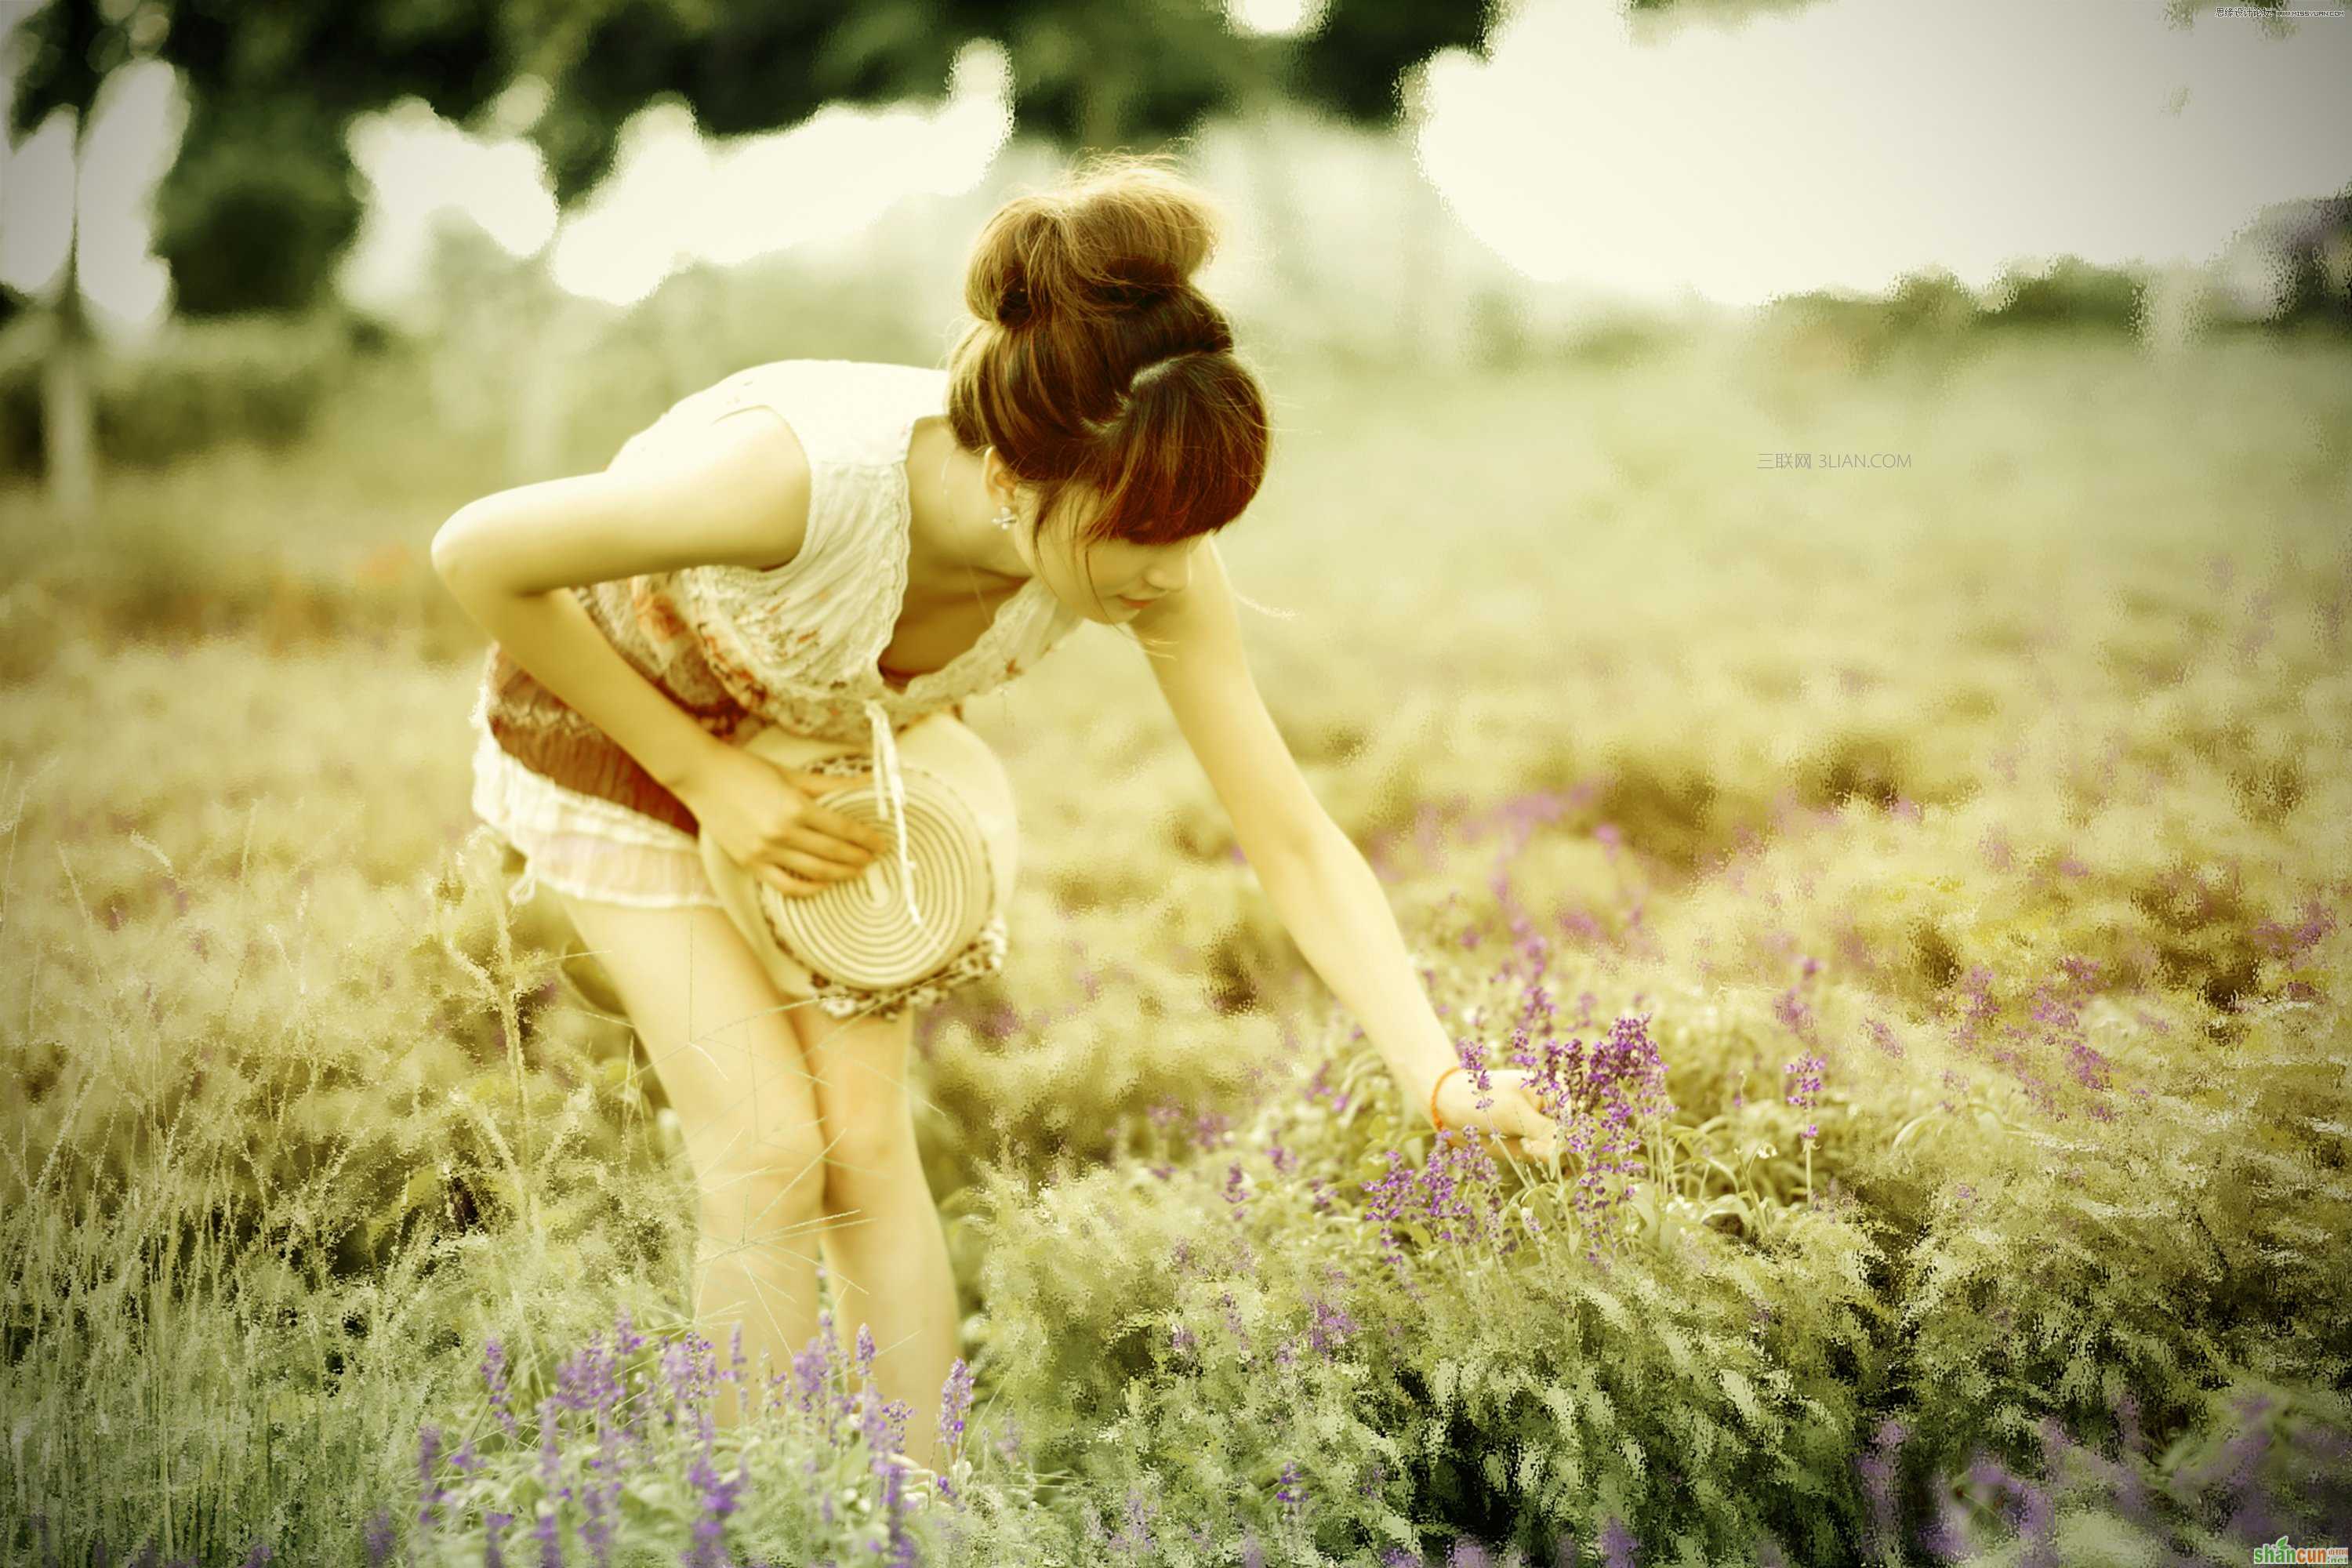
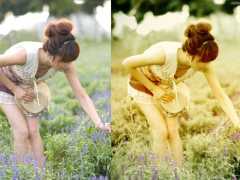
案列对比图:左为原片,右为效果图
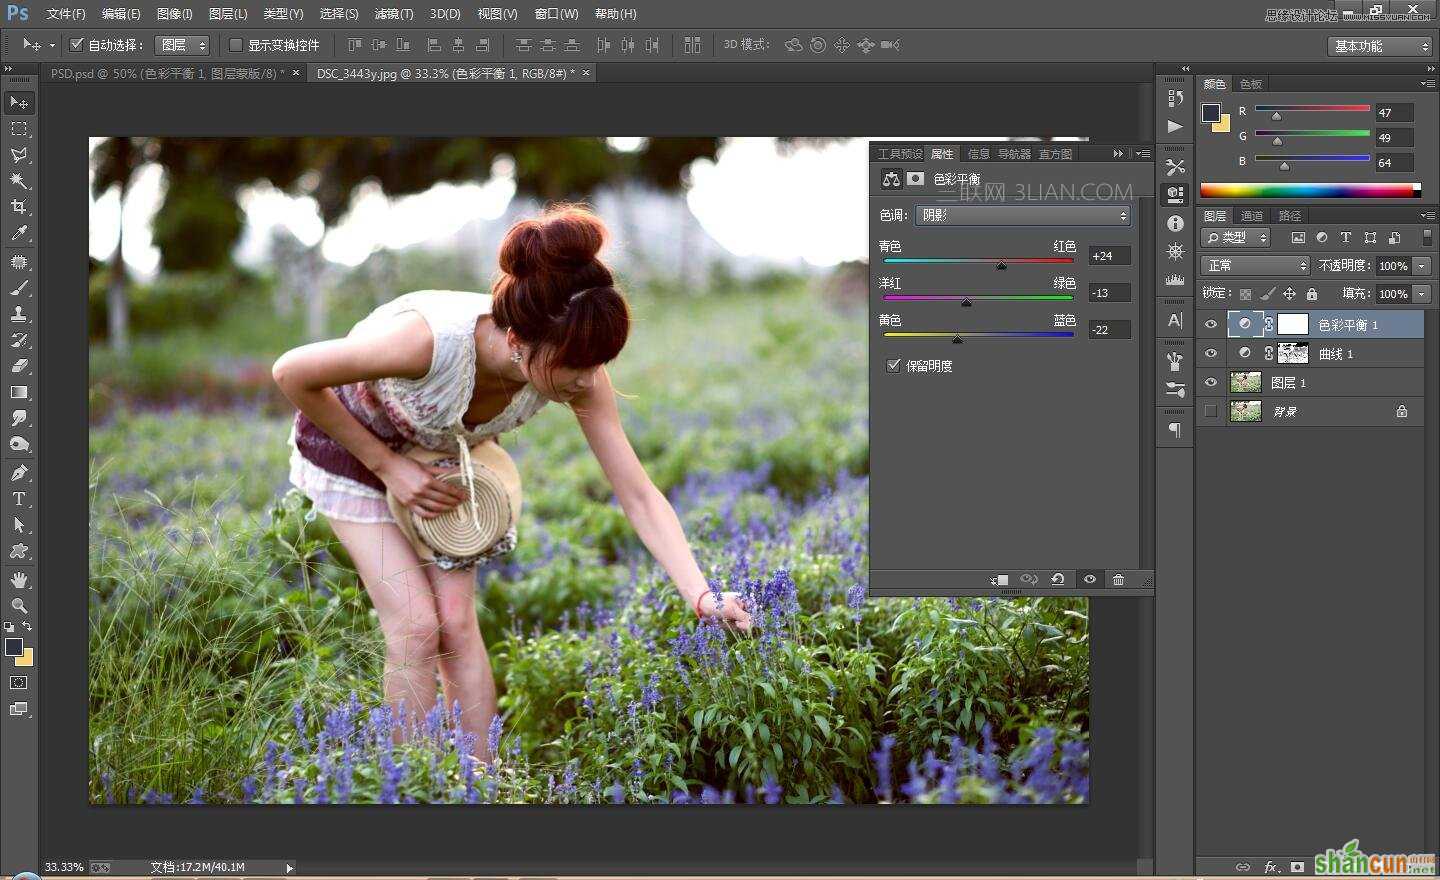
1、老规矩,复制背景层,生成图层1,隐藏背景层,最为紧急时候使用!而后创建“曲线”调整层,降低画面的亮度!而后在图层梦版中,用色彩范围选出人物的阴影部分,使得人物和花草更加清晰!

2、创建“色彩平衡”调整层,调整高光/中间调/阴影。

3.创建“色阶”调整层,进一步降低画面的亮度!
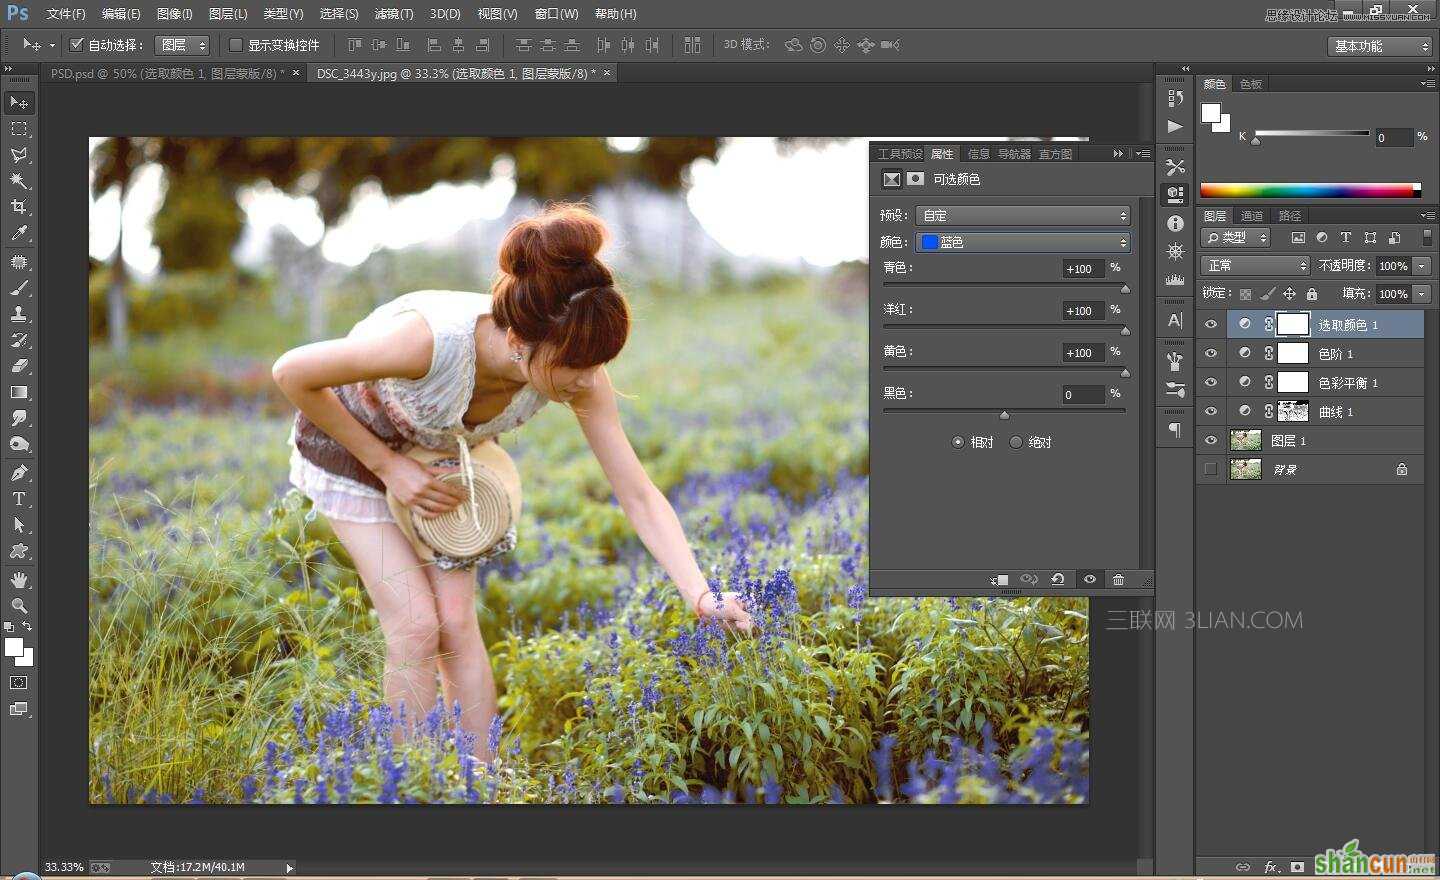
4、创建“可选颜色”调整层,对画面中的颜色设置如下参数!


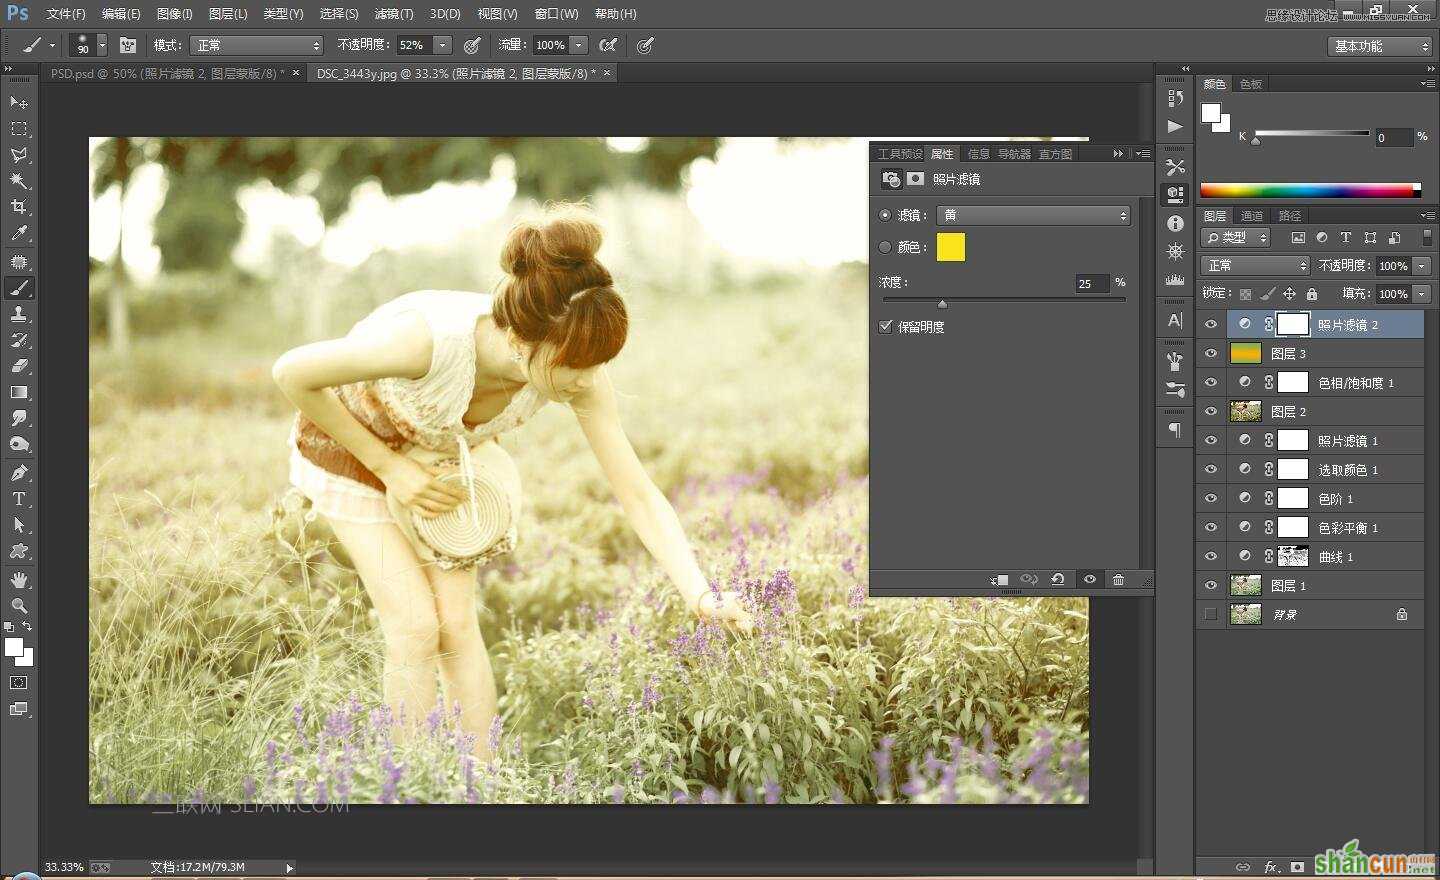
5、创建“照片滤镜”调整层,统一一下画面色彩风格!而后盖印图层,设置图层的混合模式为“滤镜”

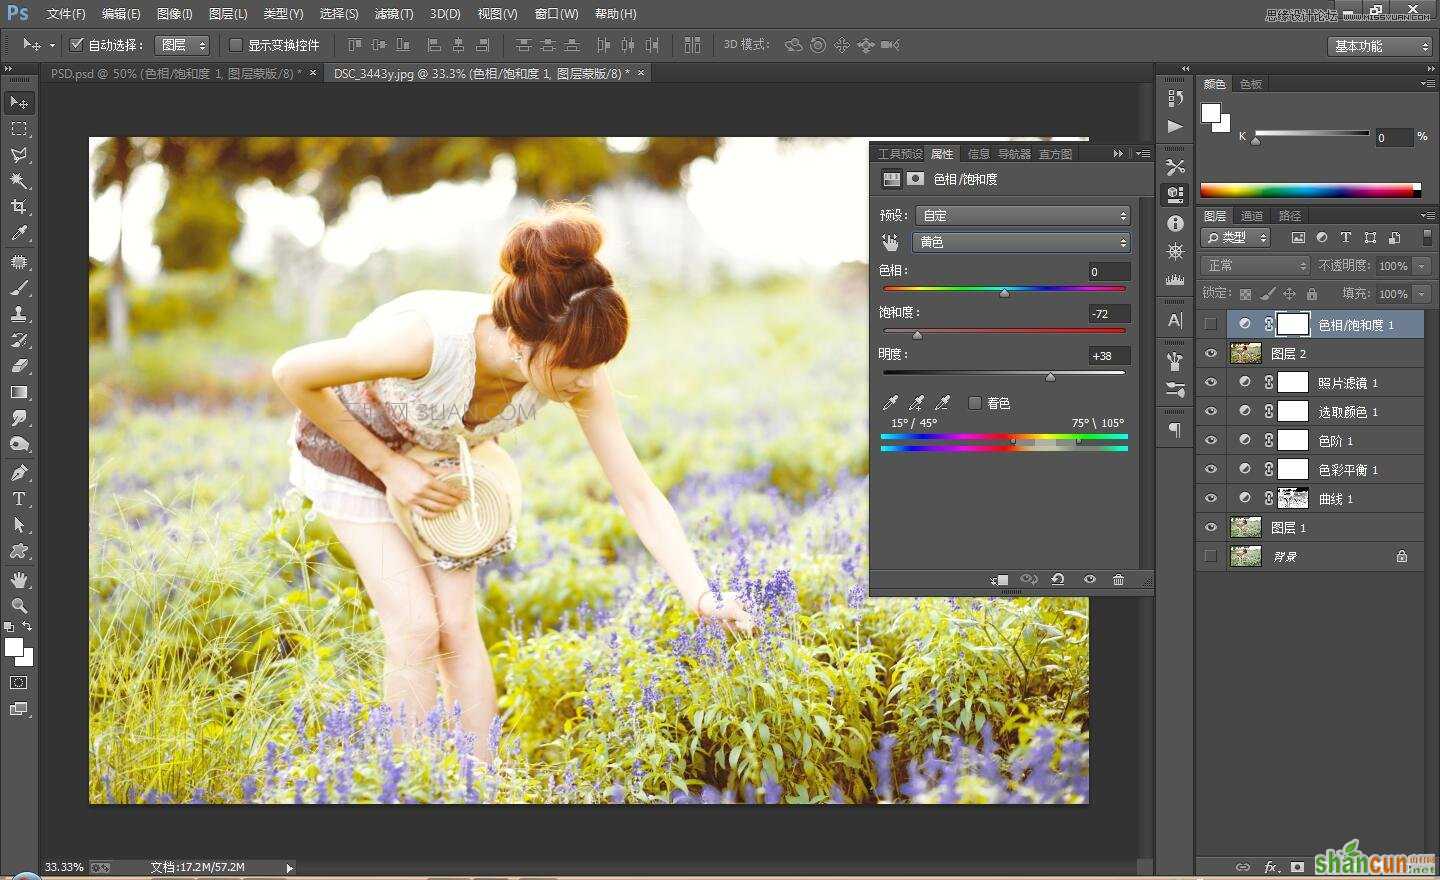
6、创建“色相/饱和度”调整层,对各个颜色进行调整!
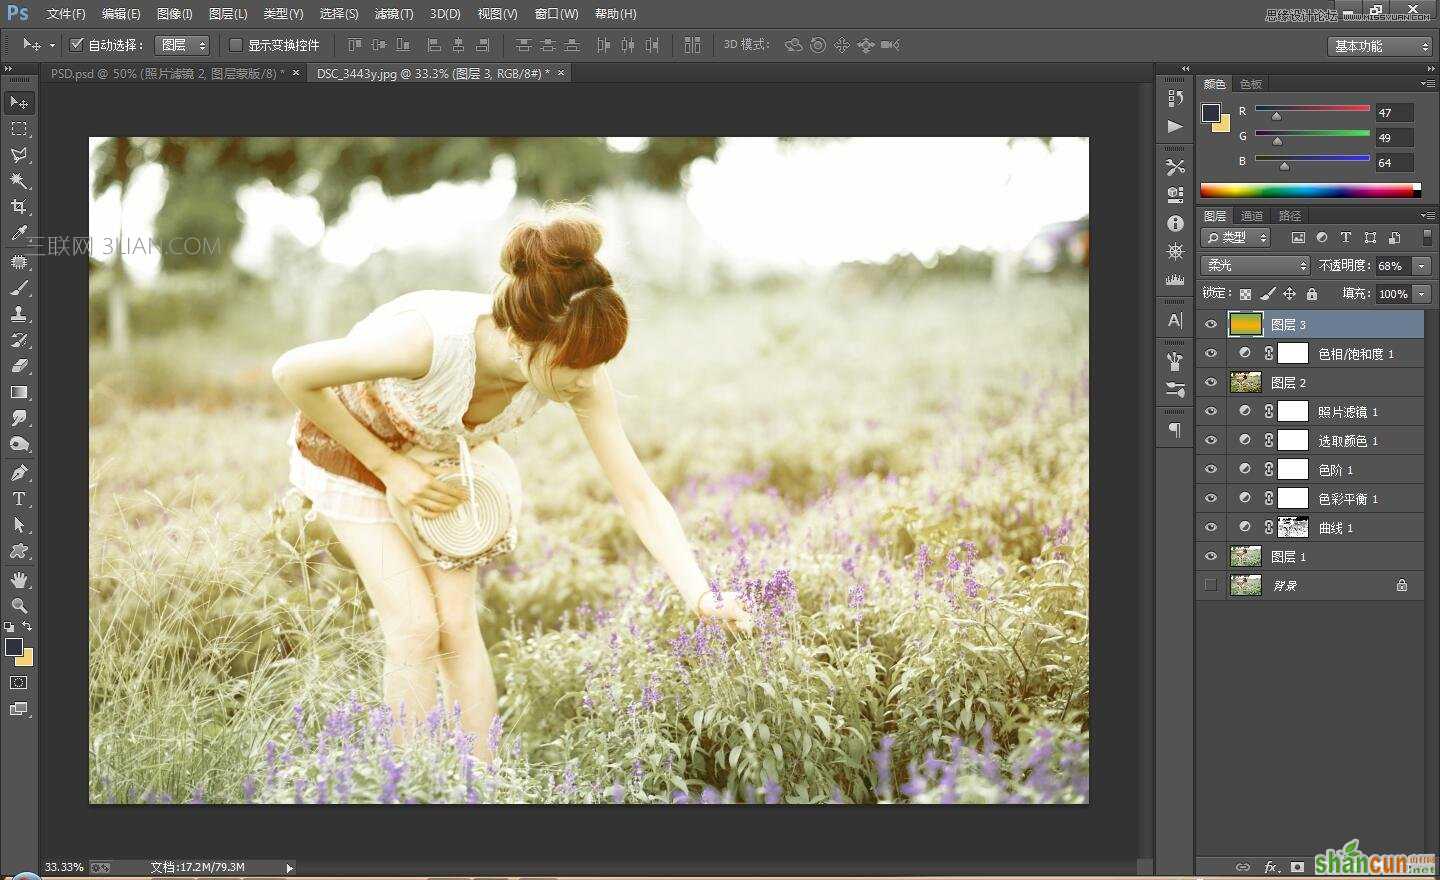
7、新建图层,对画面添加渐变色,而后设置图层的混合模式为“柔光”,不透明度为“68%”左右!
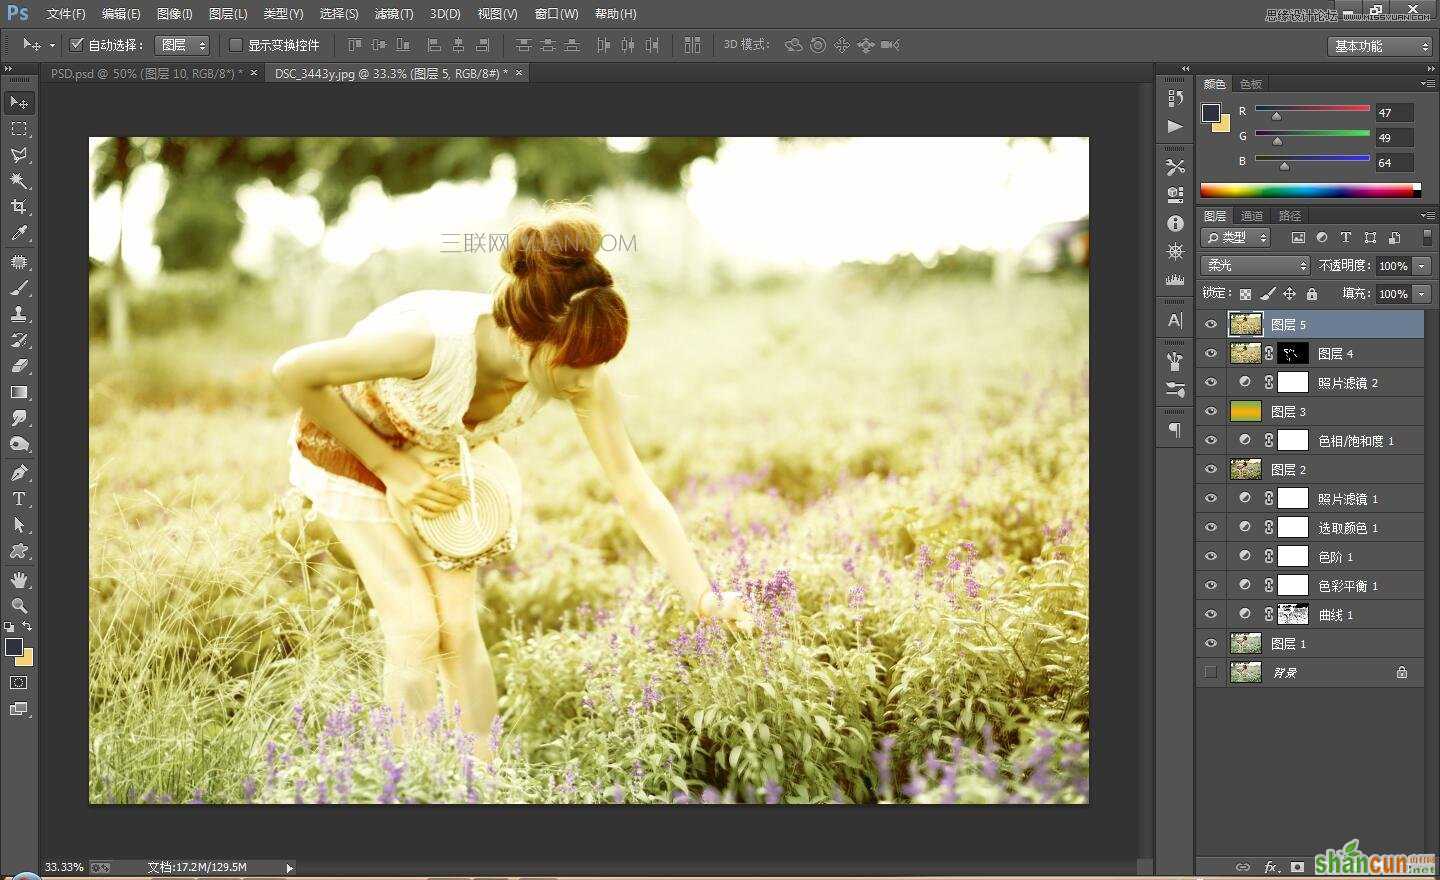
8、创建“照片滤镜”统一一下画面的颜色!
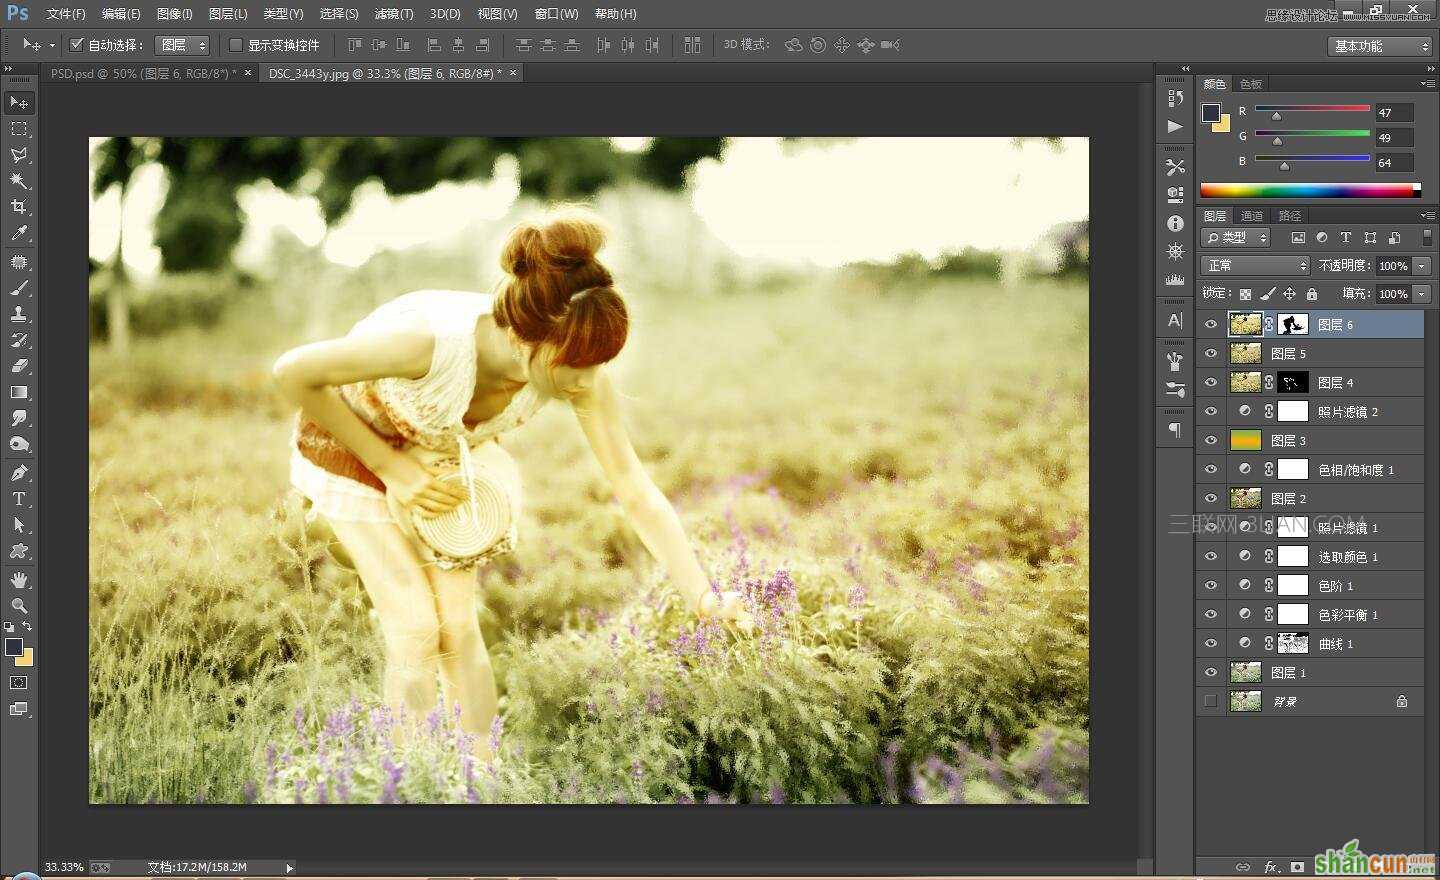
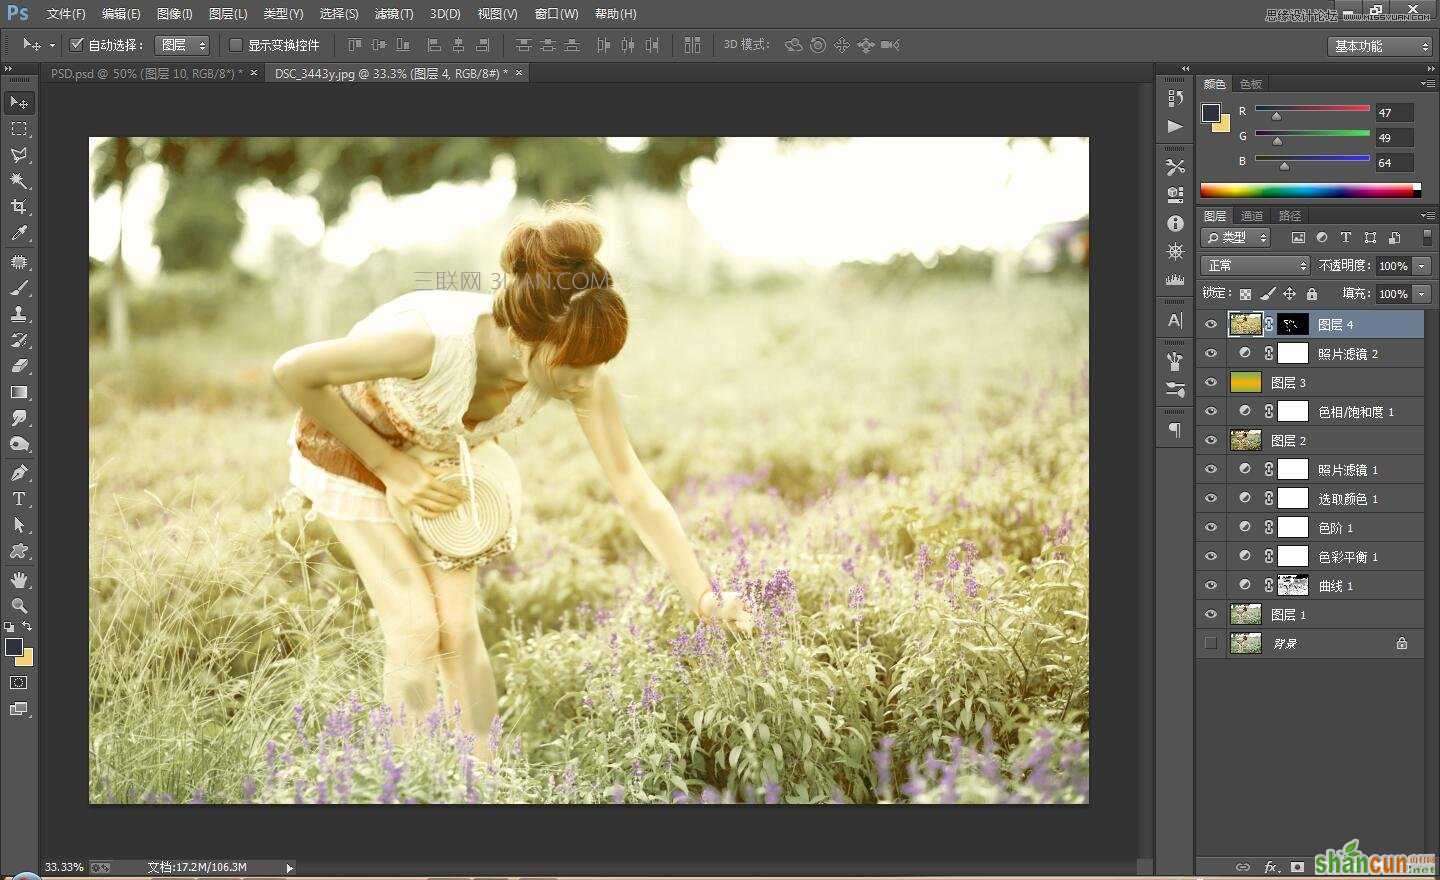
9、盖印图层,按住Alt创建图层蒙版!对画面进行细节处理!而后继续盖印图层!
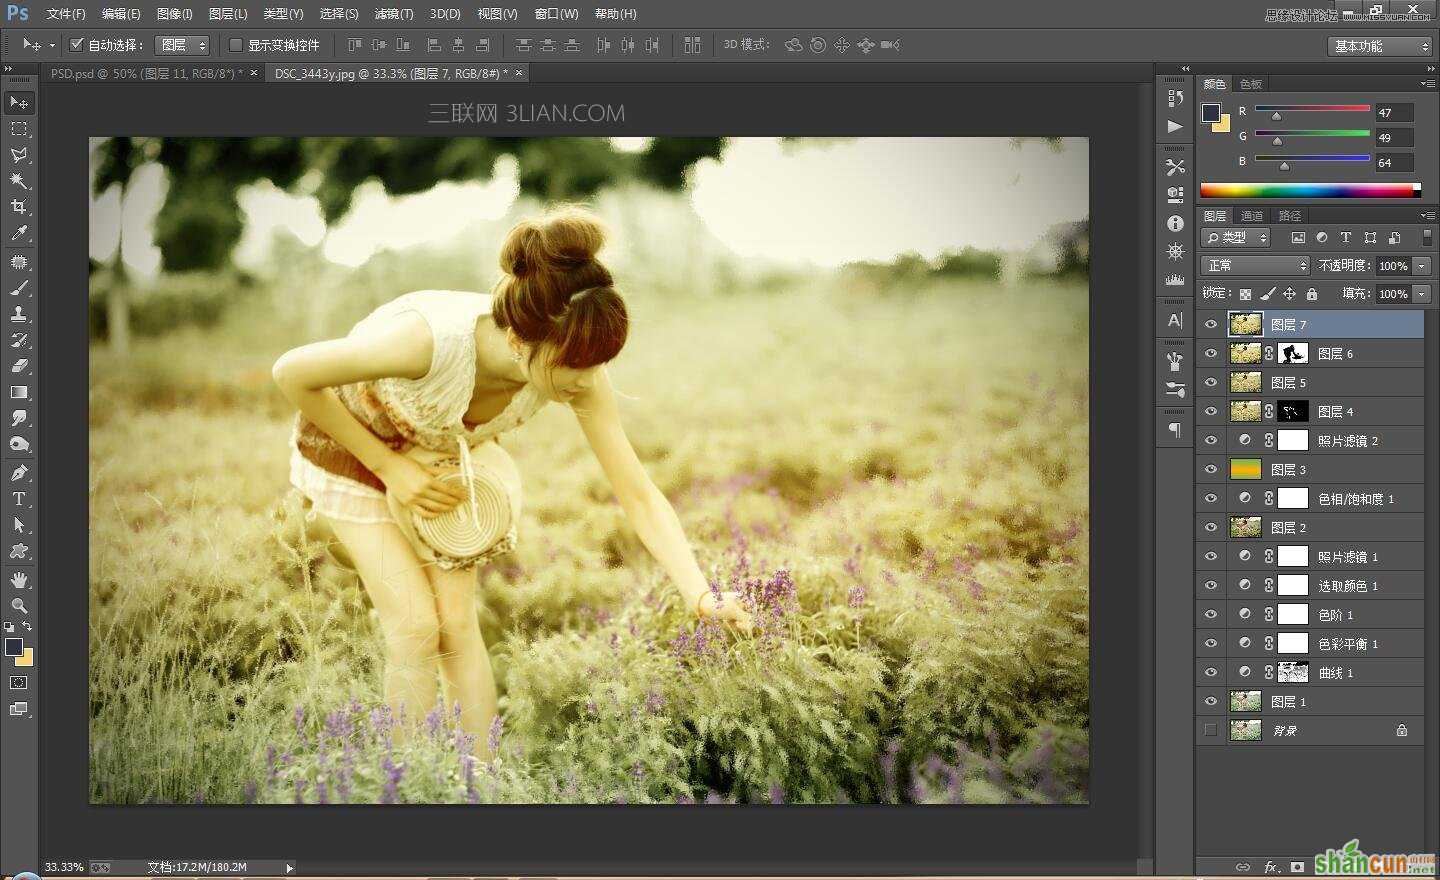
10、复制图层,而后创建图层蒙版,用黑色画笔擦出人物区域!
11、盖印图层,而后对画面的四周进行压暗处理!
12、最后的效果图:


