
PS怎么给图片添加绚丽光晕?

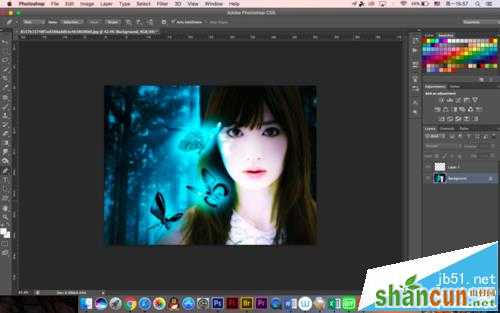
1、首先还是拖一张图片进去,大家看自己的喜好不过最好想一下是否合适,小编拖的这张
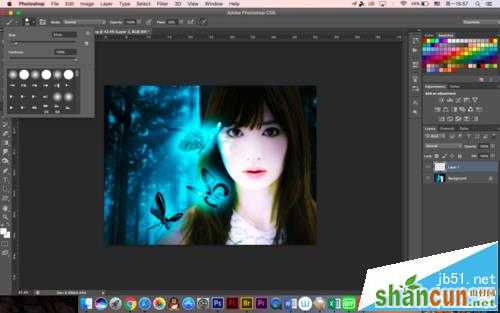
2、新建一个空白图层,因为我们要用到钢笔工具在这上面画,不过先设置好画笔,大小20,流量20
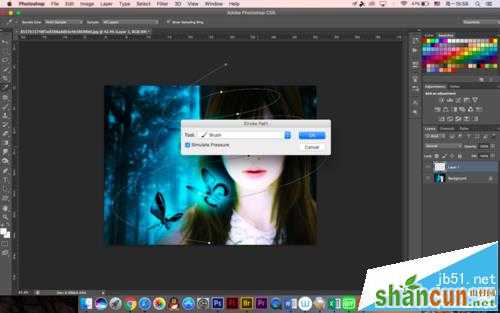
3、用钢笔工具将光晕的位置画出来,这个看大家的功底了尽量流畅点

4、然后右击描边儿,勾选模拟压力,这里是对画笔
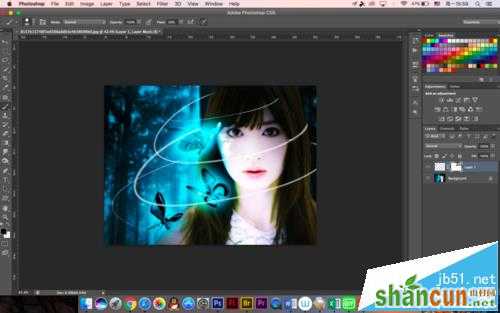
5、这时候光晕的轮廓就出来了,接下来要对这个图层进行设置
6、进入图层样式,对阴影和外发光进行设置,颜色选择黄色,没有严格要求
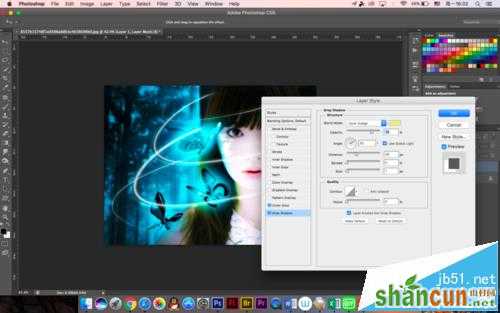
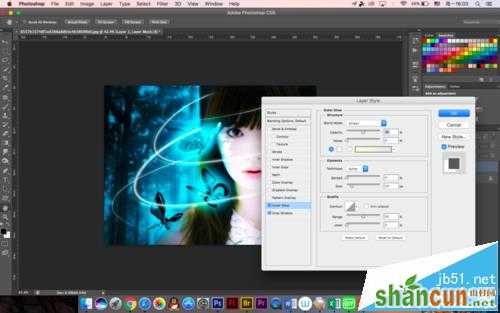
7、外发光也是黄色,注意两种的混合模式方式,阴影的是颜色减淡,外发光的是叠加
8、多复制两层,对位置进行调整效果更加明显,至于复制多少看大家做的情况

9、下面点一些点就可以了,所以需要设置画笔,散步,20像素,硬度为0
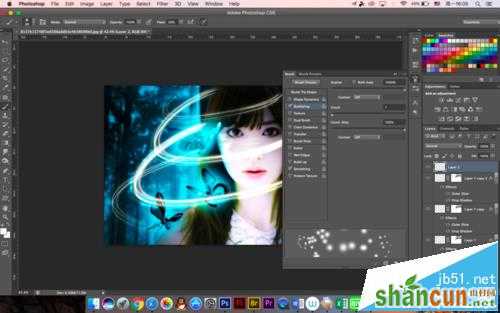
10、数量为1,离散度拉到最大,点的位置大家随意,不要太密,因为之后可以多复制几层,效果更好
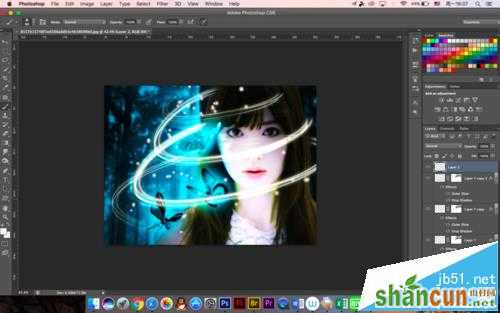
11、至于混合模式每张图片都不一样,所以效果也不一样,小编在这里用的就是正常模式,所以大家感兴趣可以多试一下哪种融合效果最好


