
Photoshop怎么调草原骑士霞光色调
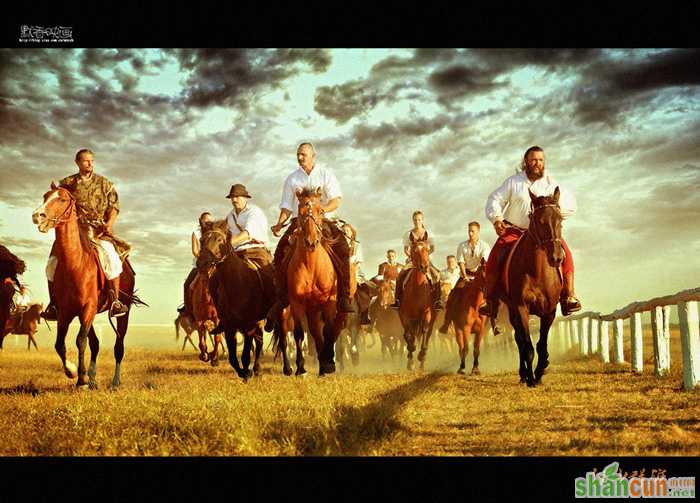
原图

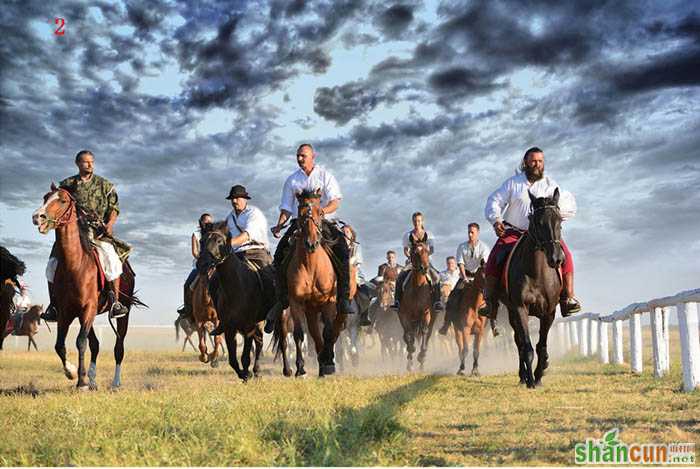
最终效果
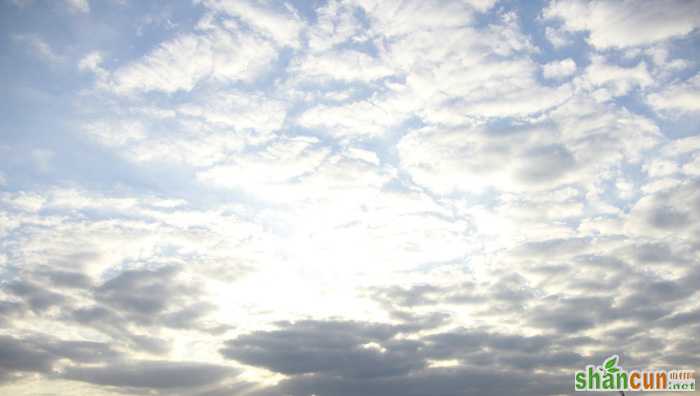
1、拉入素材天空云彩,Ctrl+t拉大图片到合适位置,工具栏里选取“橡皮擦工具”透明度30,擦出人物脸上等地方不该有云彩的地方(得到如图1红色圈出部分)最后得到效果图层2
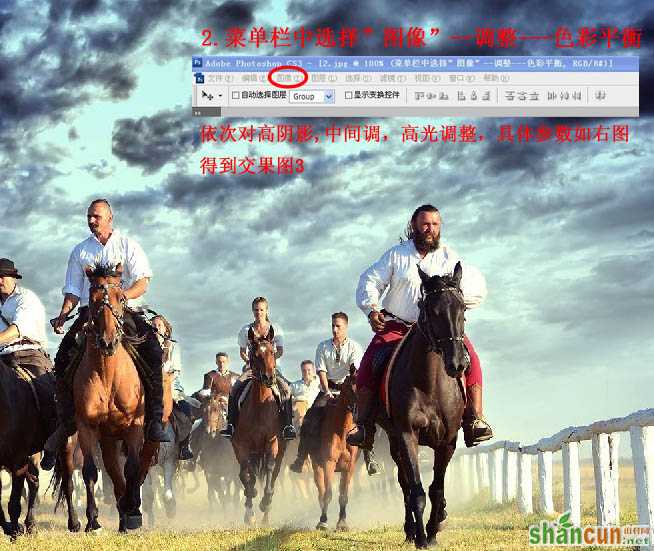
2、菜单栏中选择“图像”——调整——色彩平衡。依次对高阴影、中间调、高光调整,具体参数如右图得到效果图3。

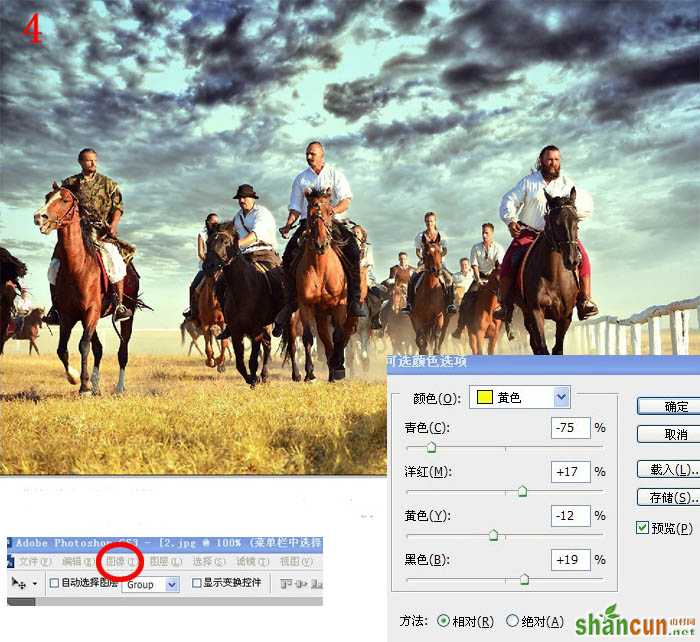
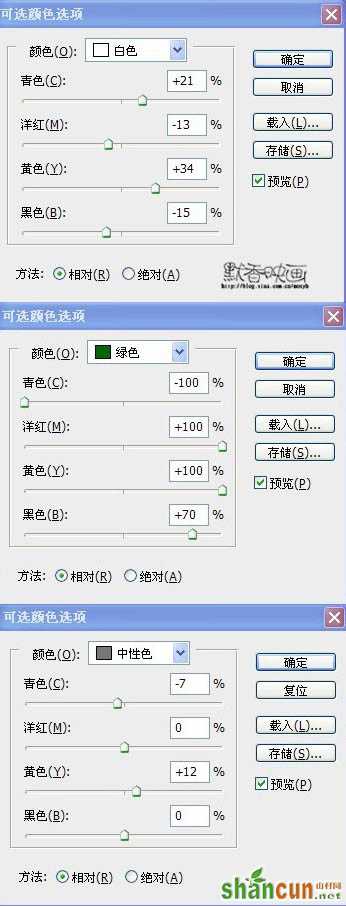
3、菜单栏(说明下就是工具栏)选择“图像”——调整——可选颜色选项,依次对白色、绿色、黄色、中性色作调整,具体参数如右图,得到效果图4。
4、菜单栏选择“图像”——调整——曲线工具对图像拉黑效果如上图,对蒙版过黑的地方用黑色画笔工具擦除,最后得到效果图5,红色部分为曲线蒙版擦除部分

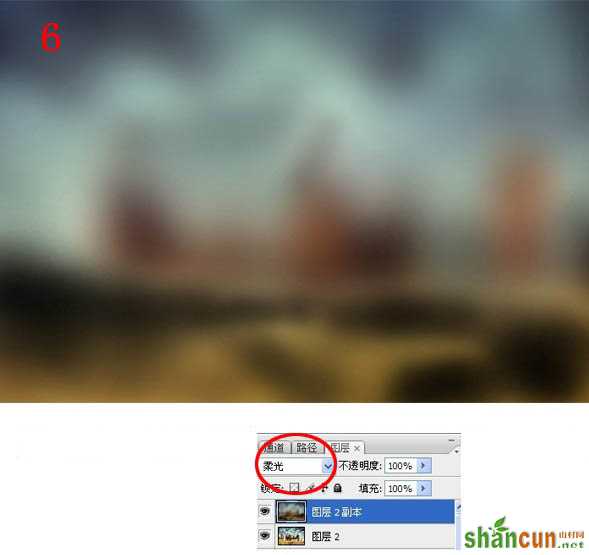
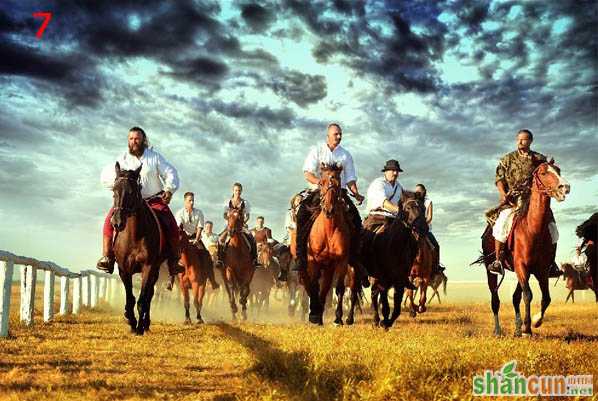
5、新建一个图层Shift+N,然后Ctrl+Shift+Alt+E盖印图层,Ctrl+J复制一个图层,执行滤镜——模糊——高斯模糊参数为9(效果如图6),对图层6选择混合模式为“柔光”,最后得到效果图7。
6、执行Ctrl+h色相/饱和度选择黄色(参数如右上角图)然后确定,执行Ctrl+B色彩平衡,对阴影,中间调进行调整(参数如上图),得到效果图8。
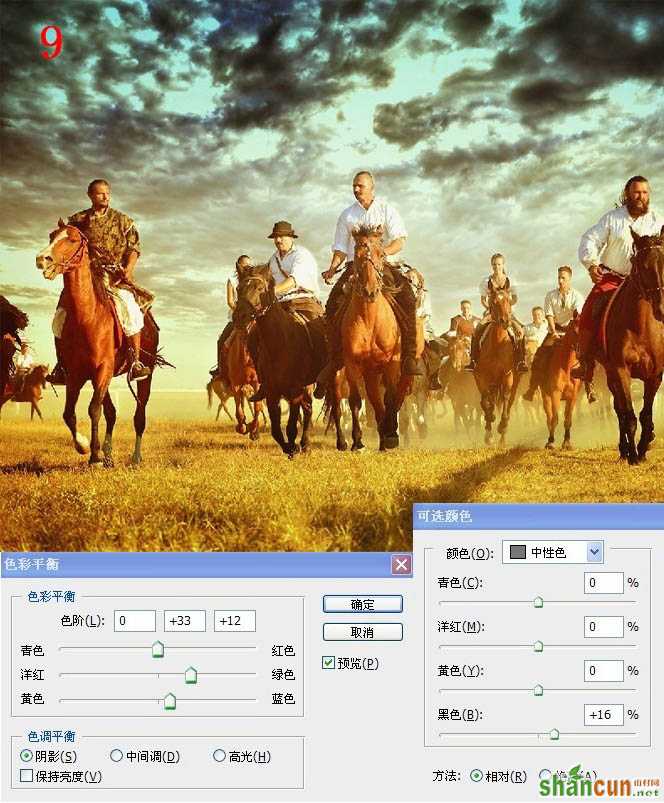
7、给图片加上混合光线,色彩如上图,这个可以用柔色的画笔来画,对色次啊把握不好的话直接用吸管工具在我这里吸取吧,画好光线后,选择混合模式为“柔光”。最后定色的两步,选择菜单“图像”——调整——色彩平衡(参数如右下角图),选择菜单“图像”——调整——可选颜色(参数如右下角图)得到效果图9。

8、执行菜单“滤镜”——杂色——增加杂色参数为4,然后给照片加上两条图屏边,用矩形选框工具画出选框填充黑色,最后加上字就ok了,字体可以自己在网上下,得到最终效果图10。
更多知识请关注 山村ps教程 栏目


