
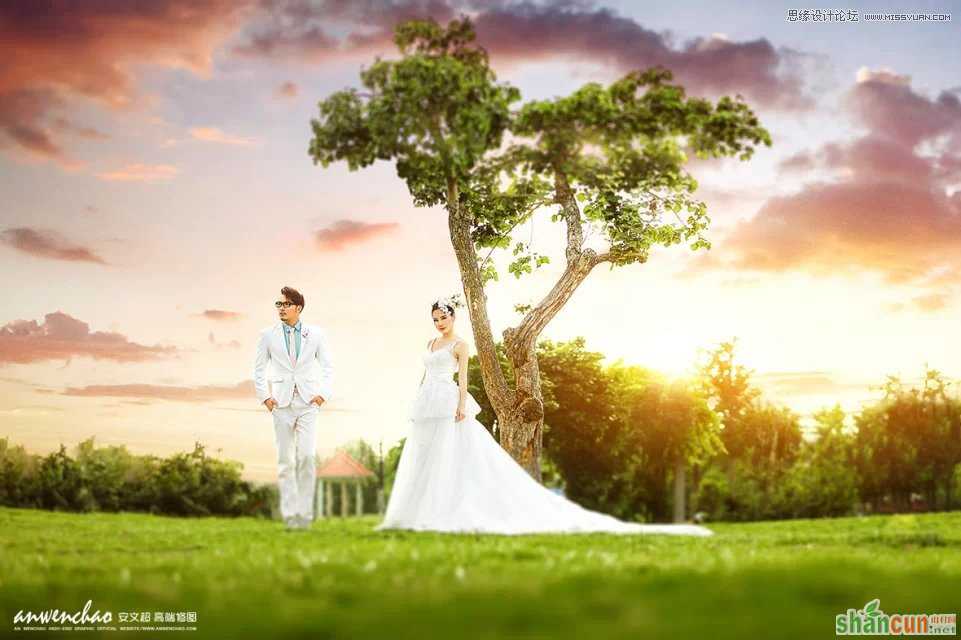
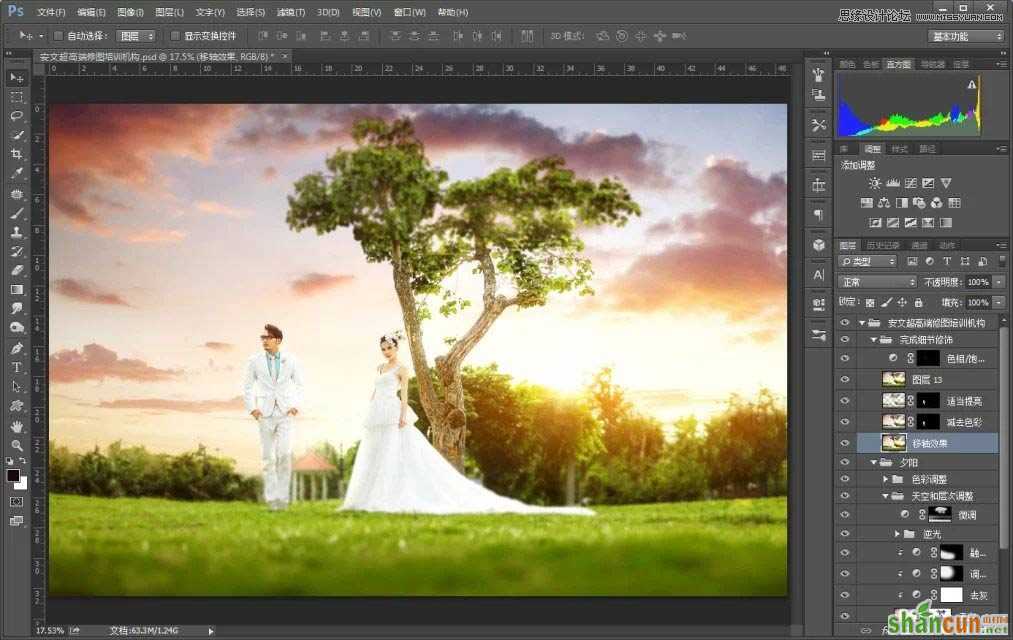
Photoshop调出唯美夕阳婚片效果图
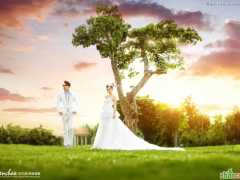
效果图:
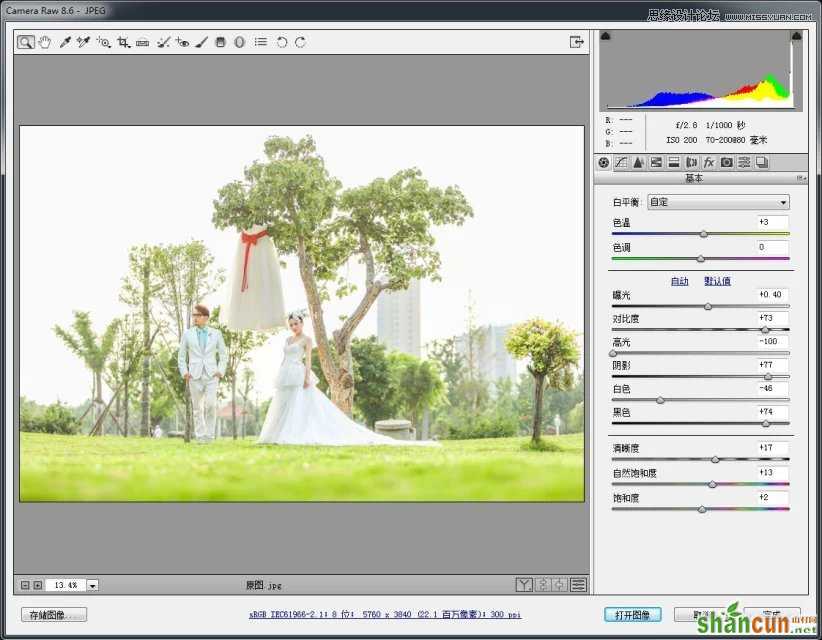
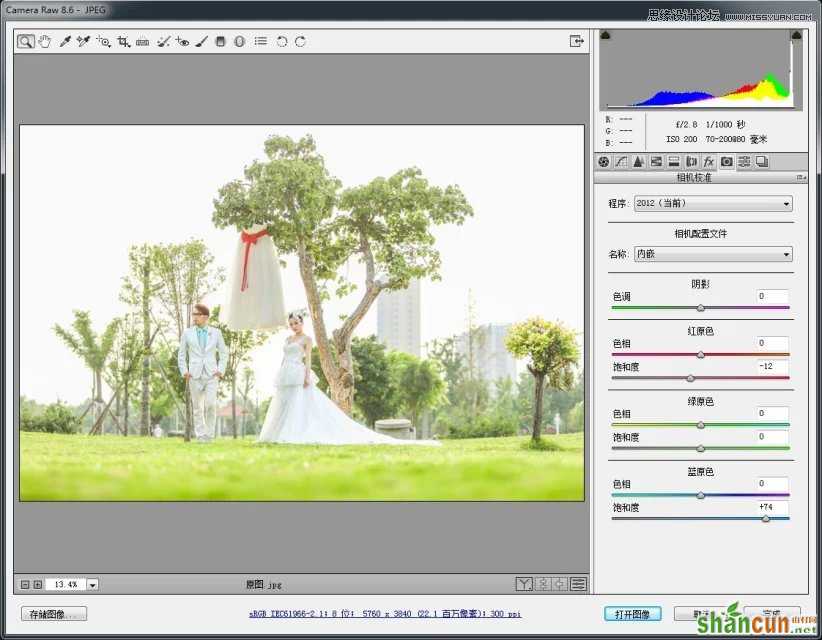
原图:
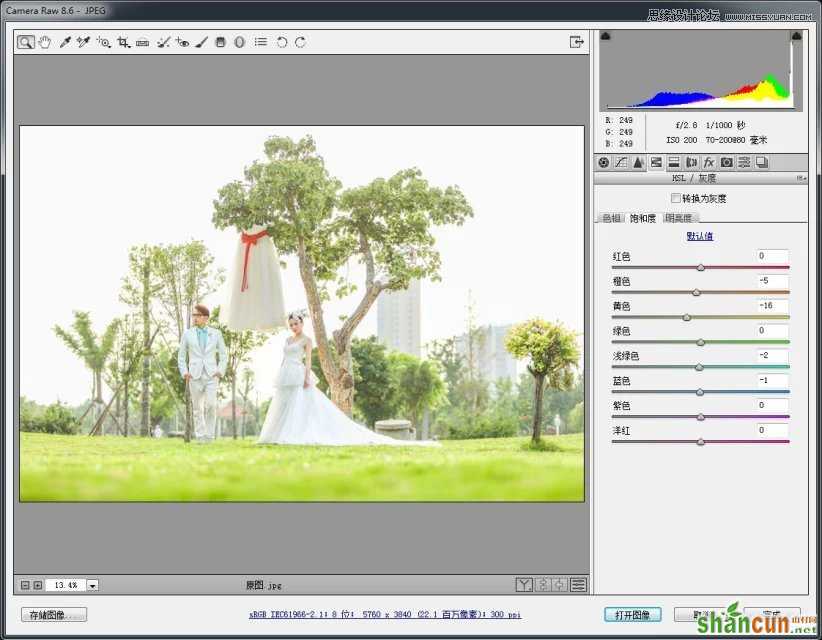
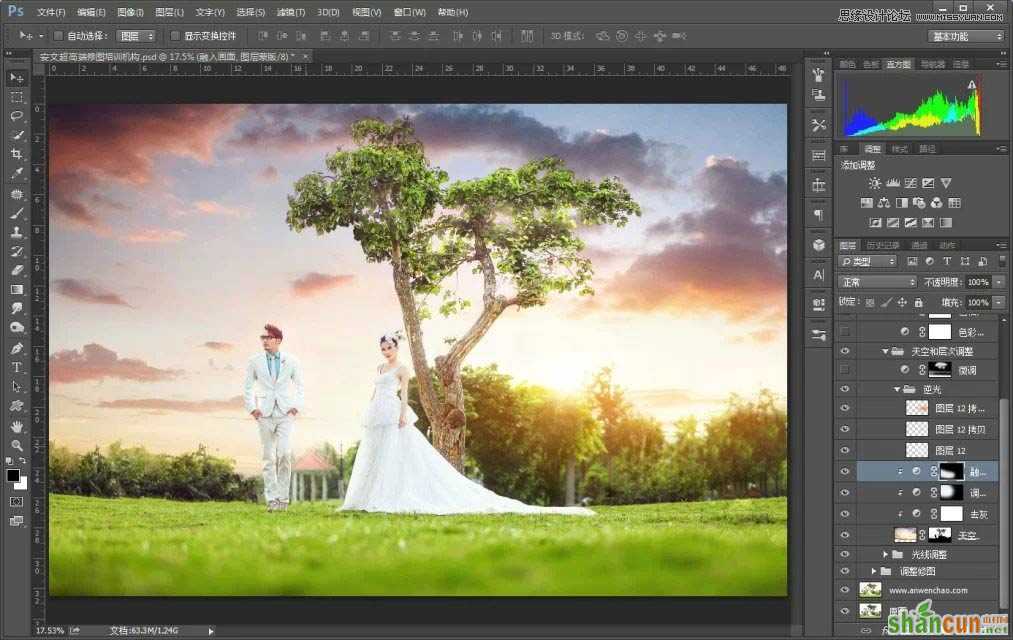
1、首先在Camera Raw里定大体色调。
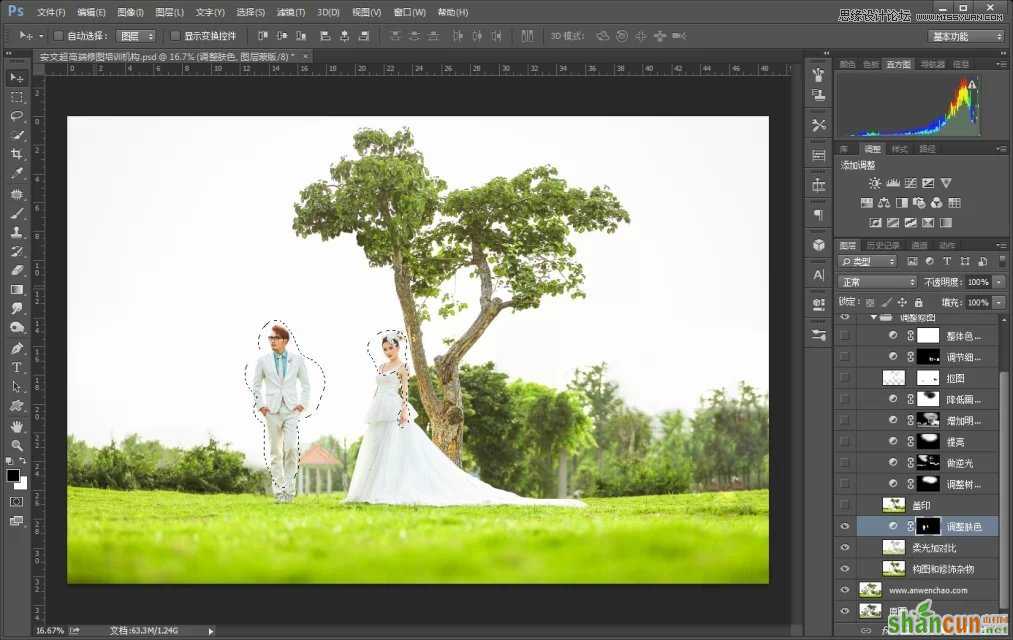
2、进行PS,构图和修饰杂物。
3、复制一层,柔光,不透明度适当降低,加强照片的对比。

4、调整肤色,用曲线提亮。
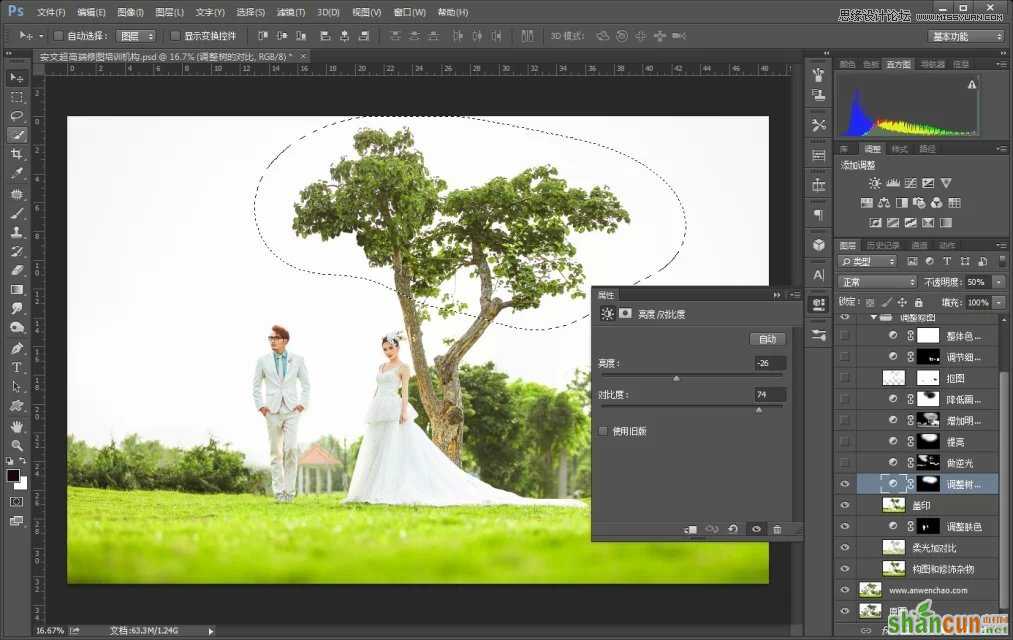
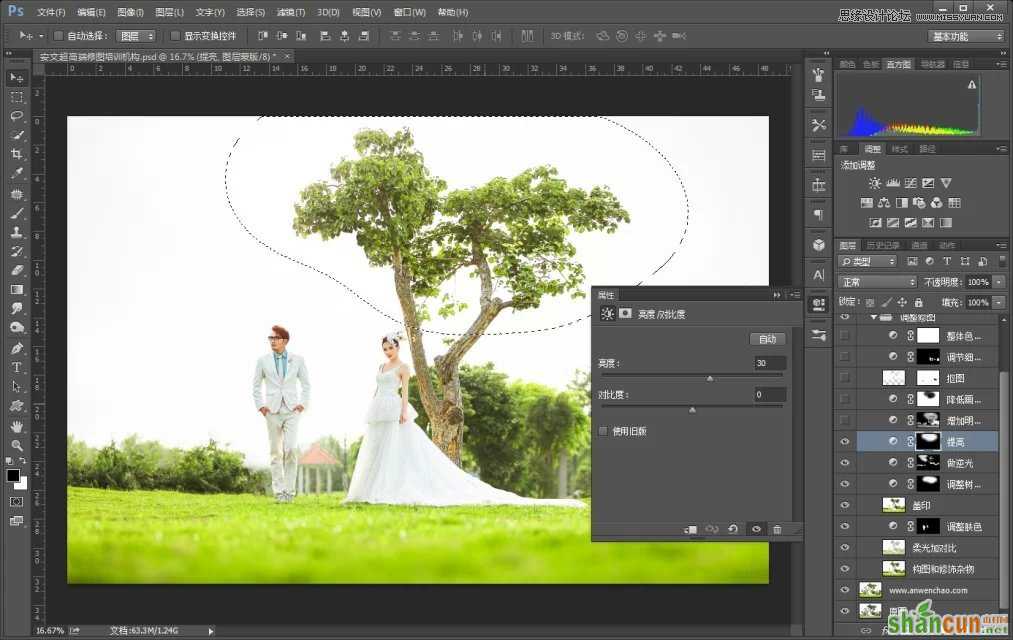
5、调整树的亮度/对比度,如图:
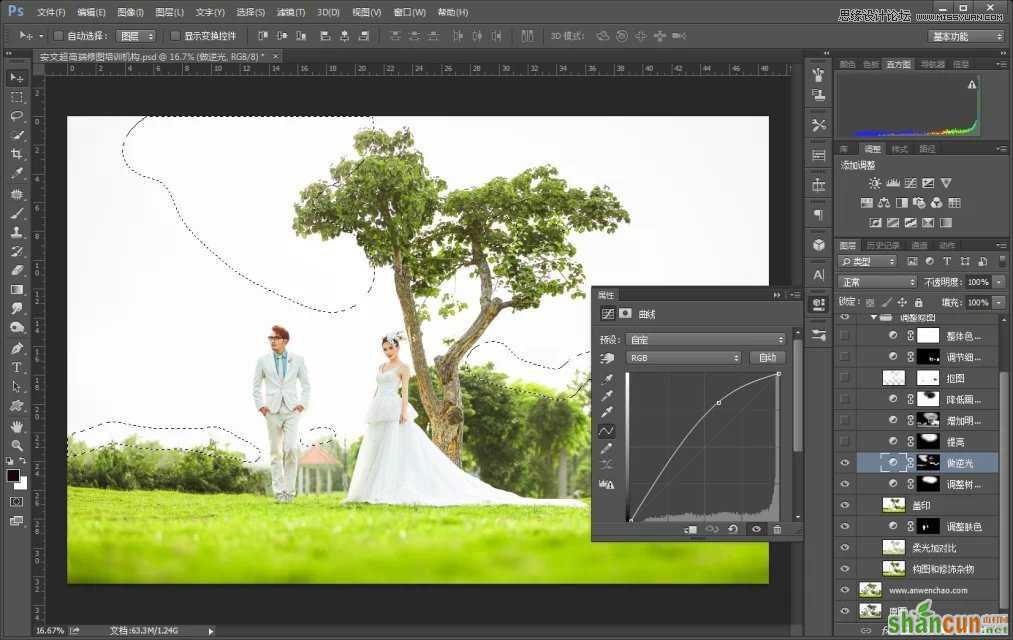
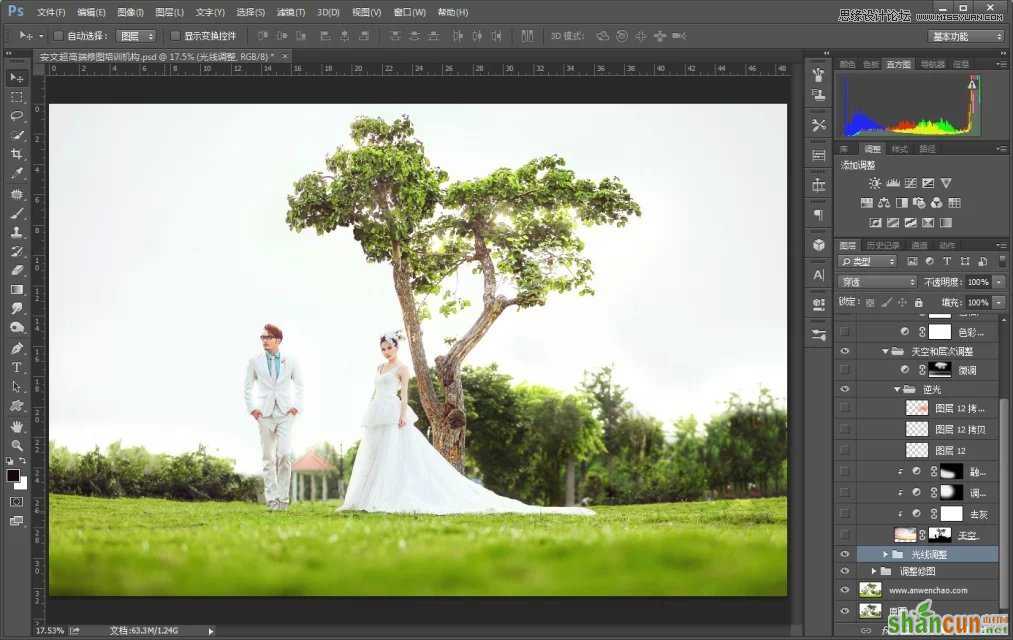
6、用曲线提亮如图部分,做逆光。
7、再度调整树的亮度。
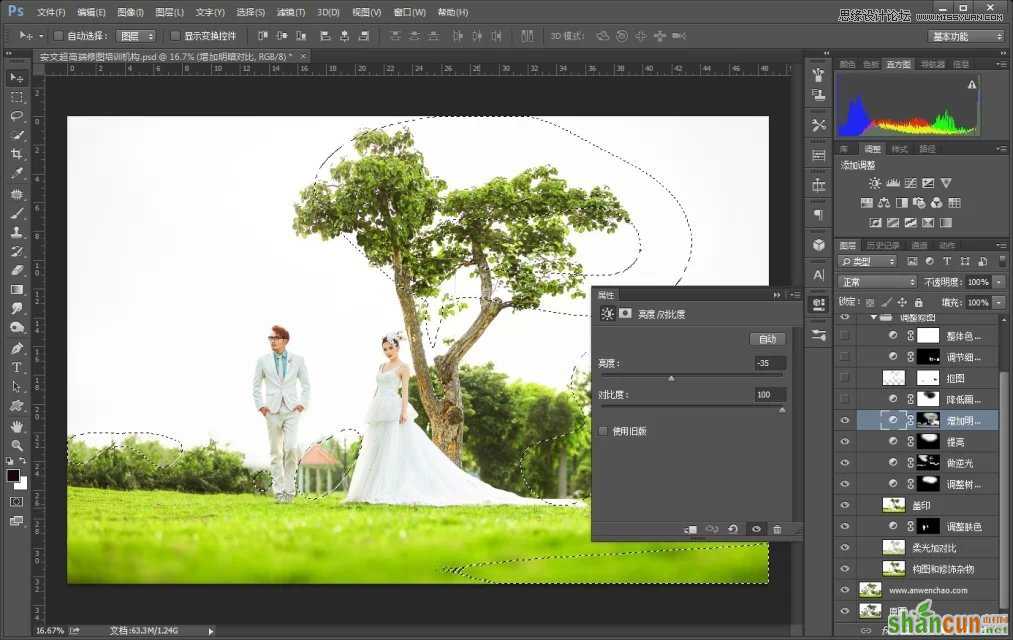
8、用亮度/对比度增加如图所示部分的明暗。
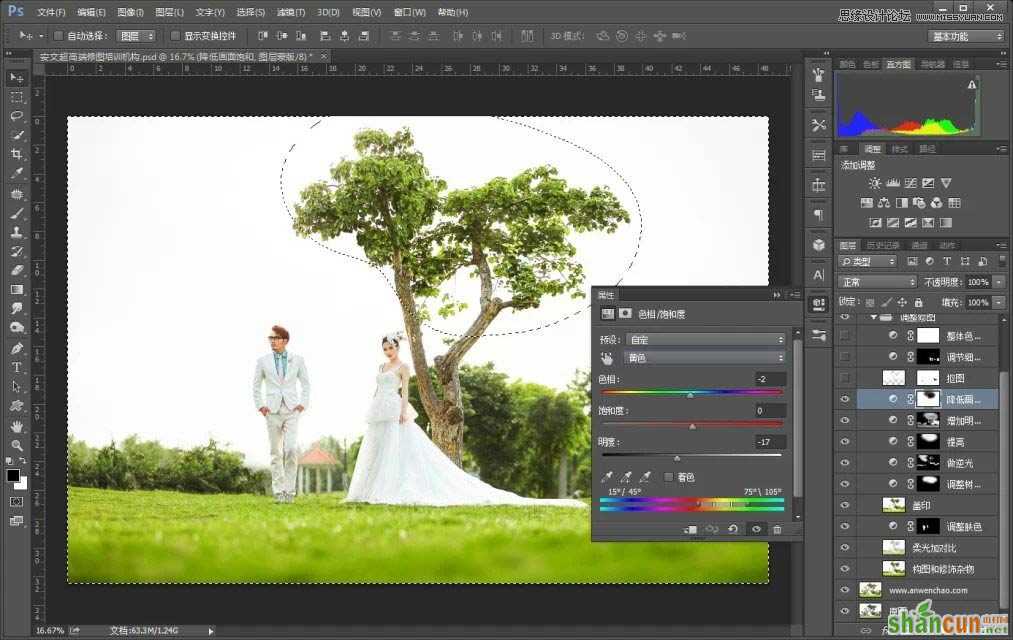
9、色相/饱和度降低除树以外部分的明度。
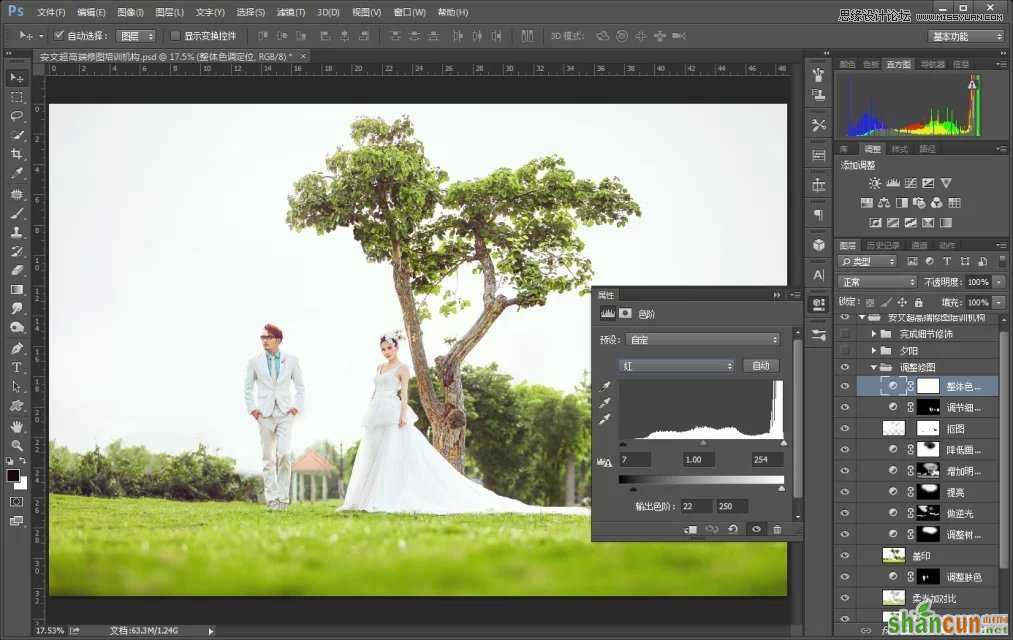
10、调整细节色彩。
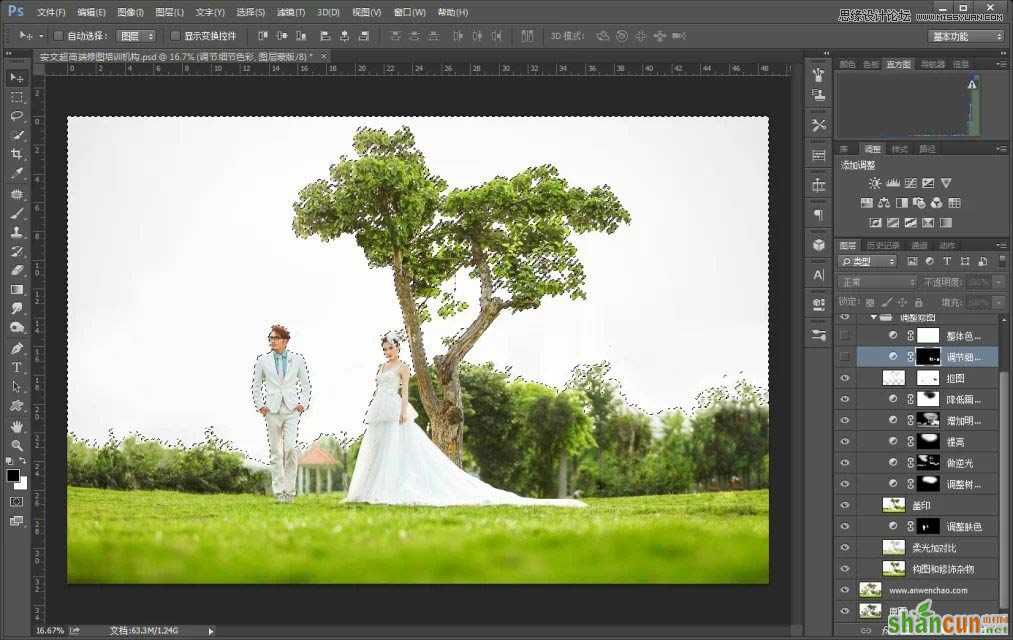
11、还是细节色彩的调整。

12、用色阶进行整体色调定位,如下:

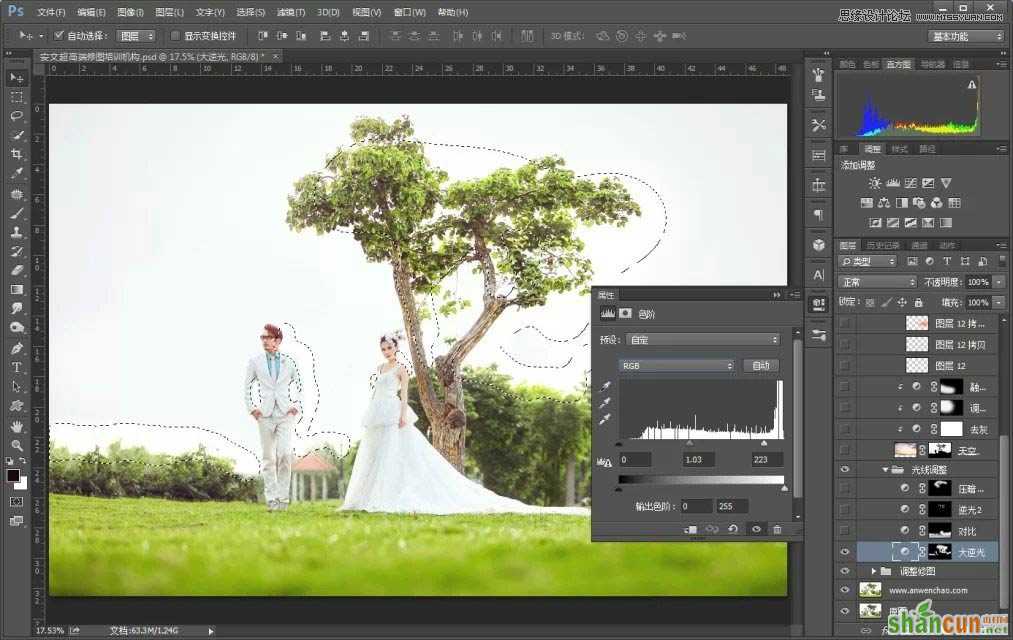
13、做大逆光。
14、加入天空素材。
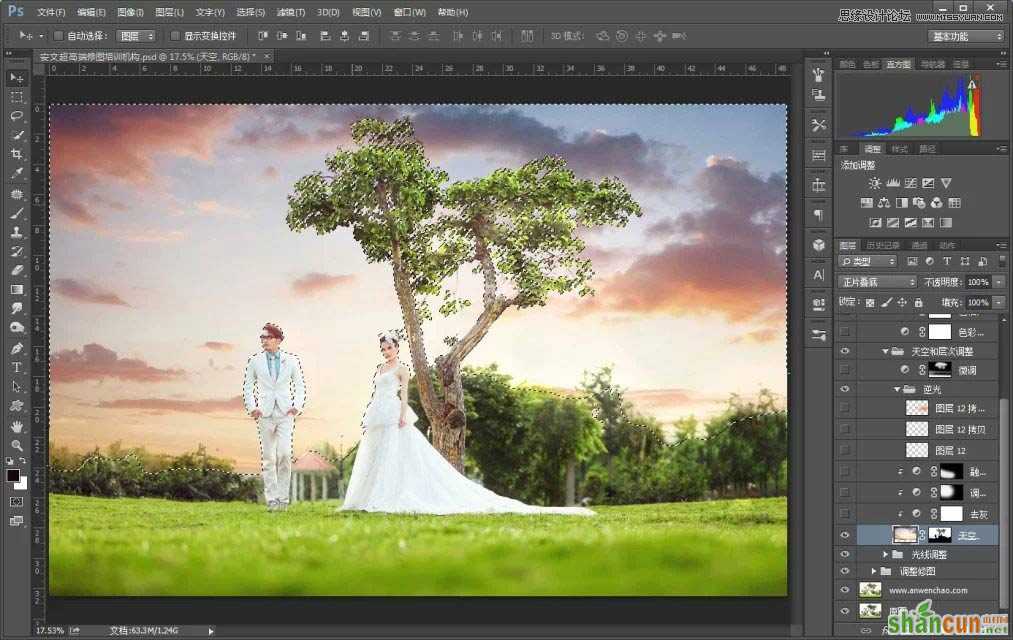
让天空融入到画面,做完后如下:
15、将一些地方做一点微调。
16、色彩平衡调整整体色调。
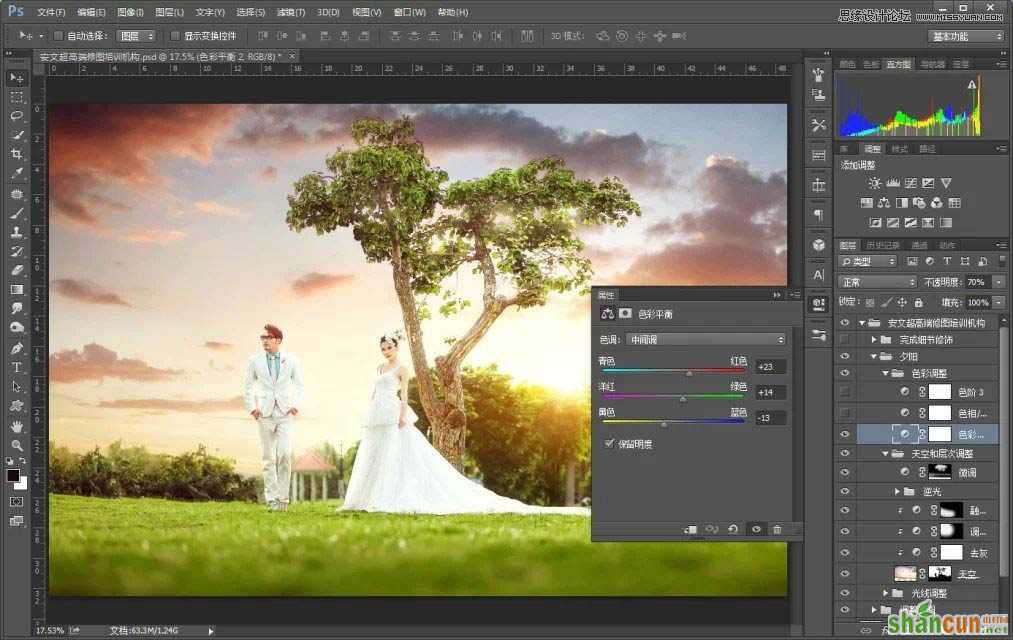
最后做移轴效果。
最终效果!

更多知识请关注 山村ps教程 栏目


