
PS怎么调出水蜜桃肌肤色调
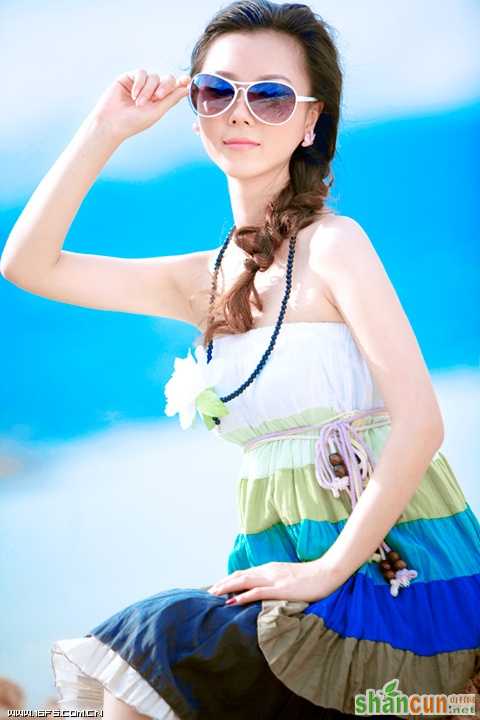
效果
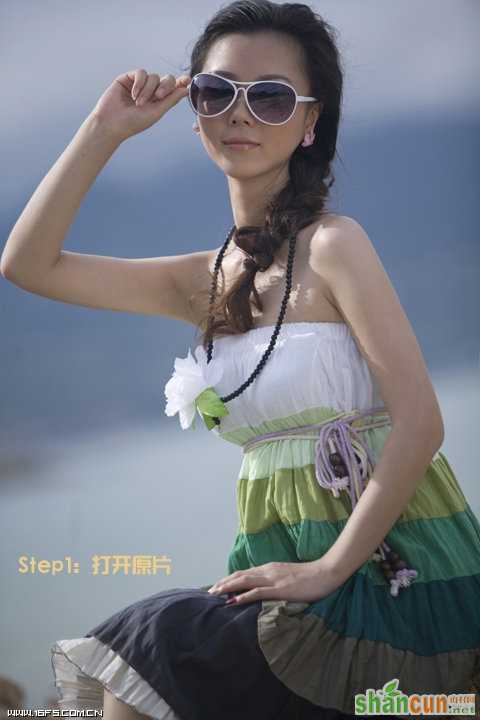
1、打开原图
2、调整曲线

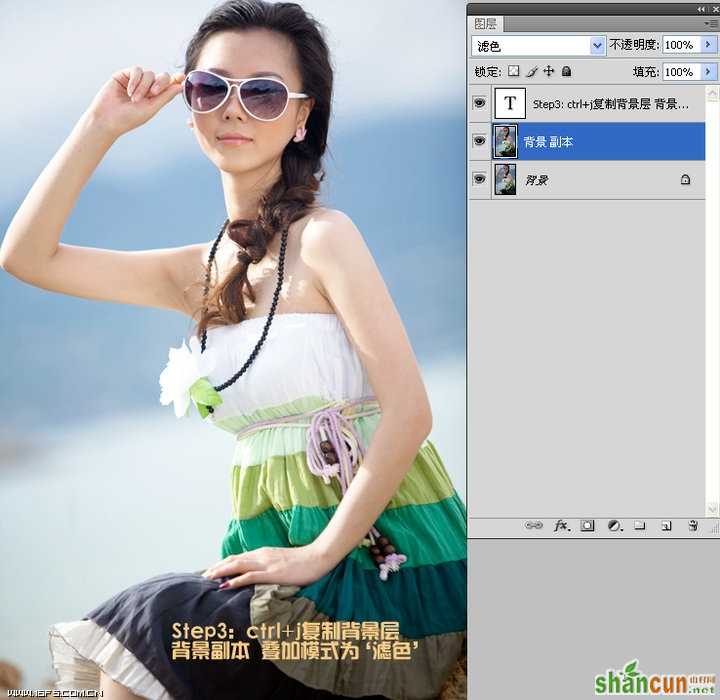
3、ctrl+j复制图层,设置图层模式为 滤色
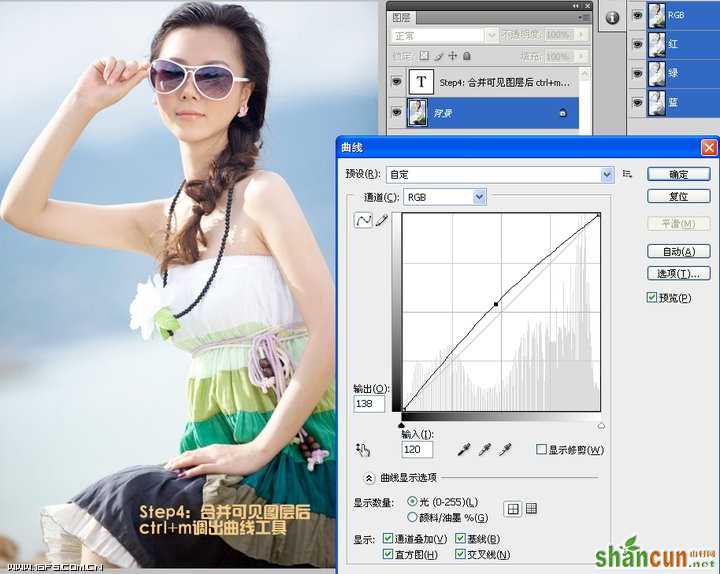
4、继续调整曲线
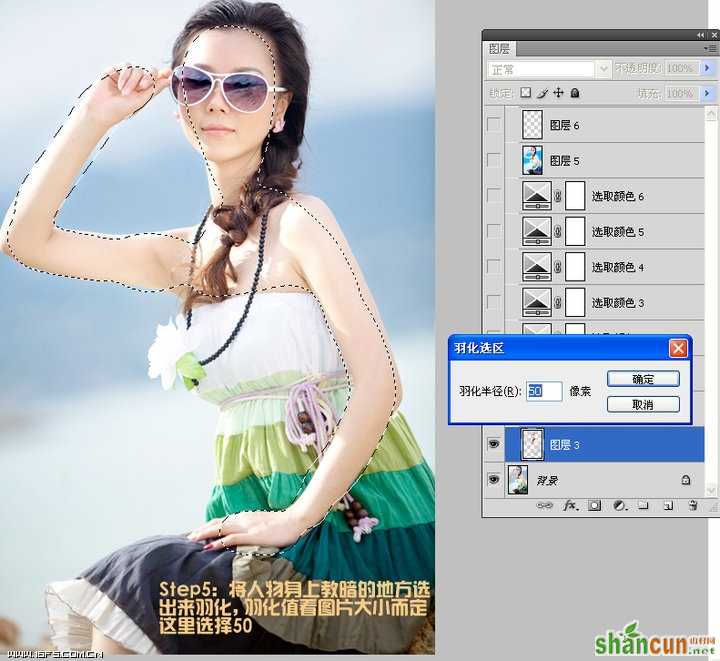
5、羽化
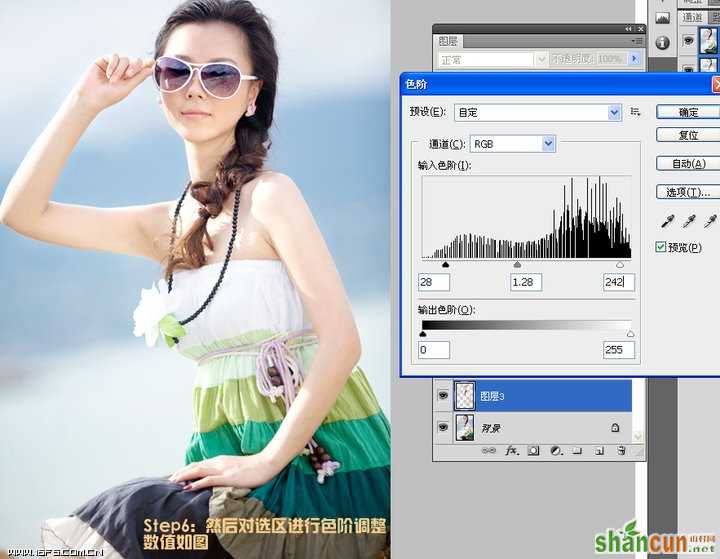
5、色阶调整
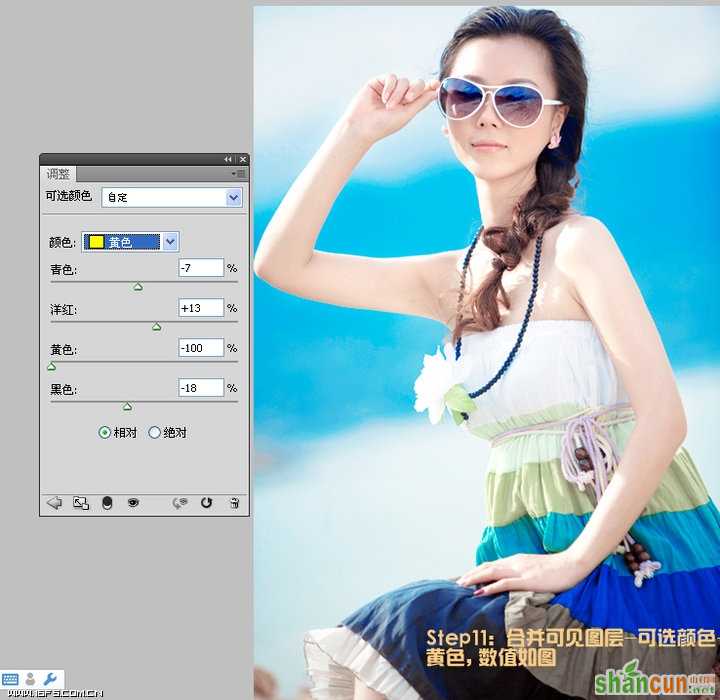
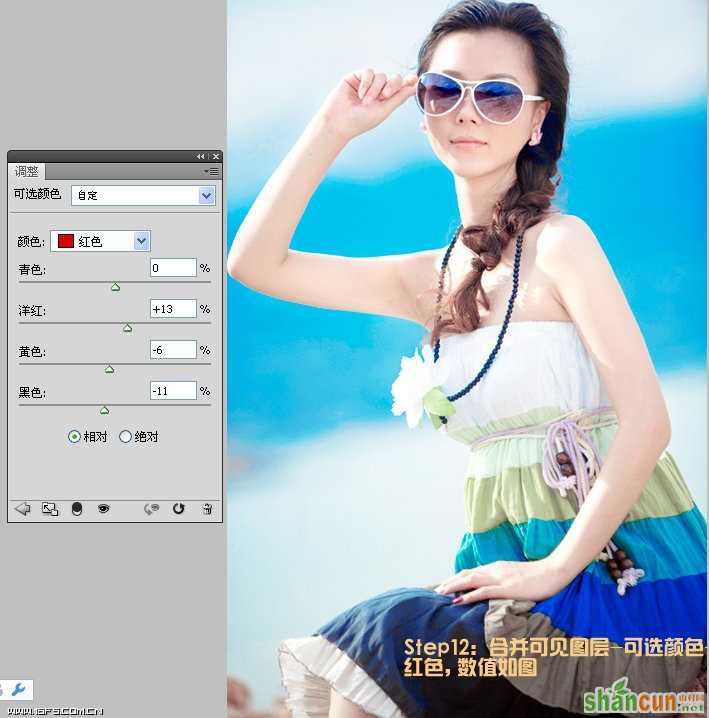
6、可选颜色

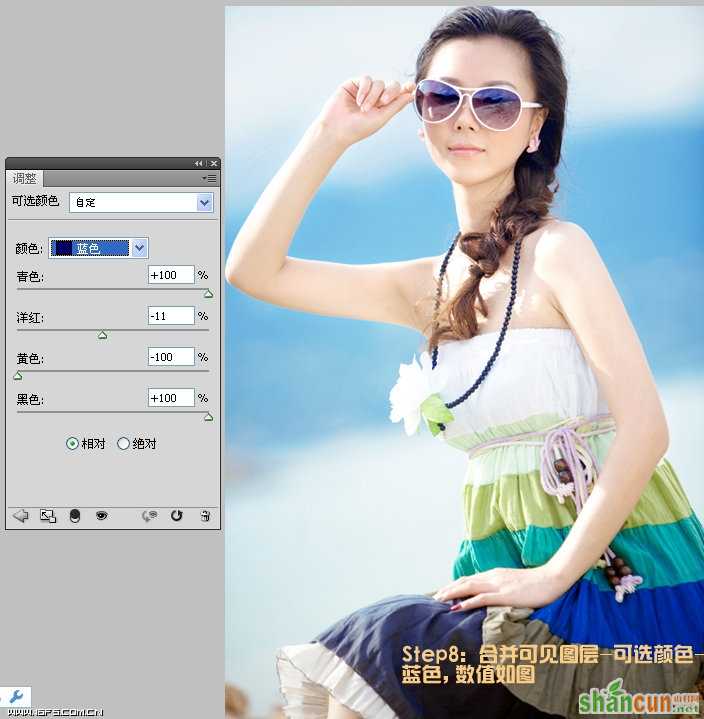
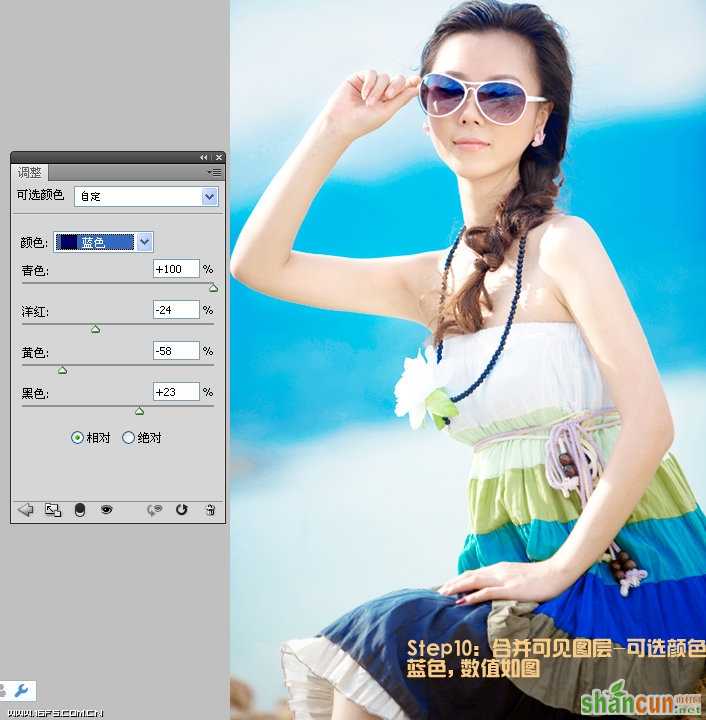
7、可选颜色 蓝色
8、可选颜色青色

最终效果对比

更多知识请关注 山村ps教程 栏目
PS怎么调出水蜜桃肌肤色调
效果
1、打开原图
2、调整曲线
3、ctrl+j复制图层,设置图层模式为 滤色
4、继续调整曲线
5、羽化
5、色阶调整
6、可选颜色
7、可选颜色 蓝色
8、可选颜色青色
最终效果对比
更多知识请关注 山村ps教程 栏目

手机看新闻


网站客服
法定工作日
8:30-17:30
微信扫描关注


