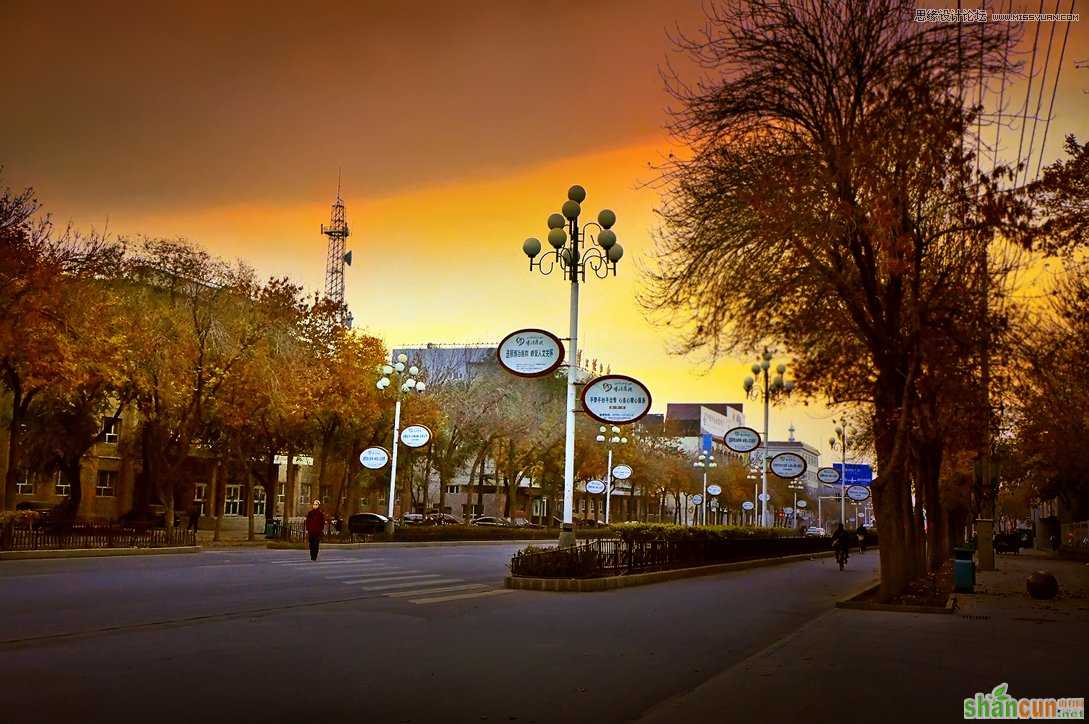
Photoshop如何调出街景温馨色调效果图
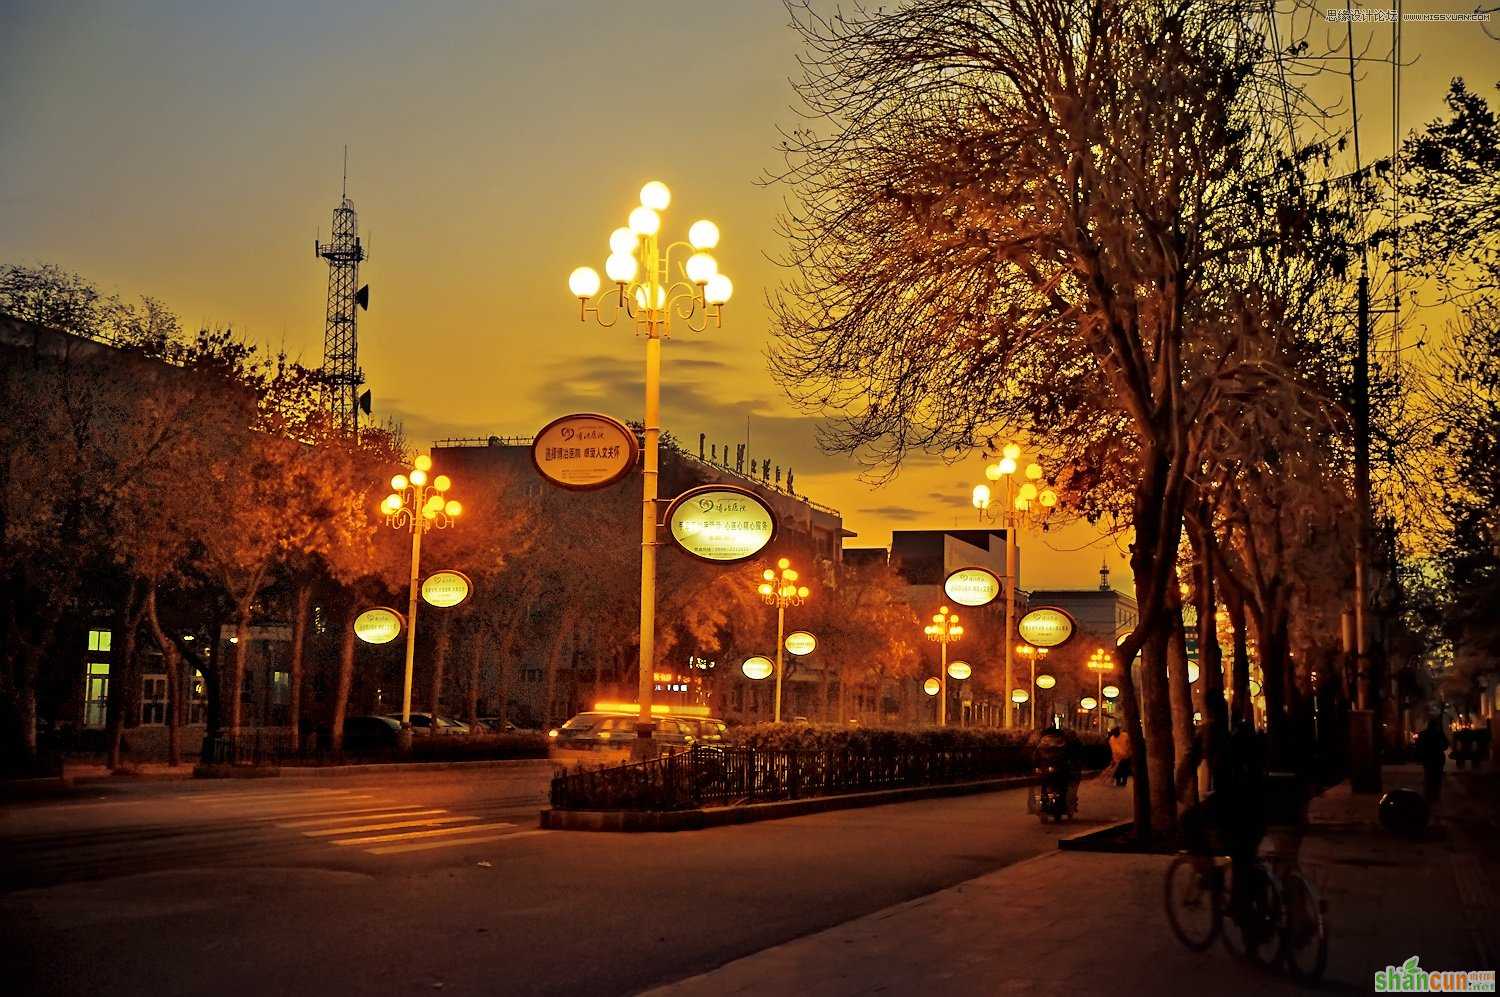
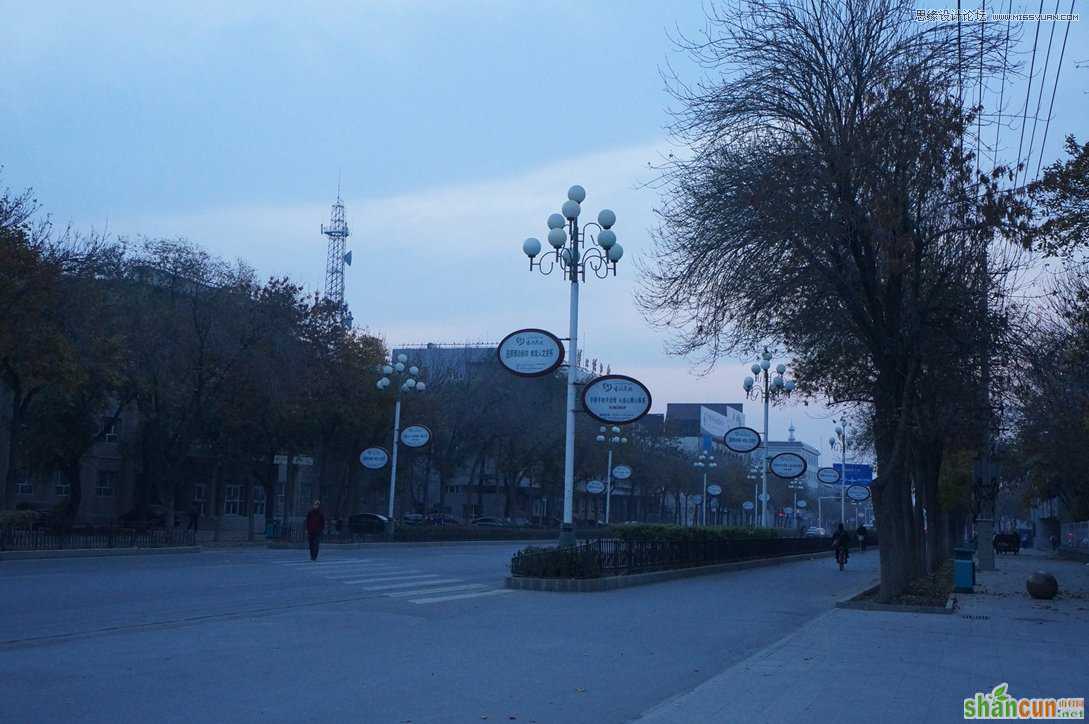
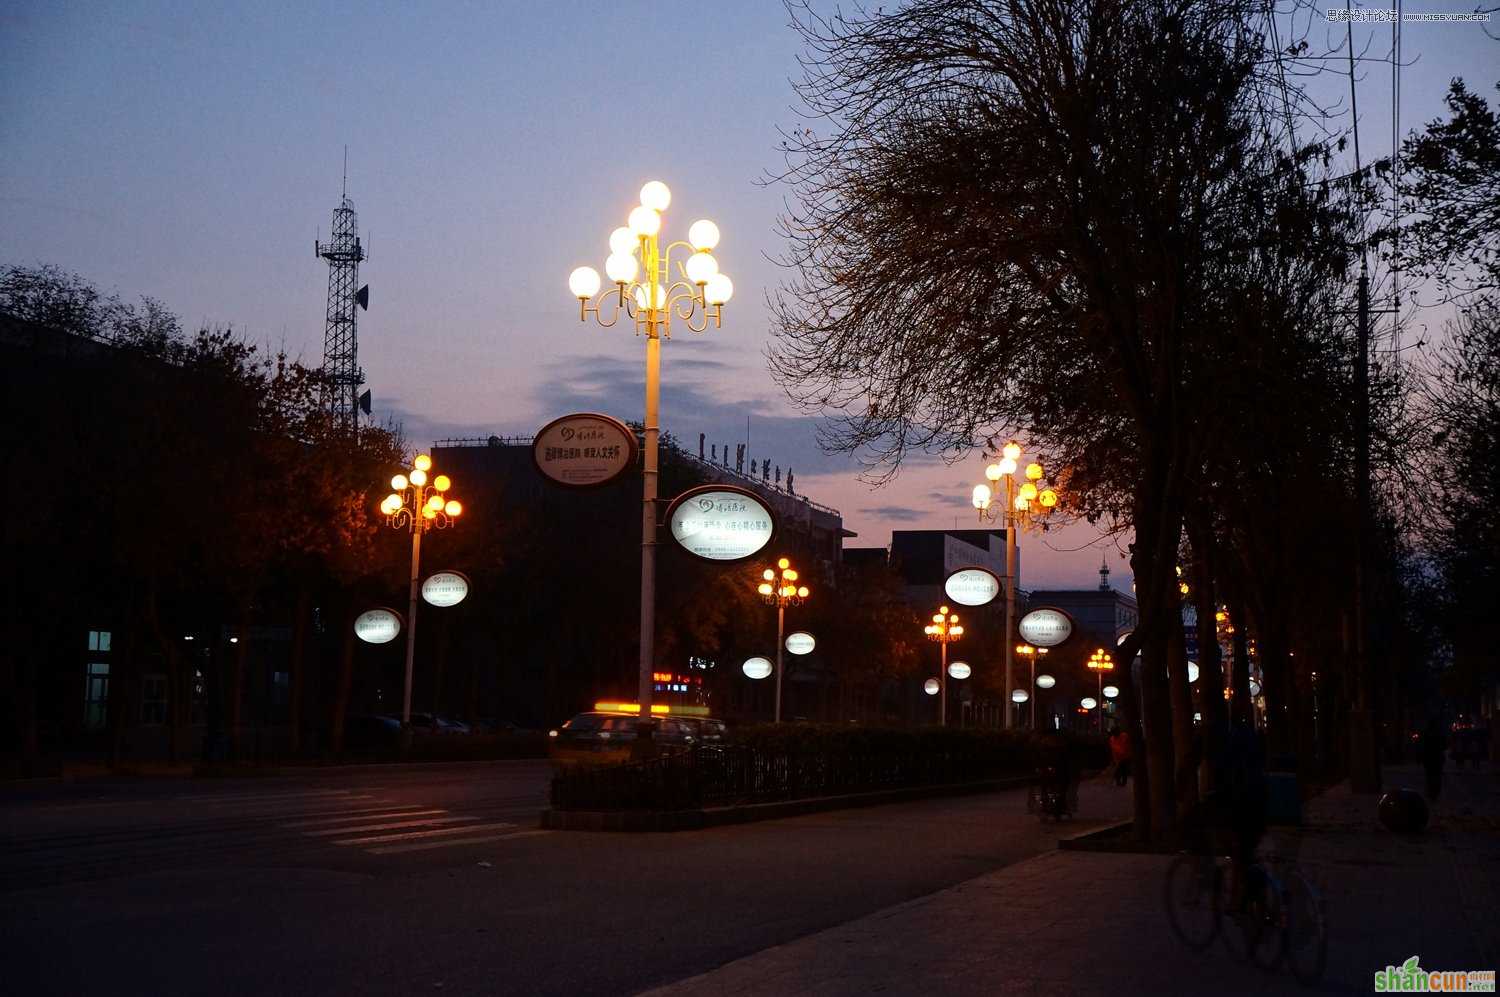
效果2是今天早晨散步时在同一个位置拍的,路灯还没有熄灭,有点象夜景效果,随意弄了一下,处理方法和思路和前面一样,我把原图也一并发上来


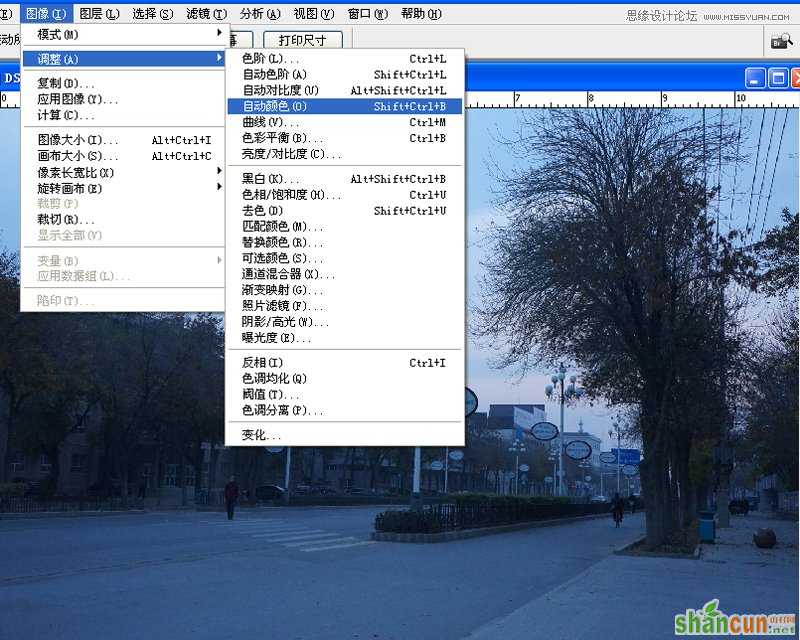
001、平均一下色彩。利用曲线或色价或色彩平衡等工具都可以进行调校。这里图省事,用的是:自动颜色,照片的色彩平衡得到了改善
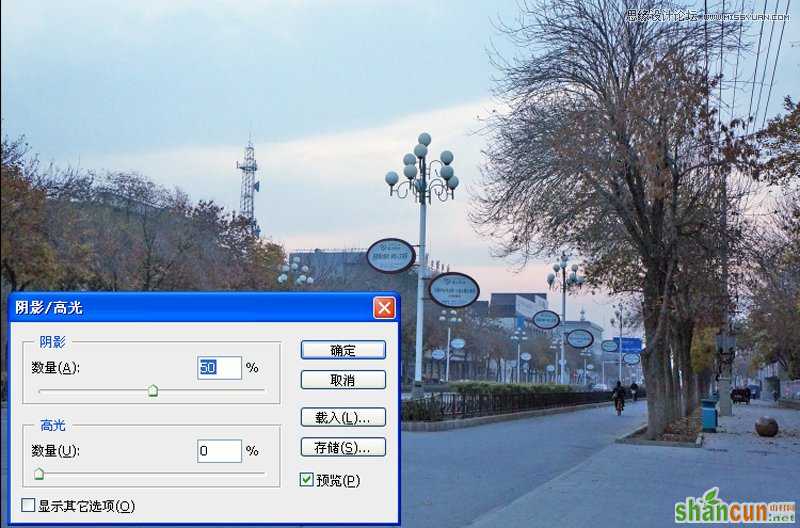
002、提亮暗部。执行图像/调整/阴影/高光
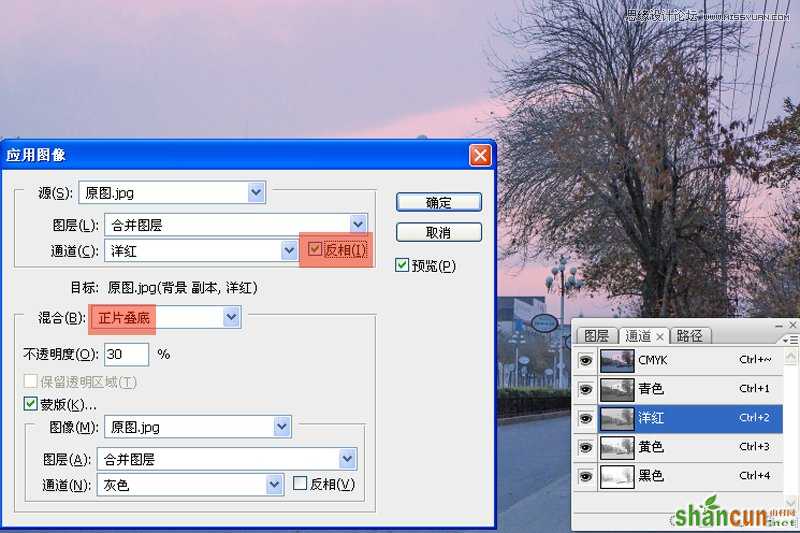
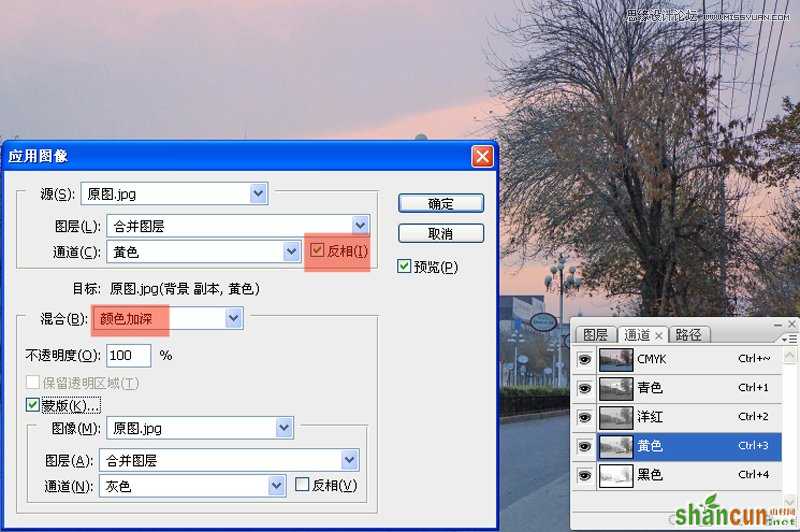
003、加强一下色彩。转换图像模式为:CBYK,分别对红色,黄色通道做应用图像操作,其中黄色通道做二应用图像操作,设置不变,目的是加强黄色
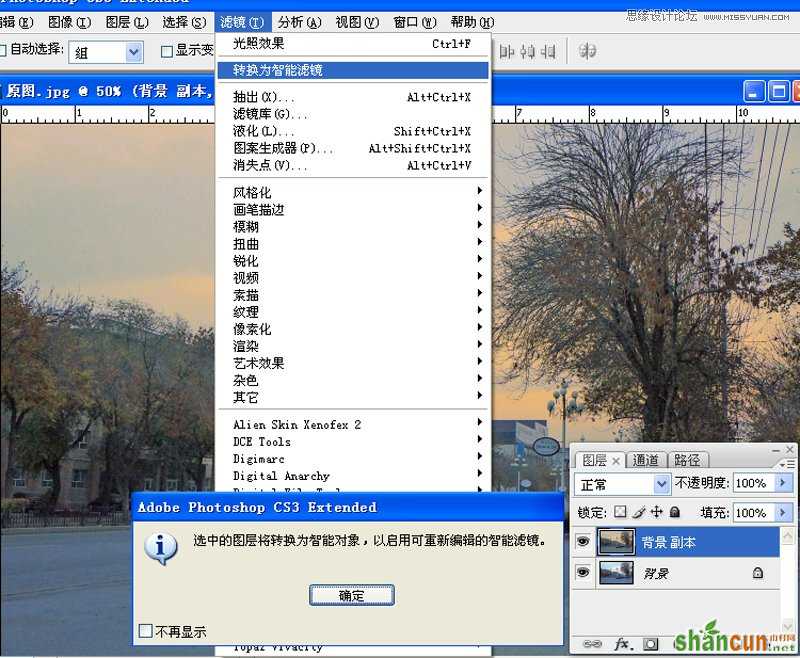
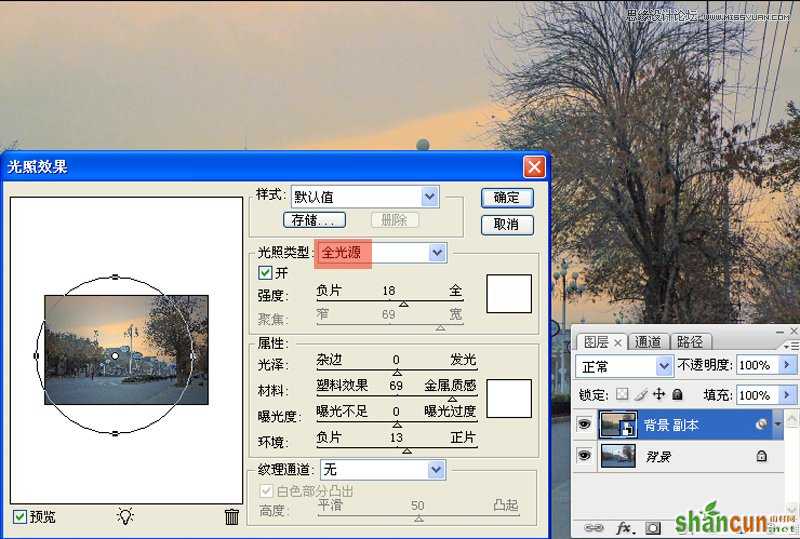
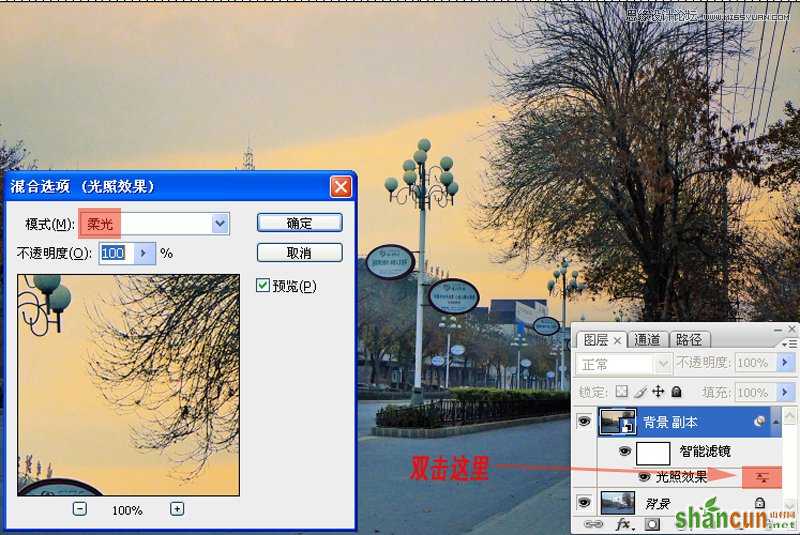
004、强调光影效果。转换为智能滤镜,滤镜/渲染/光照效果/选择:全光源,双击光照效果,弹出对话框,把光照效果混合选项模式改为:柔光
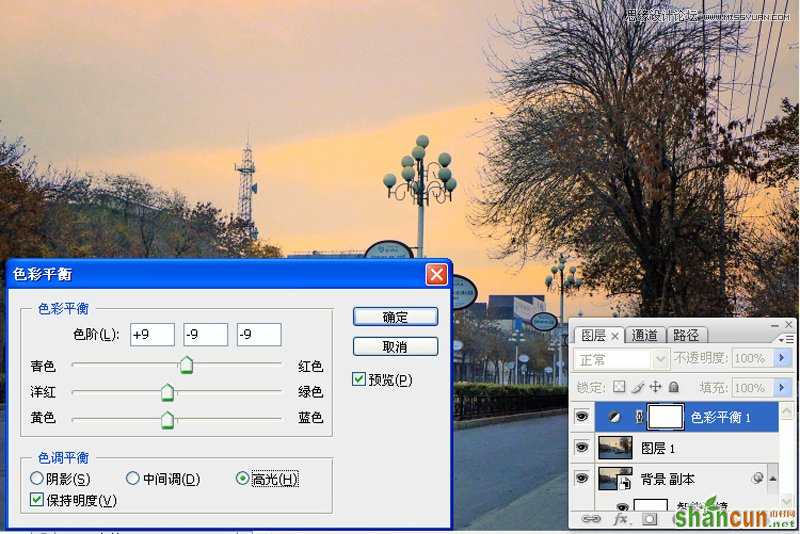
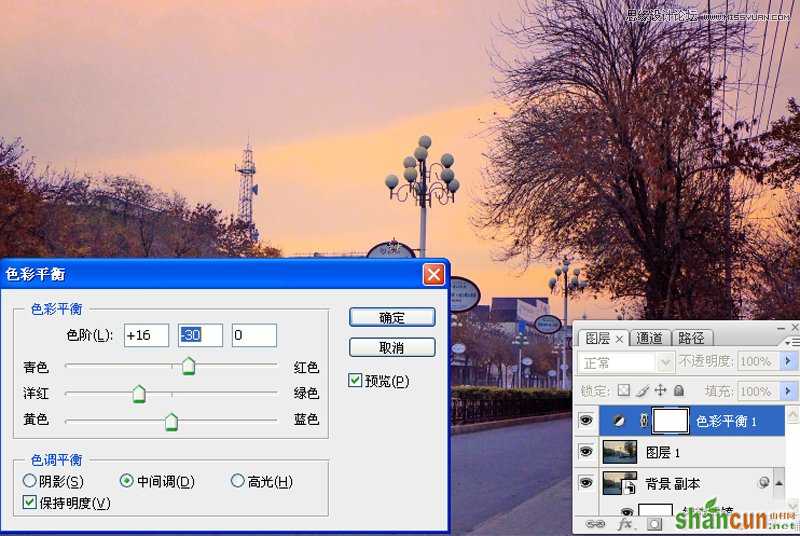
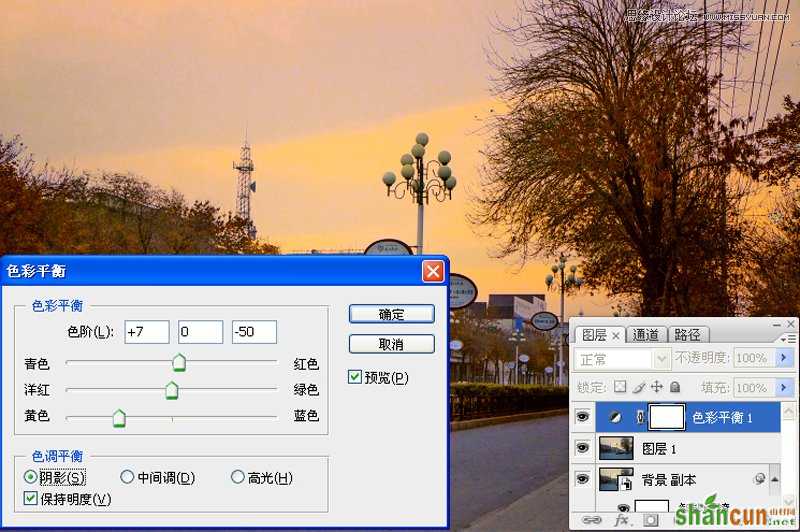
005、对照片进行定调调整。盖印图层(按CTRL+ALT+SHIFT+E),创建色彩平衡调整图层,分别对图像的高光/中间调/阴影进行调整
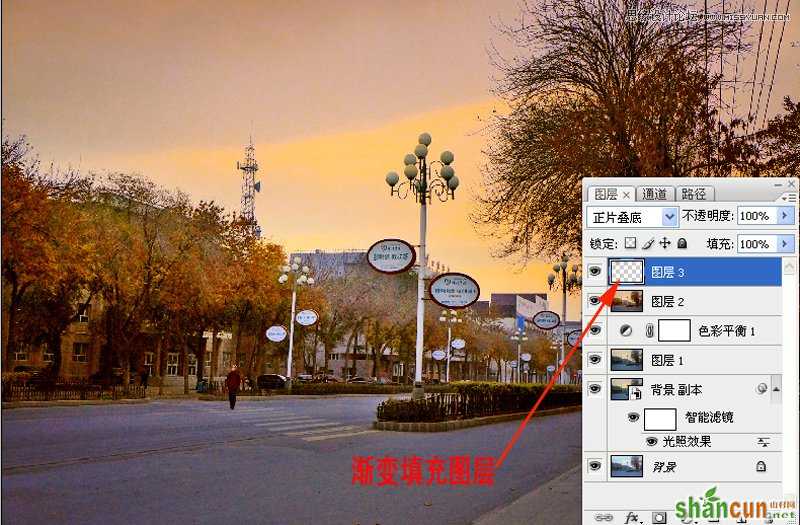
006、进行完善处理。新建一个空白图层,填充一下灰色,目的是对左上角亮部和下半部街面进行压暗。最后对街上的树进行局部提亮一点,再进行一下USM锐化后收工
最终效果图