最终效果图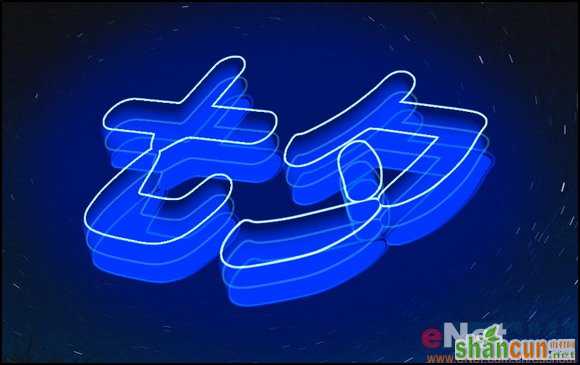 nmousewheel="return bbimg(this)" onload="javascript:resizepic(this)" border="0"/>
制作工具:Photoshop CS
制作过程:
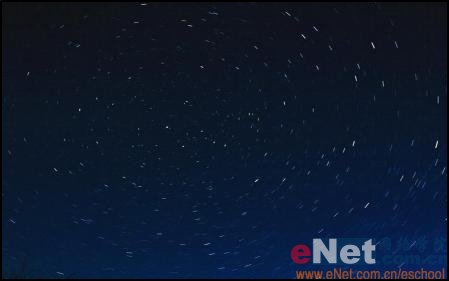
1、打开一幅背景图,效果如图01所示。
 nmousewheel="return bbimg(this)" onload="javascript:resizepic(this)" border="0"/>
图01
2、设置前景色的RGB分别为0、54、255,选择工具箱中的“横排文字工具”,设置好字体、大小,在窗口中输入文字,效果如图02所示。
 nmousewheel="return bbimg(this)" onload="javascript:resizepic(this)" border="0"/>
图02
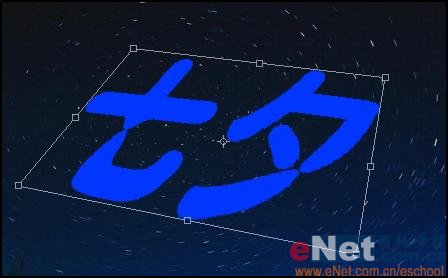
4、按Ctrl+T键为文字添加自由变形框,按住Ctrl键进行拖动,改变文字的形状,效果如图03所示。
 nmousewheel="return bbimg(this)" onload="javascript:resizepic(this)" border="0"/>
图03
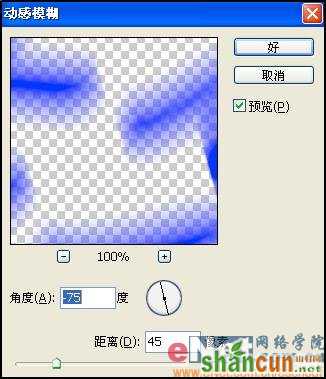
5、复制文字图层重命名为图层1。选择图层1,执行菜单栏中的“滤镜”“模糊”“动感模糊”命令,然后在动感模糊对话框中设置角度为-75,距离为45,如图04所示,图像效果如图05所示。
 nmousewheel="return bbimg(this)" onload="javascript:resizepic(this)" border="0"/>
图04
 nmousewheel="return bbimg(this)" onload="javascript:resizepic(this)" border="0"/>
图05
7、选择工具箱中的“移动工具”,将图层2中的图像移动到文字图层对象的上方,效果如图06所示。
 nmousewheel="return bbimg(this)" onload="javascript:resizepic(this)" border="0"/>
图06
8、将文字层拖动到图层面板下方的创建新图层按钮上进行复制,将其重命名为图层3,并移动到所有图层的上方。
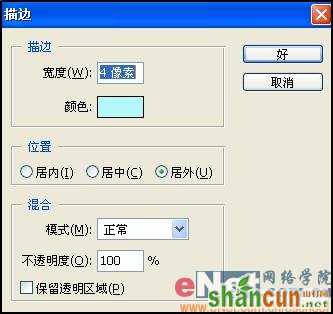
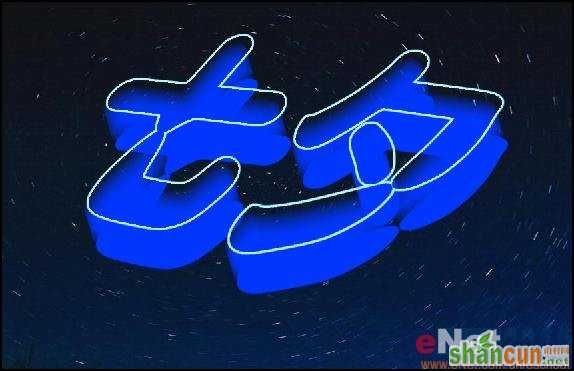
9、选择图层3,执行菜单栏中的“编辑”“描边”命令,设置宽度为4像素,颜色的RGB分别为181、248、252,居外,如图07所示,图像效果如图08所示。
 nmousewheel="return bbimg(this)" onload="javascript:resizepic(this)" border="0"/>
图07
 nmousewheel="return bbimg(this)" onload="javascript:resizepic(this)" border="0"/>
图08
10、选择工具箱中的“魔棒工具”,单击图层3中的蓝色区域,然后按Delete键删除,取消选区,并将其移动到图像的上方,效果如图09所示。
 nmousewheel="return bbimg(this)" onload="javascript:resizepic(this)" border="0"/>
图09
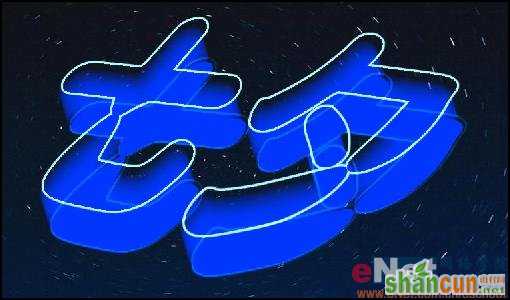
11、将图层3拖动到图层面板下方的创建新图层按钮上进行复制,将其重命名为图层4,然后在图层4中设置图层混合模式为“叠加”,选择工具箱中的“移动工具”将其移动到奥文字的下方,图像效果如图10所示。
 nmousewheel="return bbimg(this)" onload="javascript:resizepic(this)" border="0"/>
图10
12、将图层4拖动到图层面板下方的创建新图层按钮上进行复制,将其重命名为图层5,设置该层的混合模式为“强光”,3lian.com,不透明度为30%,移动图层5中的对象到文字和阴影中间,效果如图11所示。
 nmousewheel="return bbimg(this)" onload="javascript:resizepic(this)" border="0"/>
图11
13、按住Ctrl键单击图层3,载入图层3的选区,效果如图12所示。
 nmousewheel="return bbimg(this)" onload="javascript:resizepic(this)" border="0"/>
图12
14、执行菜单栏中的“选择”“修改”“收缩”命令,在对话框中将收缩量设置为1,如图13所示,效果如图14所示。
 nmousewheel="return bbimg(this)" onload="javascript:resizepic(this)" border="0"/>
图13
 nmousewheel="return bbimg(this)" onload="javascript:resizepic(this)" border="0"/>
图14
15、新建一个图层命名为图层6,3lian.com,设置混合模式为“变亮”,不透明度为50%,并将该层移动到最上方。
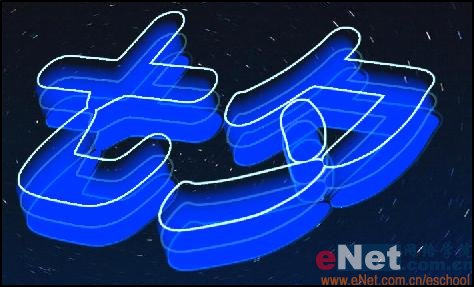
16、保持选区,设置前景色为白色,填充选区,取消选区效果如图15所示。
 nmousewheel="return bbimg(this)" onload="javascript:resizepic(this)" border="0"/>
图15
17、选择图层6,单击图层面板下方的“添加图层蒙版”按钮,选择工具箱中的“渐变工具”,由文字的左上方向右下方拖动,效果如图16所示。
 nmousewheel="return bbimg(this)" onload="javascript:resizepic(this)" border="0"/>
图16


