2010年文字制作
教程的立体字是用一款专业的3D软件完成的,如果大家喜欢这个效果的可以去网上下载这款软件。整个文字的制作可能比较繁琐,文字不仅表面贴上了花纹图案,周围也加了很多装饰花纹。总体效果非常漂亮。
最终效果
 nmousewheel="return bbimg(this)" onload="javascript:resizepic(this)" border="0"/>
1、我们利用Xara3D来创建3D的效果,然后导入到PS中。启动Xara3D,新建一个文件(如果没有这款软件的可以去网上下载)。
 nmousewheel="return bbimg(this)" onload="javascript:resizepic(this)" border="0"/>
2、点击Text Options 进入文本编缉框。
 nmousewheel="return bbimg(this)" onload="javascript:resizepic(this)" border="0"/>
添加Color options:(颜色选项)。
 nmousewheel="return bbimg(this)" onload="javascript:resizepic(this)" border="0"/>
Extrusion options:(挤压选项) 。
 nmousewheel="return bbimg(this)" onload="javascript:resizepic(this)" border="0"/>
Bevel Options:(斜我选项) 。
 nmousewheel="return bbimg(this)" onload="javascript:resizepic(this)" border="0"/>
Shadow Options:(阴影选项) 。
 nmousewheel="return bbimg(this)" onload="javascript:resizepic(this)" border="0"/>
然后我们还要设置数字的角度和光照。
 nmousewheel="return bbimg(this)" onload="javascript:resizepic(this)" border="0"/>
按上面的步骤做出2010的各个文字。
 nmousewheel="return bbimg(this)" onload="javascript:resizepic(this)" border="0"/>
 nmousewheel="return bbimg(this)" onload="javascript:resizepic(this)" border="0"/>
 nmousewheel="return bbimg(this)" onload="javascript:resizepic(this)" border="0"/>
 nmousewheel="return bbimg(this)" onload="javascript:resizepic(this)" border="0"/>
3、在PS中新建一个文件1200*1920像素文件,选择RGB颜色。
 nmousewheel="return bbimg(this)" onload="javascript:resizepic(this)" border="0"/>
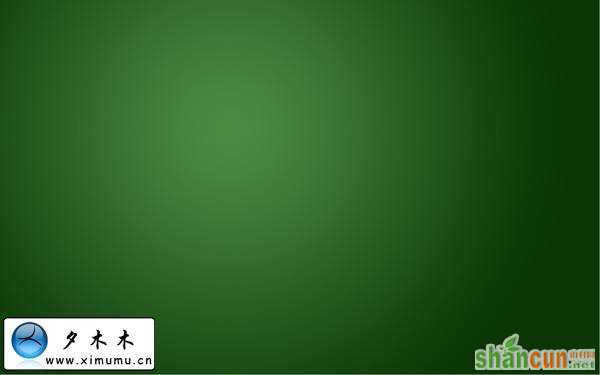
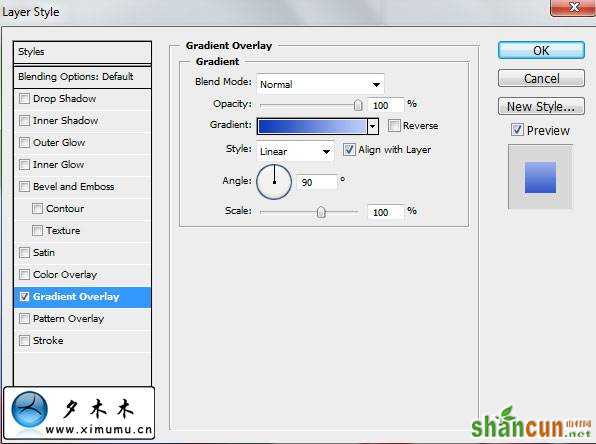
4、双击背景层,把背离景层变成普通层。然后再次双击该图层,弹出图层样式,选择颜色渐变。颜色渐变设置如下。
 nmousewheel="return bbimg(this)" onload="javascript:resizepic(this)" border="0"/>
 nmousewheel="return bbimg(this)" onload="javascript:resizepic(this)" border="0"/>
 nmousewheel="return bbimg(this)" onload="javascript:resizepic(this)" border="0"/>
5、把原先做的3D文字导入到PS中,并保证它们各自有一个图层。然后用移动工具拖动设置如下图。
 nmousewheel="return bbimg(this)" onload="javascript:resizepic(this)" border="0"/>
6、在"0"数字图层上,按CTTL+U我们来更改下"0"的颜色。
 nmousewheel="return bbimg(this)" onload="javascript:resizepic(this)" border="0"/>
 nmousewheel="return bbimg(this)" onload="javascript:resizepic(this)" border="0"/>
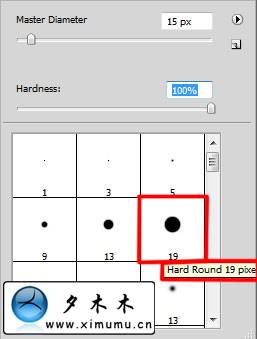
7、我们为每个数字新建一个新的图层。并选择圆形硬画笔工具。然后用画笔在每个数字正面涂上白。
 nmousewheel="return bbimg(this)" onload="javascript:resizepic(this)" border="0"/>
 nmousewheel="return bbimg(this)" onload="javascript:resizepic(this)" border="0"/>
8、为每个数字上色:数字"2"设置如下:
 nmousewheel="return bbimg(this)" onload="javascript:resizepic(this)" border="0"/>
 nmousewheel="return bbimg(this)" onload="javascript:resizepic(this)" border="0"/>
 nmousewheel="return bbimg(this)" onload="javascript:resizepic(this)" border="0"/>
数字"0"设置如下:
 nmousewheel="return bbimg(this)" onload="javascript:resizepic(this)" border="0"/>
 nmousewheel="return bbimg(this)" onload="javascript:resizepic(this)" border="0"/>
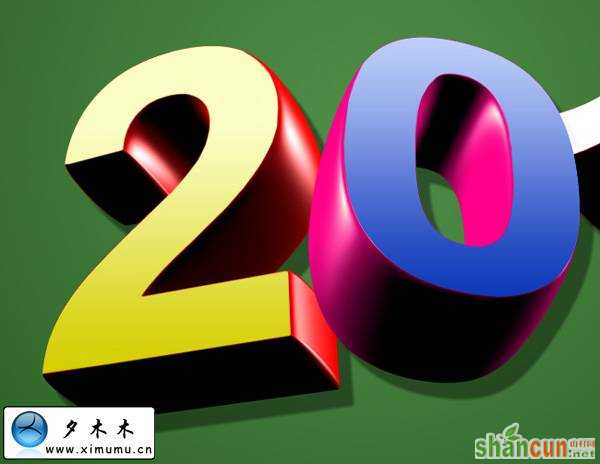 nmousewheel="return bbimg(this)" onload="javascript:resizepic(this)" border="0"/>
数字"1"设置如下:
 nmousewheel="return bbimg(this)" onload="javascript:resizepic(this)" border="0"/>
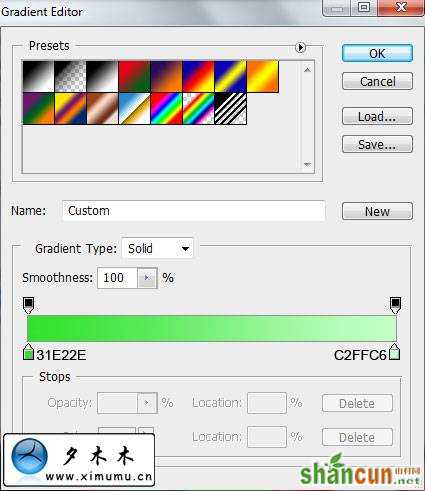 nmousewheel="return bbimg(this)" onload="javascript:resizepic(this)" border="0"/>
 nmousewheel="return bbimg(this)" onload="javascript:resizepic(this)" border="0"/>
数字"0"设置如下:
 nmousewheel="return bbimg(this)" onload="javascript:resizepic(this)" border="0"/>
 nmousewheel="return bbimg(this)" onload="javascript:resizepic(this)" border="0"/>
 nmousewheel="return bbimg(this)" onload="javascript:resizepic(this)" border="0"/>
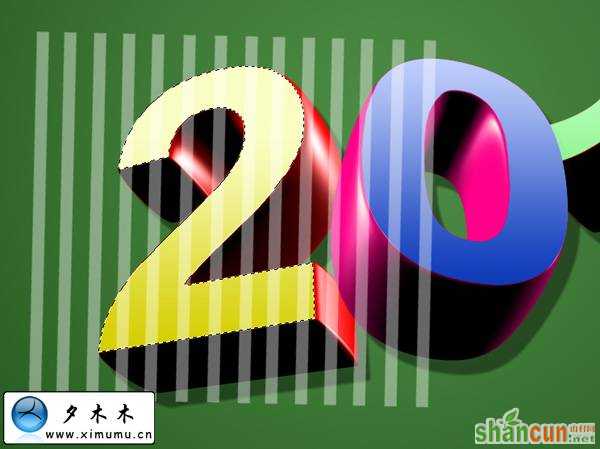
9、新建一个图层,然后使用矩形选框工具,画出几行,并填充白色,如图所示:
 nmousewheel="return bbimg(this)" onload="javascript:resizepic(this)" border="0"/>
10、按ctrl+T移动位置,并设图层的不透明度为40%。
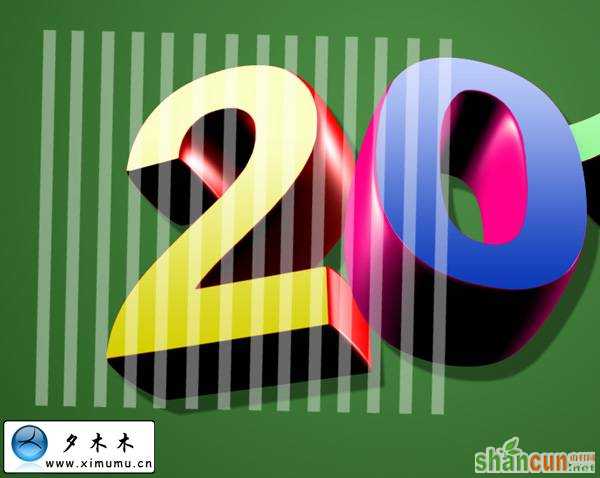 nmousewheel="return bbimg(this)" onload="javascript:resizepic(this)" border="0"/>
11、选择刚才那个画笔填充的图层,然后按住CTRL不放,在图层上点一下,这样就可以自动选择选区。最后再选择选区,删除外面的。
 nmousewheel="return bbimg(this)" onload="javascript:resizepic(this)" border="0"/>
12、按上面步骤为下面几个数字添加效果。
 nmousewheel="return bbimg(this)" onload="javascript:resizepic(this)" border="0"/>
13、点此下载笔刷,然后新建一个图层,选择这几个笔刷。
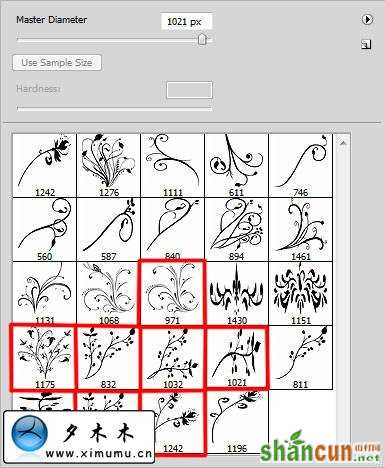 nmousewheel="return bbimg(this)" onload="javascript:resizepic(this)" border="0"/>
14、为数字添加花纹,然后删除多余的花纹。
 nmousewheel="return bbimg(this)" onload="javascript:resizepic(this)" border="0"/>
15、图层的不透明度改为68%,并更改混合选项:luminosity。
 nmousewheel="return bbimg(this)" onload="javascript:resizepic(this)" border="0"/>


