
教程将带领大家用PS制作一幅绚丽的砖墙上的霓虹灯效果图,制作过程比较简单,没有太多PS操作经验的朋友只要跟着学习也可以掌握。
最终效果图
 nmousewheel="return bbimg(this)" onload="javascript:resizepic(this)" border="0"/>
素材图
 nmousewheel="return bbimg(this)" onload="javascript:resizepic(this)" border="0"/>
1、打开素材,新建色相/饱和度调整图层,设置如下图:
 nmousewheel="return bbimg(this)" onload="javascript:resizepic(this)" border="0"/>
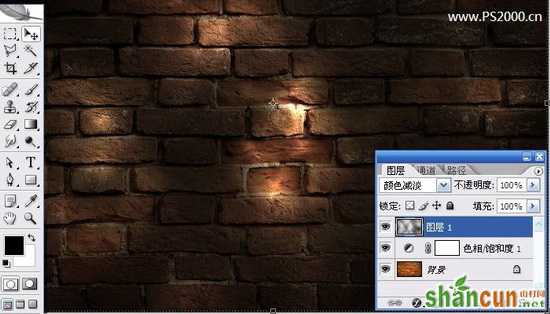
2、新建图层并将此图层设为颜色减淡模式。按D键恢复前、背景色为黑色。滤镜—渲染-云彩,尽量将中心部分设为高亮,可以按ctrl+F多试几次。
 nmousewheel="return bbimg(this)" onload="javascript:resizepic(this)" border="0"/>
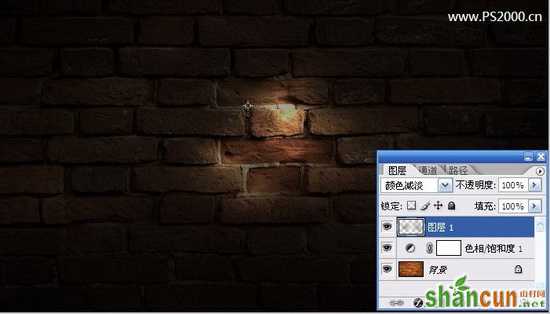
3、用橡皮擦擦去周围多余的部分,只保留中间部分的高光效果。
 nmousewheel="return bbimg(this)" onload="javascript:resizepic(this)" border="0"/>
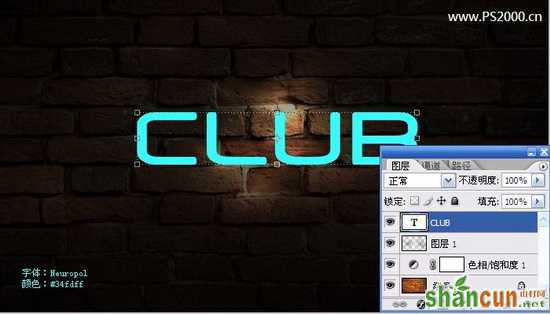
4、输入文字
 nmousewheel="return bbimg(this)" onload="javascript:resizepic(this)" border="0"/>
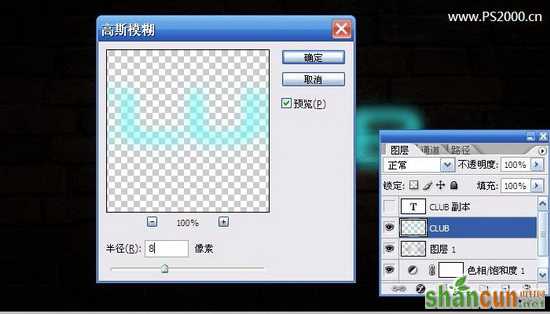
5、将文字图层复制1个备用,暂时隐藏显示。3lian素材,最底层的文字图层高斯模式处理
 nmousewheel="return bbimg(this)" onload="javascript:resizepic(this)" border="0"/>
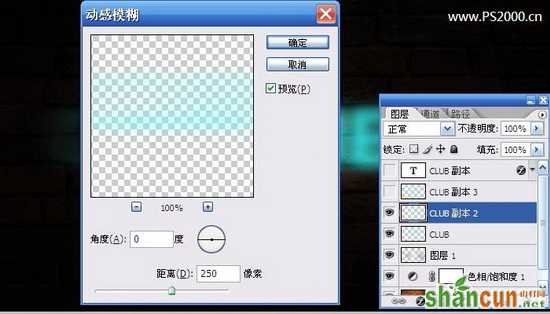
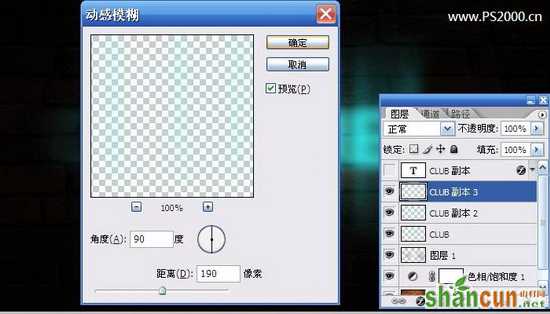
6、复制刚刚高斯模糊的图层,滤镜-模糊-动感模糊,角度0,距离250
 nmousewheel="return bbimg(this)" onload="javascript:resizepic(this)" border="0"/>
 nmousewheel="return bbimg(this)" onload="javascript:resizepic(this)" border="0"/>
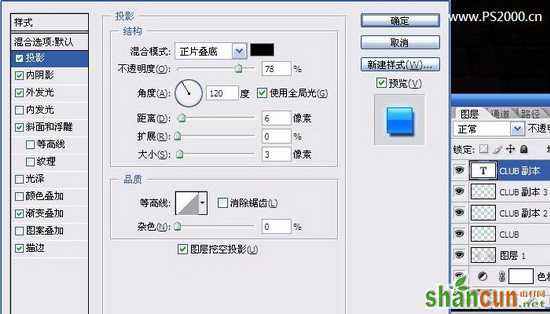
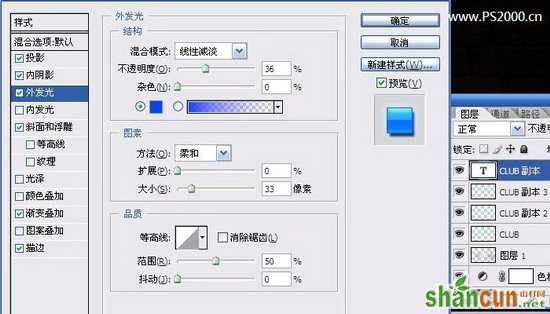
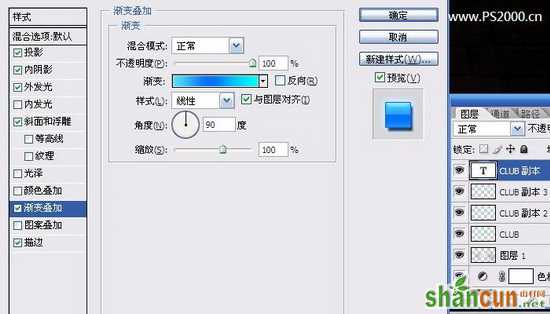
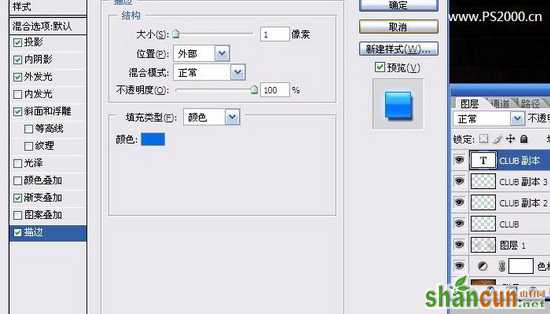
8、显示最上方的文字图层,依次设置如下图层样式:
nmousewheel="return bbimg(this)" onload="javascript:resizepic(this)" border="0"/>
 nmousewheel="return bbimg(this)" onload="javascript:resizepic(this)" border="0"/>
 nmousewheel="return bbimg(this)" onload="javascript:resizepic(this)" border="0"/>
 nmousewheel="return bbimg(this)" onload="javascript:resizepic(this)" border="0"/>
 nmousewheel="return bbimg(this)" onload="javascript:resizepic(this)" border="0"/>
 nmousewheel="return bbimg(this)" onload="javascript:resizepic(this)" border="0"/>
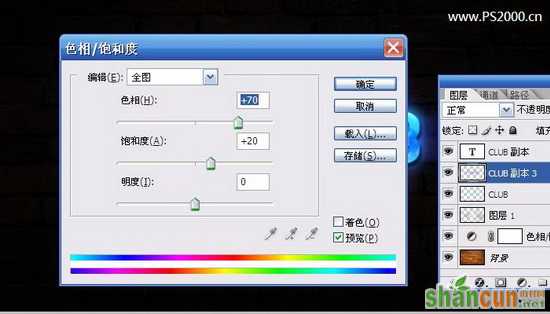
9、合并做动感模糊的那两个图层,调整一下色相,使其发出深蓝光效果
nmousewheel="return bbimg(this)" onload="javascript:resizepic(this)" border="0"/>
10、最后再添加一些花纹装饰一下。最终效果如下:
nmousewheel="return bbimg(this)" onload="javascript:resizepic(this)" border="0"/>


