
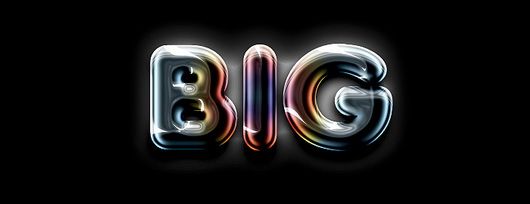
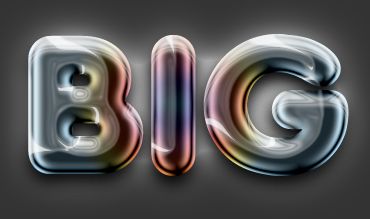
看到过许多Photoshop教程教大家如何创建铬文字效果。在本教程中,我们将更进一步学习如何创建一个彩色镀铬的文字效果。
 nmousewheel="return bbimg(this)" onload="javascript:resizepic(this)" border="0"/>
最终效果
首先,我们需要一个粗的圆形字体。然后创建一个新文件,尺寸为500px x 500px 。深灰色的背景就不错。不要选择黑色的因为我们稍后要调整这部分。用大约190pt大小的字体在新图层上写出BIG。如下图所示:
 nmousewheel="return bbimg(this)" onload="javascript:resizepic(this)" border="0"/>
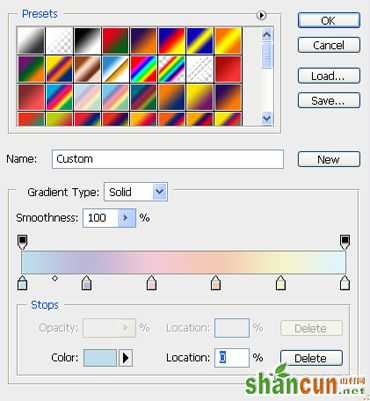
双击字体图层打开图层样式窗口。单击渐变叠加,创建渐变,设置如下图:
 nmousewheel="return bbimg(this)" onload="javascript:resizepic(this)" border="0"/>
 我们将需要以下6种颜色(从左到右):
1. #bedeec
2. #bcb7d7
3. #f0c9d7
4. #f5c8b5
5. #f5f2ca
6. #dff3fe
现在我们就能得到下图的效果:
 nmousewheel="return bbimg(this)" onload="javascript:resizepic(this)" border="0"/>
 回到图层面板,点击光泽,使用如下设置:
 nmousewheel="return bbimg(this)" onload="javascript:resizepic(this)" border="0"/>
现在我们得到的效果应该像这样:
 nmousewheel="return bbimg(this)" onload="javascript:resizepic(this)" border="0"/>
现在我们将应用以下风格:内发光,外发光,内阴影和投影。让我们看看它们的设置:
内发光:
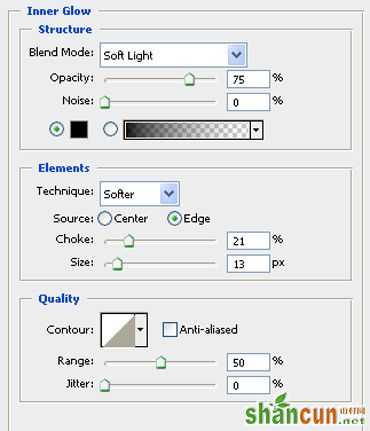 nmousewheel="return bbimg(this)" onload="javascript:resizepic(this)" border="0"/>
外发光:
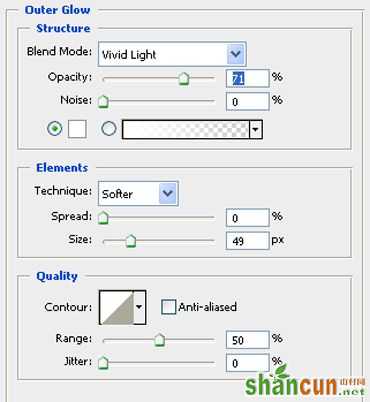 nmousewheel="return bbimg(this)" onload="javascript:resizepic(this)" border="0"/>
 内阴影使用自定义设置的等高线,如下图:
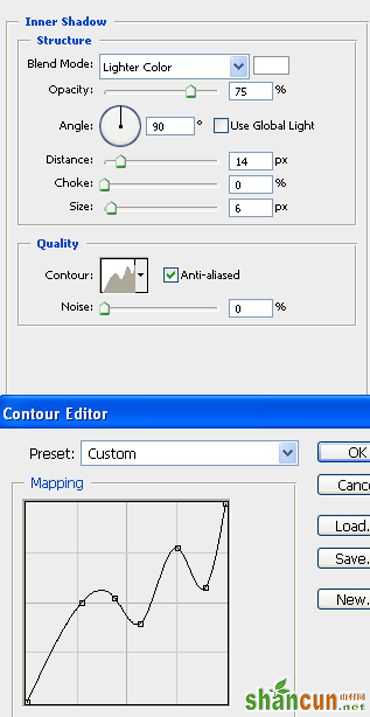 nmousewheel="return bbimg(this)" onload="javascript:resizepic(this)" border="0"/>
投影:
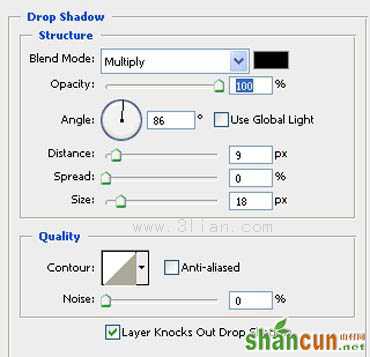 nmousewheel="return bbimg(this)" onload="javascript:resizepic(this)" border="0"/>
这是设置完之后的效果:
 nmousewheel="return bbimg(this)" onload="javascript:resizepic(this)" border="0"/>
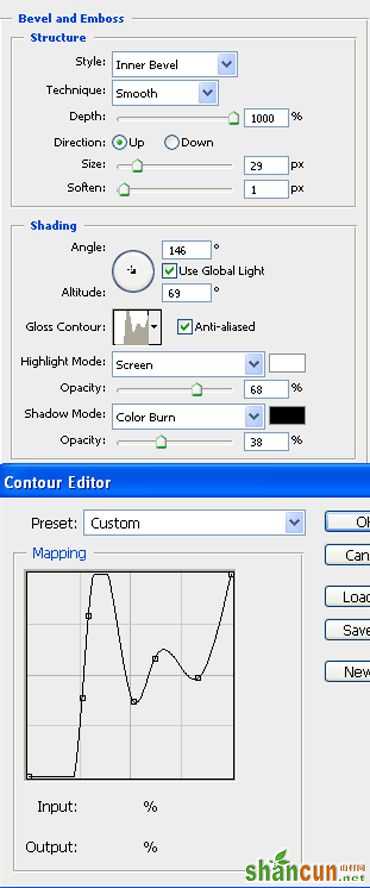
 看起来不错,但我们还可以改进它。实际上它还并不像铬。我们必须去应用下图的斜面和浮雕风格。让我们看看这些设置。自定义的等高线也可以在下图找到:
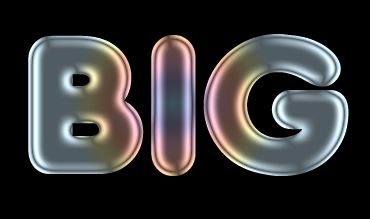
nmousewheel="return bbimg(this)" onload="javascript:resizepic(this)" border="0"/>我们会得到这样的效果:
 nmousewheel="return bbimg(this)" onload="javascript:resizepic(this)" border="0"/>
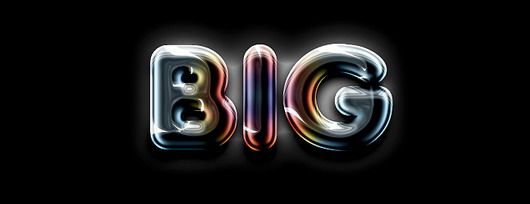
这样看效果就更好了。3lian素材,颜色深一些会更好不是吗?去图层>新建调整图层>曝光度,并输入以下设置:
 nmousewheel="return bbimg(this)" onload="javascript:resizepic(this)" border="0"/>
这就是我们的最终结果:
 nmousewheel="return bbimg(this)" onload="javascript:resizepic(this)" border="0"/>


