
如果想绘制某个文字效果,多数同学都会用到图层样式,今天的教程,就将这一运用玩到了巅峰,作者显然对图层样式的运用已纯熟于心,最终效果可见一斑,至于可学习的那些闪光点,同学们边学边来发掘吧。
教程素材:哥特风格的艺术字PS教程素材
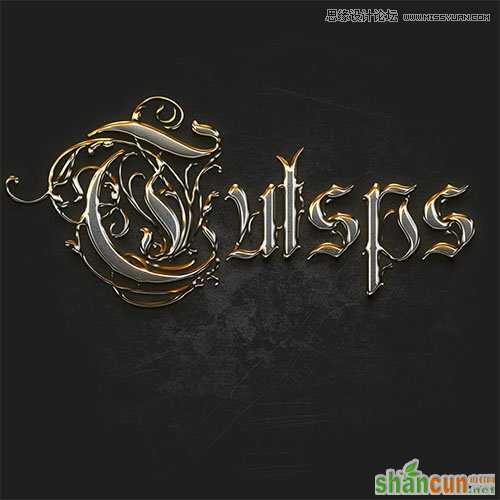
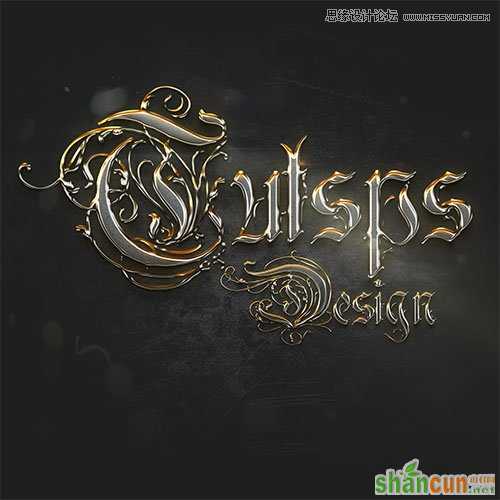
最终效果:

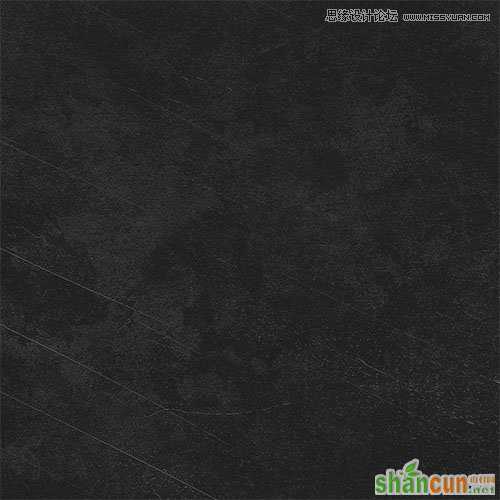
首先,新建一个2200×1700px的文档,分辨率为72Dpi,颜色为RGB。然后使用油漆桶工具(G)填充深灰色#1f1f1f。
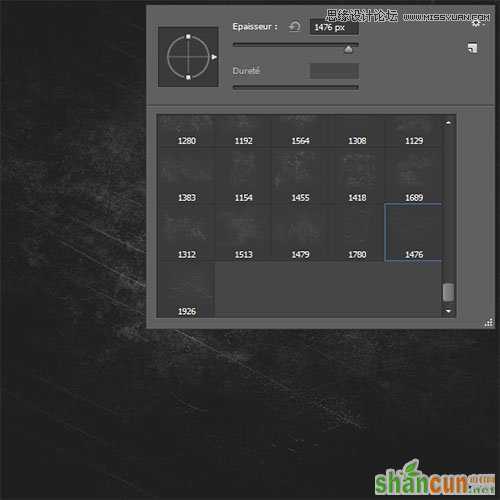
然后新建一个图层(Ctrl+Shift+N),用画笔工具(B),和Grunge风格笔刷绘制。(编者注:优设网有关于这类风格的好文,想全面了解的同学搜认识GRUNGE就可以咯)
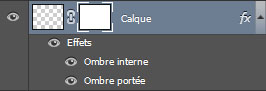
然后进入混合选项
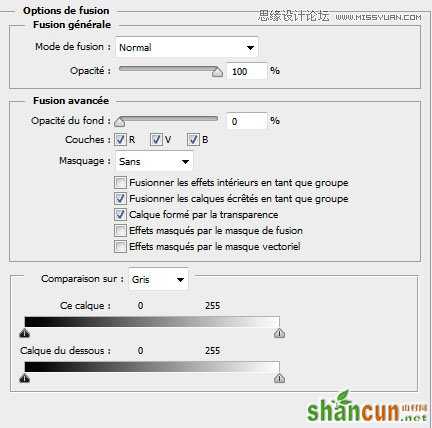
填充不透明度改为0
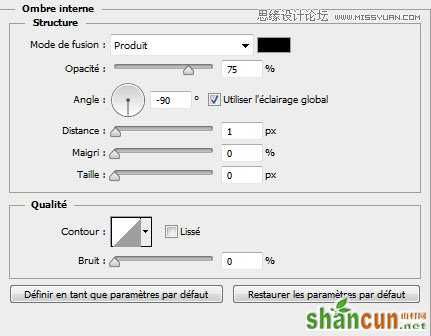
内阴影,叠加方式正片叠底,角度-90度,距离1px,阻塞和大小均为0
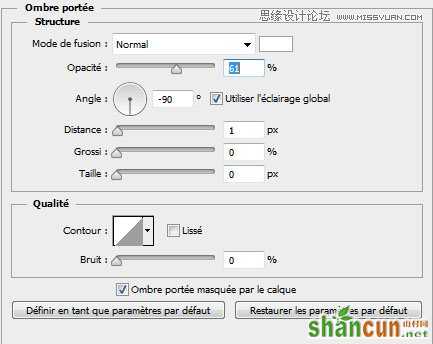
内发光,叠加方式为正常,不透明度61%,角度-90度,距离1px,阻塞和大小均为0
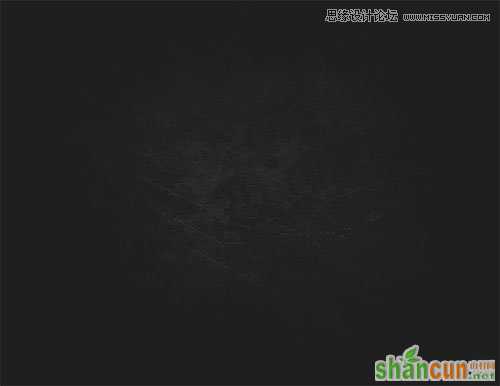
叠加之后效果变成这样:
现在添加一个图层蒙版,在菜单>图层>图层蒙版>显示全部
进入这个图层蒙版(Alt+单击图层蒙版略缩图),使用渐变工具(G),从中央到顶部画一个径向渐变。

这步会隐藏周围的轮廓,结果如下:
使用文字工具(T)并使用Rothenburg字体素材,435pt大小输入文本。
然后进入混合选项(图层样式)
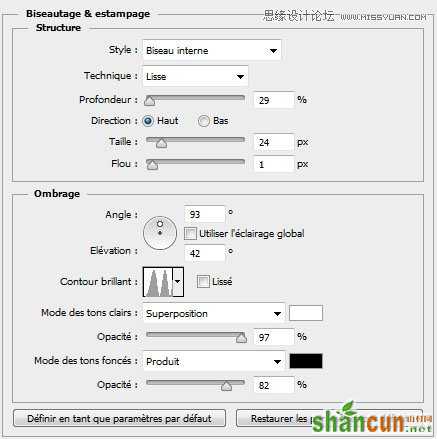
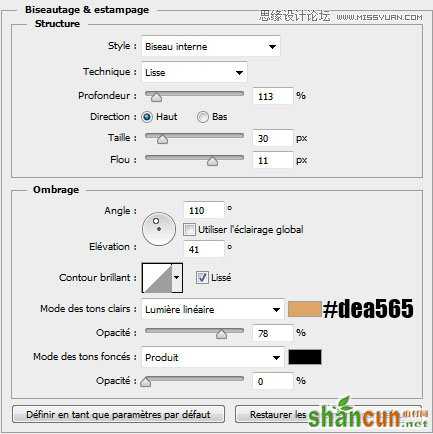
斜面和浮雕。
内斜面;平滑;深度29%;方向:上;大小24px;软化1px;角度93°;高度42°;光泽等高线如图;高光模式:滤色、97%;阴影模式:正片叠底、82%
等高线:如图
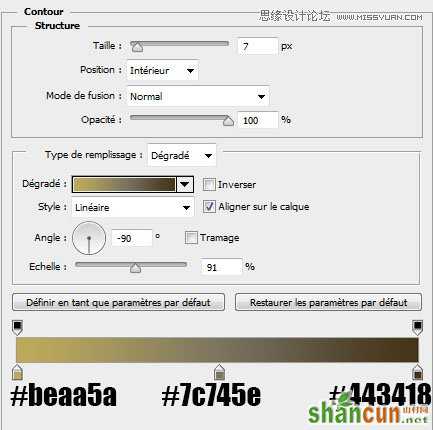
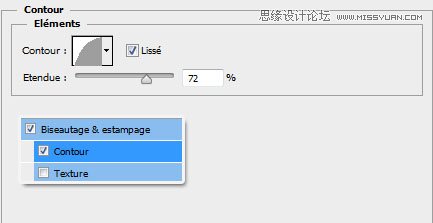
描边。位置:内部;混合模式:正常。填充类型:渐变,其他如图
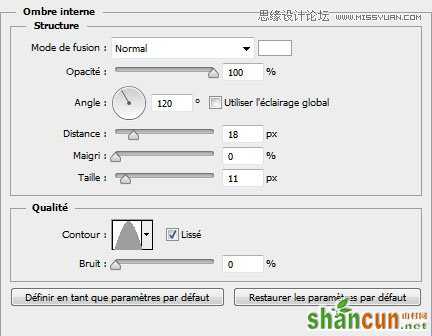
内阴影。混合模式:正常,其他如图
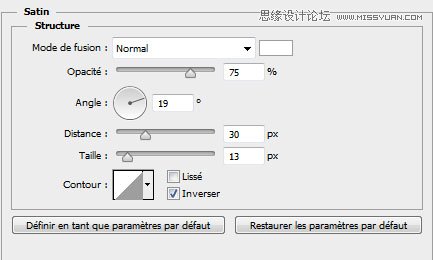
光泽。混合模式:正常,其他如图
颜色叠加

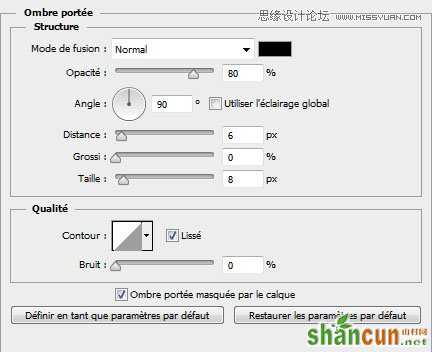
投影。混合模式:正常,其他如图
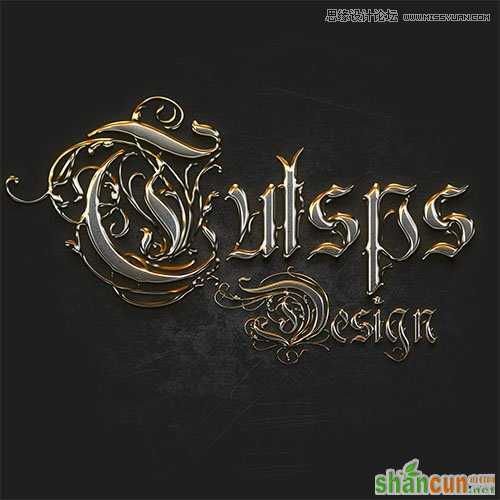
做出来是这样:
现在复制图层,然后转到菜单>图层>图层样式>清除图层样式
然后新添加一个图层样式。
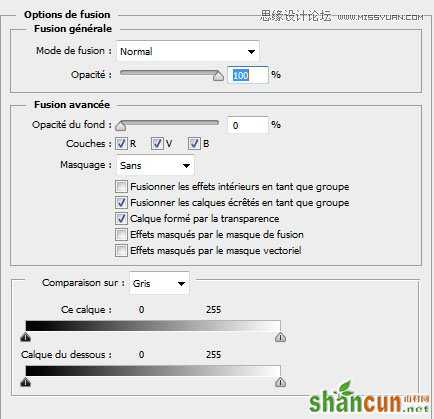
混合选项。混合模式:正常。填充0
斜面和等高线,设置同上,数值如图
等高线
描边。位置:内部;混合模式:正常。

内阴影。混合模式:正常。
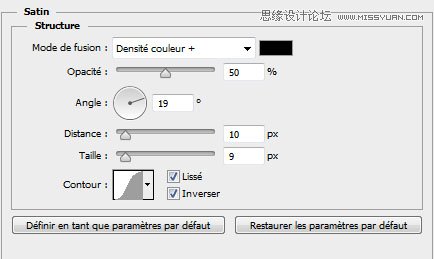
光泽。混合模式:颜色加深,其他如图。
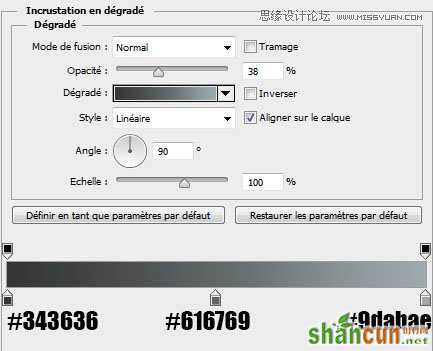
渐变叠加。混合模式:正常;样式:线性,其他如图
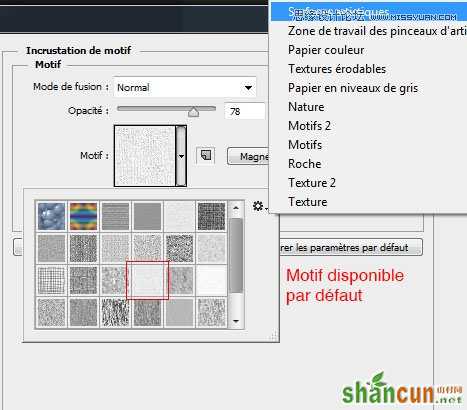
图案叠加。追加图案。
外发光。混合模式:滤色;方法:柔和,其他如图
投影。混合模式:正常,其他如图
应用了这些图层样式之后得到结果。
你可以将同样的样式应用在另一个文本。
现在,把下图光晕导入文档,并如图调整。
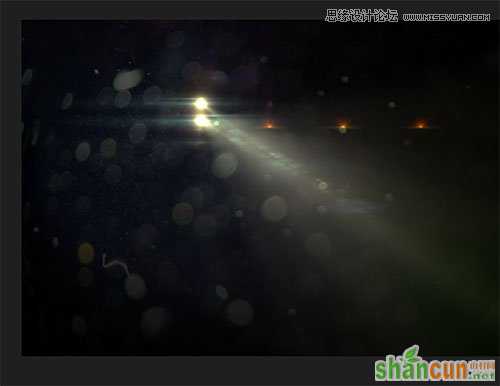
将混合模式改为滤色并把不透明度降为46%.

然后删除光晕的轮廓,用橡皮擦工具(E)或者用图层蒙版。
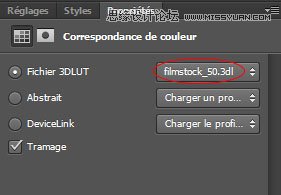
最后,前往菜单>图层>新建调整图层>颜色查找。在颜色查找中使用图中设置。
这就是最终效果

注:更多精彩教程请关注山村photoshop教程栏目,山村PS群:182958314欢迎你的加入


