
许多时候我们需要给图片添加一些文字,来体现图片的主题,这里提供了一种方法,使用ps软件中的文字工具。那么photoshop怎么输入字?下面小编就为大家介绍PS输入文字方法,一起来看看吧!
横排文字
1、打开软件,如图。(不懂的话,鼠标双击桌面PS的图标即可)
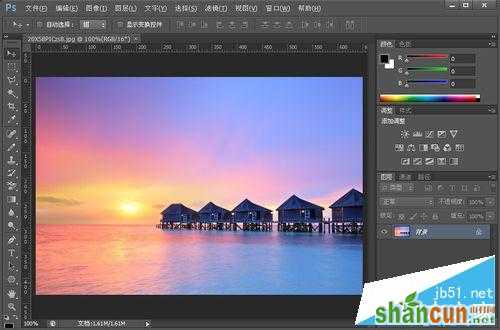
2、打开需要输入文字的图片。(直接通过文件—打开—然后选择图片,即可)(这里举例图片来源百度图片)
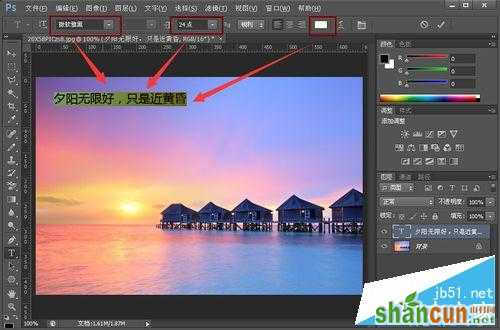
3、选择“文本工具 ( 快捷键T )”,如图,然后在图片上单击,输入文字,如图
4、修改文字字体、大小、颜色。文本工具选中文字。如图,红色框依次为:字体、大小、颜色。只需左键单击,弹出下拉,即可选择,很简单。
竖排文字
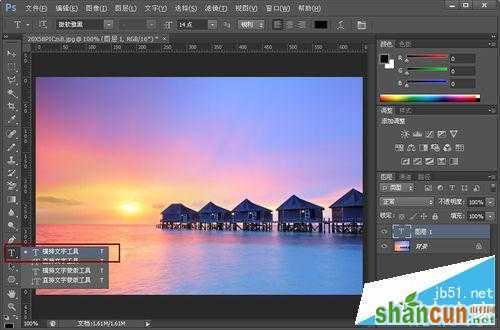
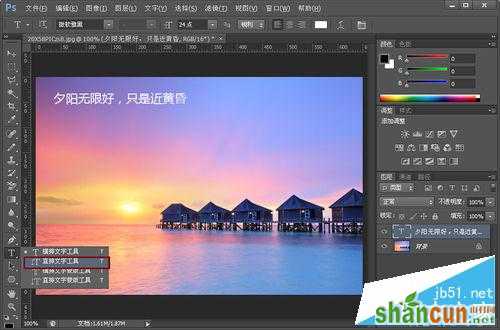
1、选择”文本工具“——”直排文字工具“ 如图,
2、然后直接左键单击,输入文字,即按竖排方式显示。
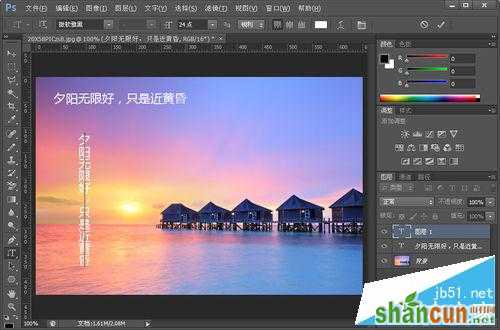
3、字体、大小、颜色设置同上,不再累赘。
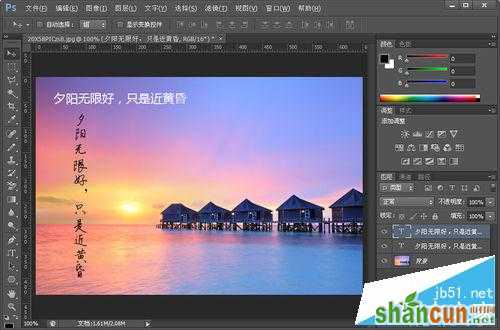
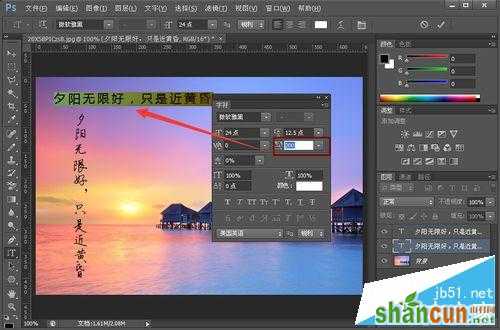
4、如需调整字间距,先选择文字,后按”Ctrl+T“ 弹出设置框。如图红色框设置,其他一些参数也可以通过此设置,可自行尝试。
以上就是PS输入文字教程,大家学会了吗?方法很简单,与兴趣的朋友可以自己尝试一下哦!


