
效果字制作分为三个部分:背景、字体效果、装饰。背景使用了一张与主题相关的星空素材,微调了颜色;字体部分用了多个图层,每一层用不同的样式增加描边、浮雕、纹理等;最后加上一些星光装饰即可。
最终效果

1、创建950*550像素画布,将星空素材置入到背景图层上方,然后按画布大小调整尺寸。
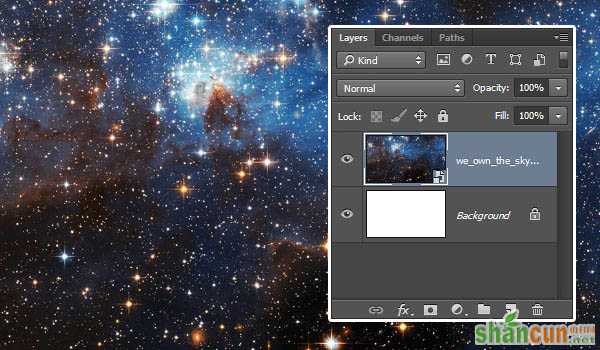
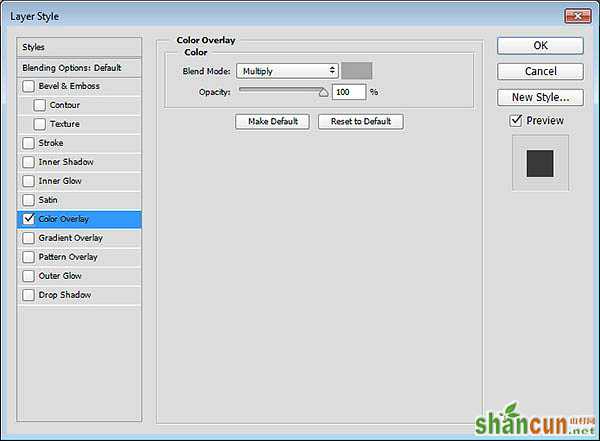
2、双击星空图层,应用图层样式中的颜色叠加,设置混合模式为正片叠底,颜色为#a6a6a6。
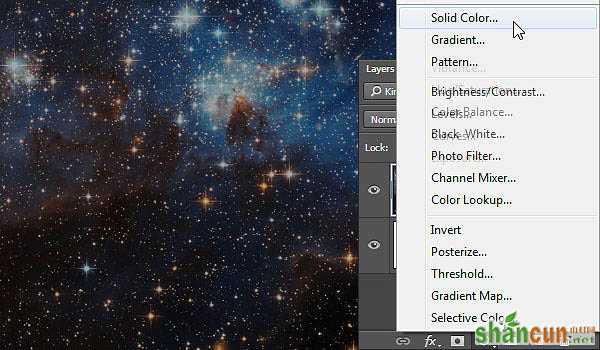
3、这样会让星空背景稍微变暗一点。在图层面板,点击添加纯色调整图层。
4、选用颜色#fced82,设置调整图层混合模式为正片叠底,不透明度为25%。
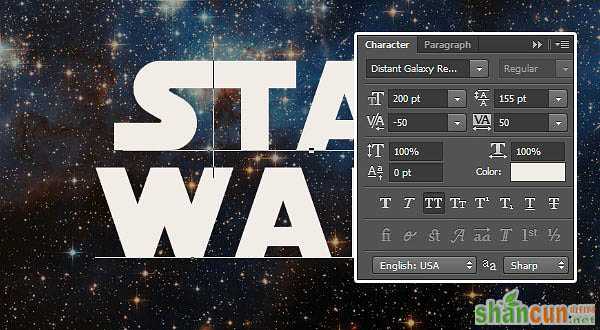
5、下载SF Distant Galaxy字体。字母S和T大写。打开字体特性,设置字体颜色为#f2ece6,大小200点,字高155点,字间距50点。
6、接下来调整各个字母之间的字间距。选定两个字母进行设置,设置如下:S和T字间距-50点,AR字间距50点,RS字间距-50点。
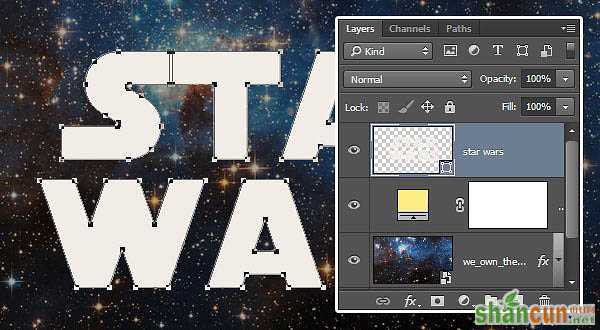
7、点击选择“类型>转变为形状”。
8、选择直接选择工具,点击拖动R字母尾巴的两个点,如下图。
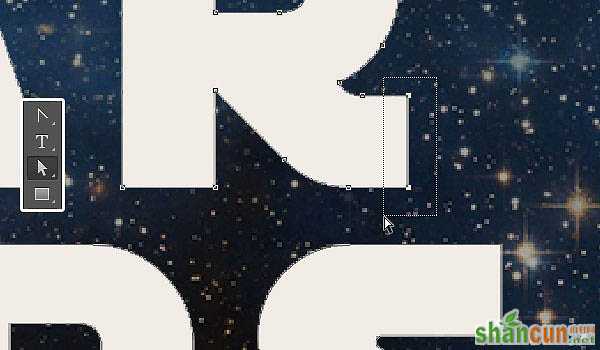
9、按着向右的方向键,将R字母的尾巴延伸到与S字母对齐。
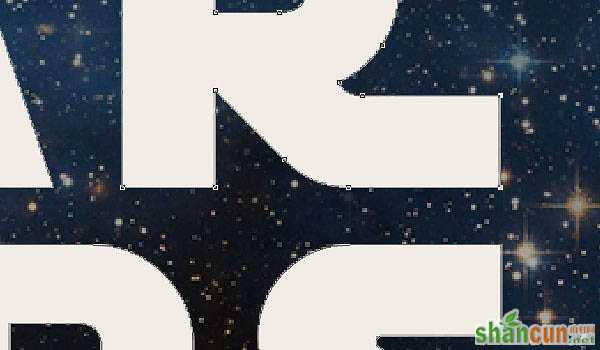
10、选择右下的S字母的尾巴延伸到与旁边的R字母接合,左上S字母同样延伸至与下面W字母对齐。

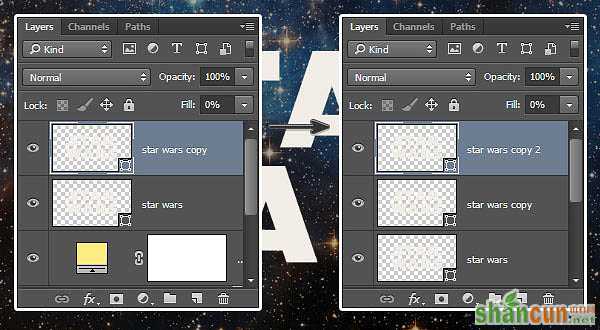
11、双击形状图层,设置填充度为0,复制二次副本。
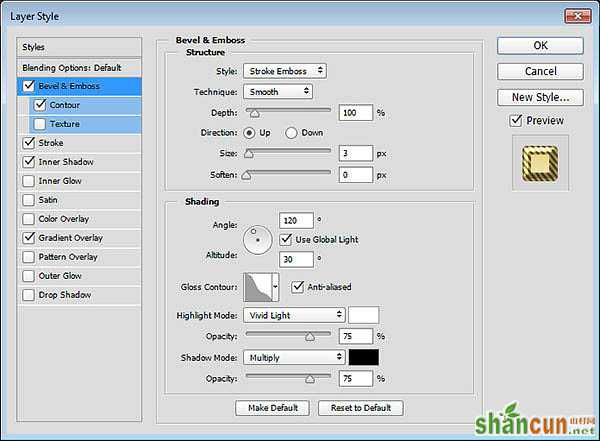
12、双击原来形状图层,应用下面的图层样式。
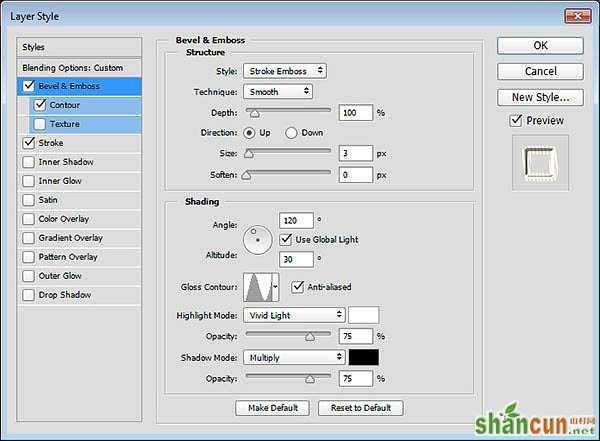
点击添加斜面和浮雕,设置样式为描边浮雕、大小3像素、光泽等高线逆向高斯、勾选消除锯齿、高光模式为亮光。
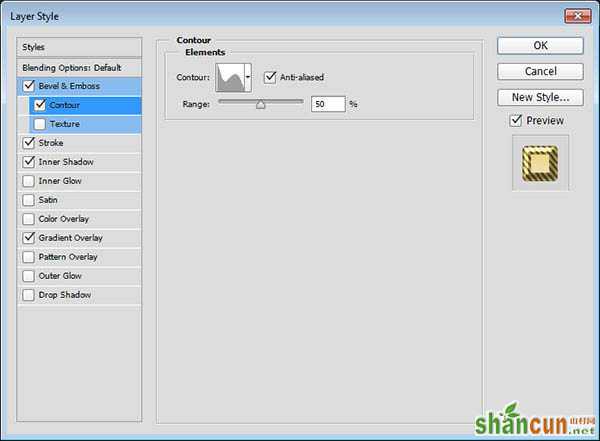
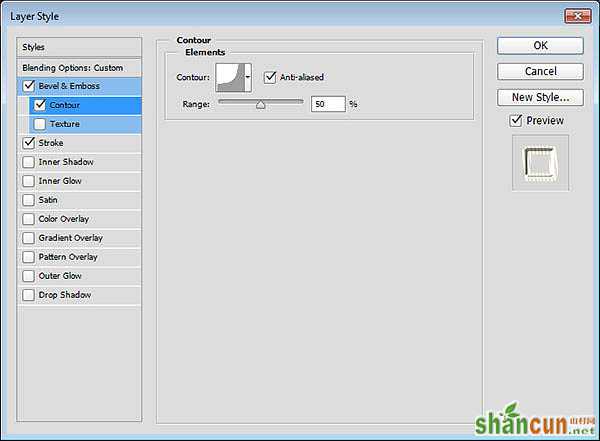
点击添加等高线,设置等高线为滚动斜坡-递减、勾选消除锯齿。
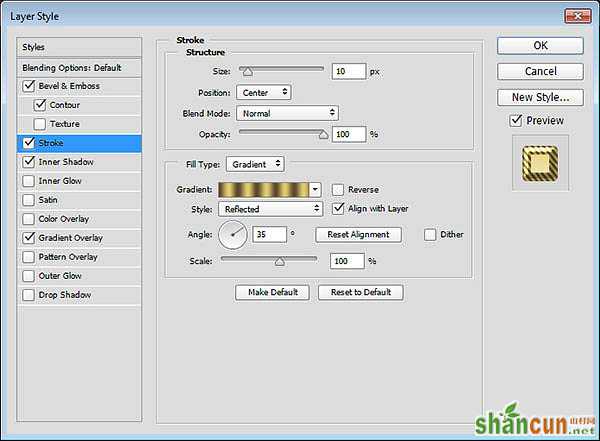
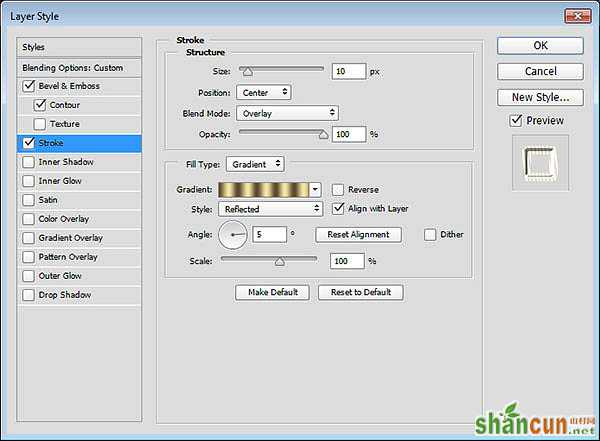
点击添加描边。设置大小10像素、位置居中、填充类型为渐变、样式为反射、角度35度。使用Golden Dial Top X11渐变填充,然后点击渐变编辑器,将颜色#f5e5a6替换为#e1ca71。
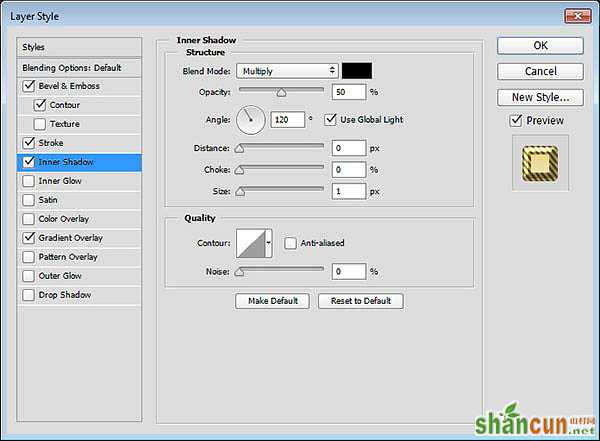
点击应用内阴影。设置不透明度50%、距离0像素、大小1像素。
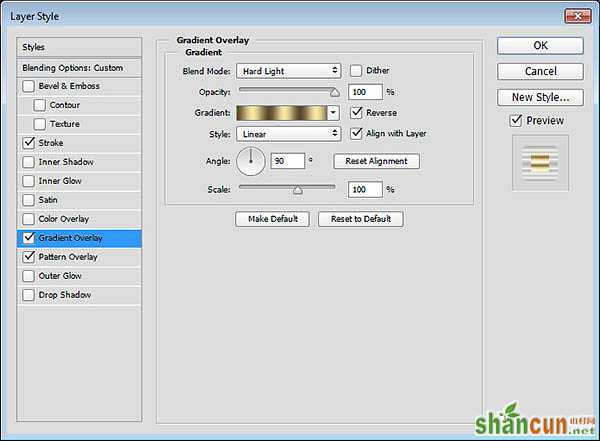
点击添加渐变叠加,设置如下图所示。
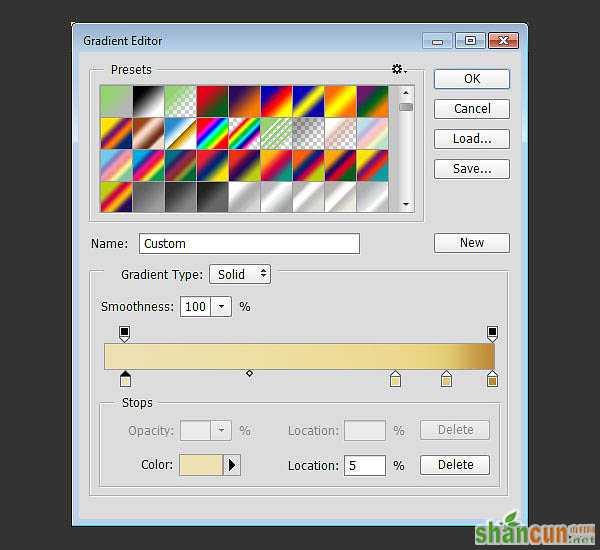
点击渐变色条可以添加颜色控制点,通过颜色控制点,可以控制渐变的颜色和位置。同时可以点击色条上端的不透明控制点,调整不透明度和不透明渐变位置。具体设置的颜色和位置,如下:
#ede1b1 - 5%;#ecd98f - 75%;#e1ca71 - 88%;#be8936 - 100%;最后设置左边不透明位置为5%。
13、添加完图层样式后文字效果如下。

14、第一个复制的文字形状图层应用以下的图层样式。
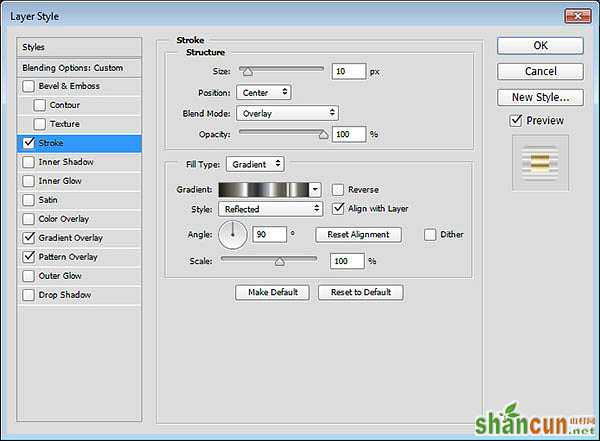
添加描边,设置大小10像素、位置为居中、混合模式为叠加、填充类型为渐变、样式为反射、角度90度、选用faucet 110渐变填充。
添加渐变叠加,设置混合模式为高光、勾选反向、选用Gold Dial Tops X7 – angled渐变填充。
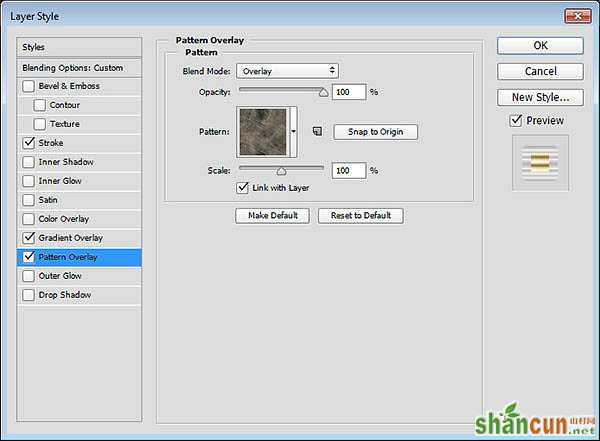
点击添加图案叠加,设置混合模式为叠加,图案为metal_6-512px.jpg。
15、设置后效果如下图所示。

16、第二个复制的文字形状图层应用以下的图层样式。
点击添加斜面和浮雕,设置样式为描边浮雕、大小3像素、光泽等高线环形、勾选消除锯齿、高光模式为亮光。
点击添加等高线,设置等高线内凹-深、勾选消除锯齿。
点击添加描边,设置大小10像素、位置为居中、混合模式为叠加、填充类型为渐变、样式为反射、角度5度、选用Golden Dial Top X11渐变填充。
17、设置效果图。

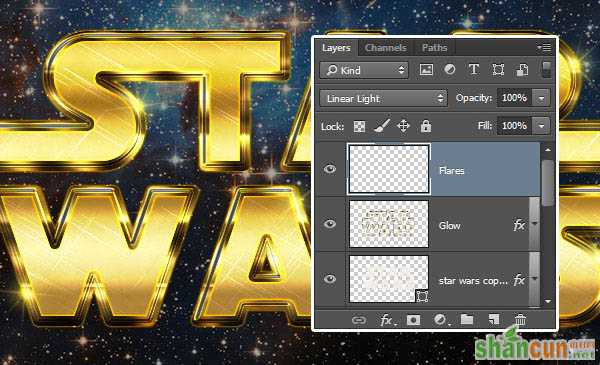
18、复制第二个复制形状图层,然后右击选择格栅化图层样式。重命名该图层为发光,设置填充度为0。
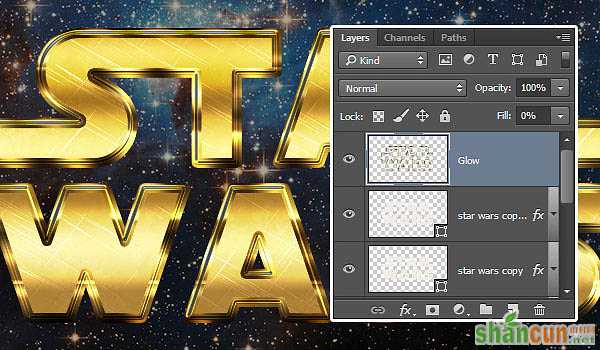
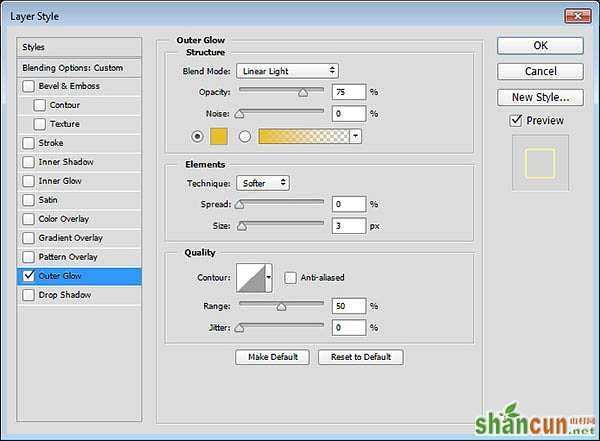
19、点击添加发光图层外发光效果,设置混合模式为线性光、颜色为#e7bf2a、大小为3像素。

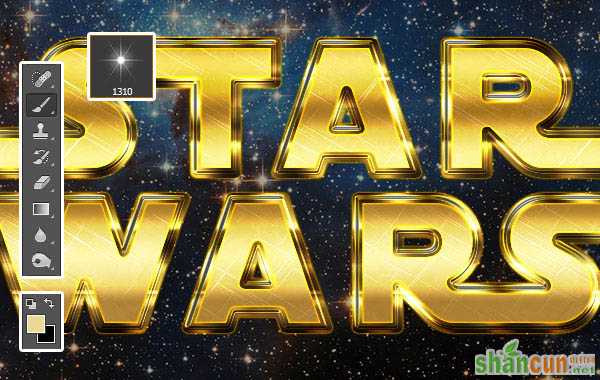
20、设置前景色为#ead994,选择笔刷工具,在素材Stars and Flares Brush Set笔刷中选用S&F-12。
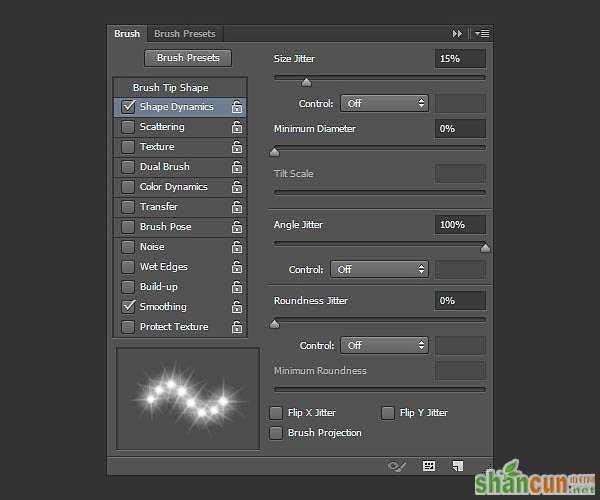
21、调出笔刷特性,设置形状动态如下图所示。
22、按自己喜好调整笔画的大小,在全部图层顶端创建新图层,命名为耀斑,设置混合模式为线性光。然后随意在自己喜欢的位置添加。
最终效果:


