
我们的最终效果:

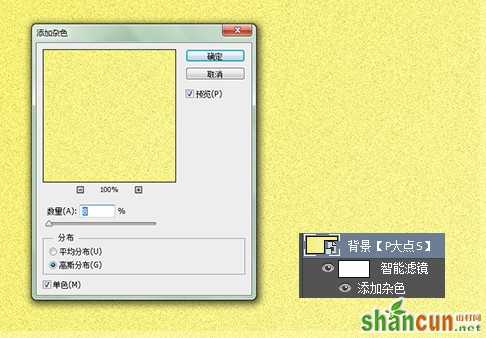
新建个文档,这里我用的是3000*1600像素,各位随意就好,用渐变工具做一个渐变背景,并添加点杂色。
使用钢笔工具画出如下图的常青树枝。下图是我们用钢笔画好的常青树枝,我们往下的所有操作将基于此树枝来变形。
使用操控变形时,我建议先转换为智能对象,因为在智能对象下,操控变形是以智能滤镜形式来呈现了,有利于我们的修改。
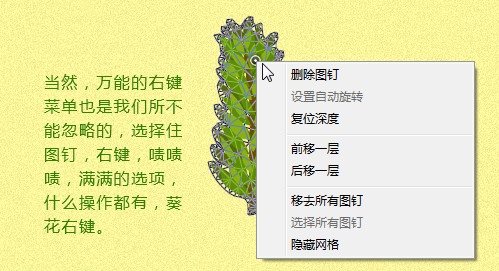
操控变形的位置是“编辑—操控变形”。执行操控变形后,我们可以看到操控变形的菜单中包含以下几项。

下面,我们就来解释下各个选项的作用。
首先是第一个选项,模式。从下拉菜单中,我们可以看到模式下有刚性、正常、扭曲三个模式。我们通过下图来看看它们的区别。
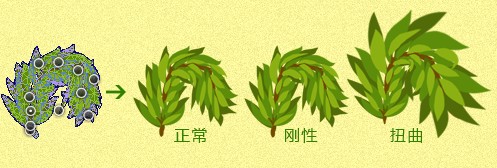
还是那段常青树枝,我执行了操控变形。上面的三个图是三种模式,图没选好,正常模式和刚性模式看不大出区别,凑和看吧。正常模式是默认的模式,正常的变形,柔和的过渡,而刚性模式,意思是变形会更为硬一些,过渡不会那么的柔和,毕竟要MAN一些。最后一个,扭曲模式,这个模式更适合校正使用,在变形的同时会产生一些透视效果。
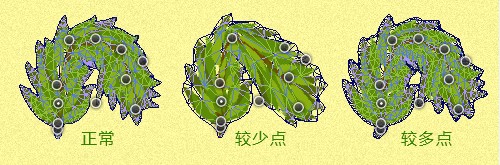
接下来,是浓度。尝试也是有三个选项,较少点、正常、较多点。这个,我相信没人会理解不了的吧。较少点、正常、较多点的区别就是网格的大小,网格的大小决定了能添加图钉的多少,点越多,越能更好的提高精度。
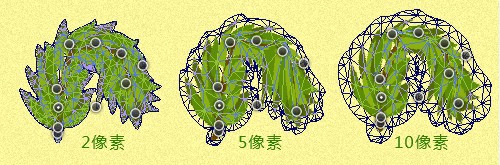
扩展这个选项,默认的是2像素,这是用来设置扩展或者收缩变换区域的效果,即网格的外边缘,数值越大,变形后的边缘就越平滑。
显示网格,这个就没啥说的了,勾选上就会显示网格,不勾选就不显示。
图钉深度用来设置图钉的尝试,让图钉向上或者向下移动堆叠顺序,解决重叠的问题,有点类似于形状中的形状排列方式。
旋转有两个选项可供选择,自动和固定。自动是指我们在拖动图钉对图像进行变形时,PS自动对图像进行旋转处理。而固定则是由我们自己来控制旋转的角度。可以这么理解,一种是智能处理,一种是人工处理。
图钉尝试和旋转选项,截图也难以说明,自己理解吧。
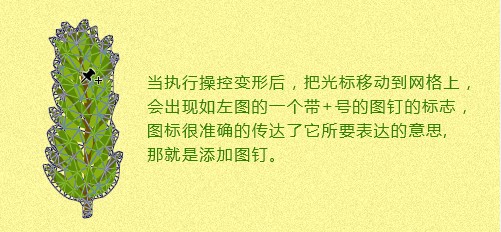
下面,我们再介绍几个操控变形操作的小技巧。

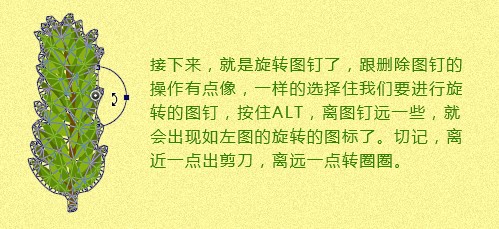
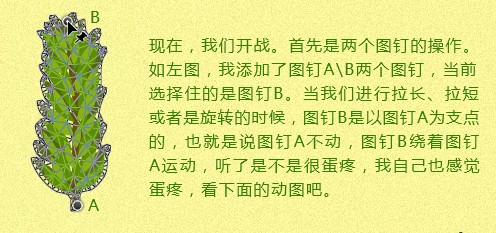
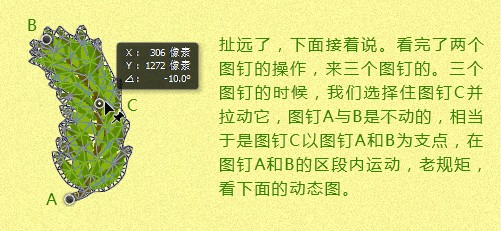
同样的,三个图钉以上的也是基于这个原则,还不明白的自己动手折腾一下,就会明白的。
OK,下面,我们开始这个常青树枝文字的实战。
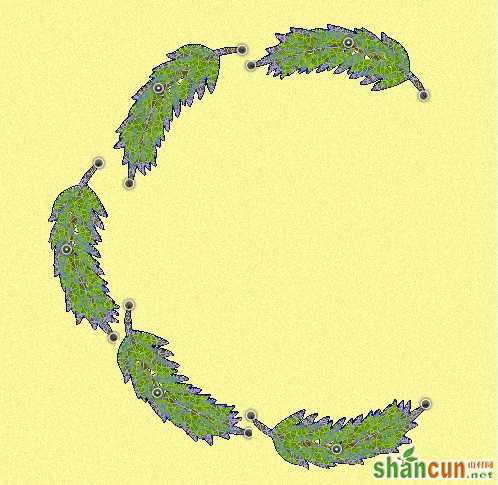
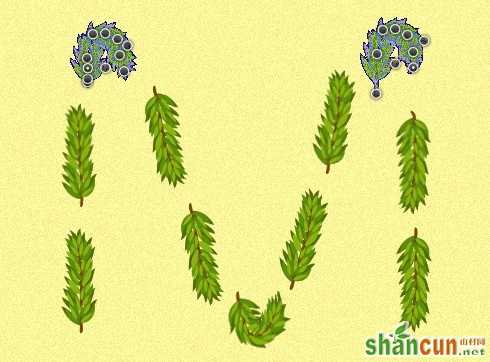
其实没有任何的技术含量,是个体力活来着,通过不断的复制,操控变形,来接着成一个文字,我们可以用个文字图层放在树枝的下面,跟着现成的文字来做,这样会快一些。
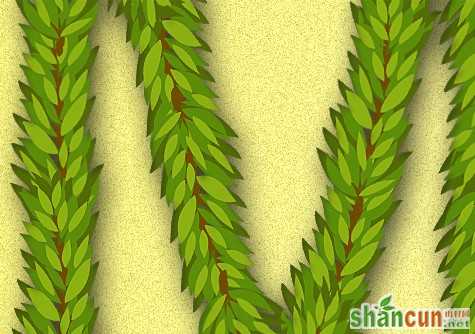
跟搬砖差不多的体力活干完后,我们得到如下图:

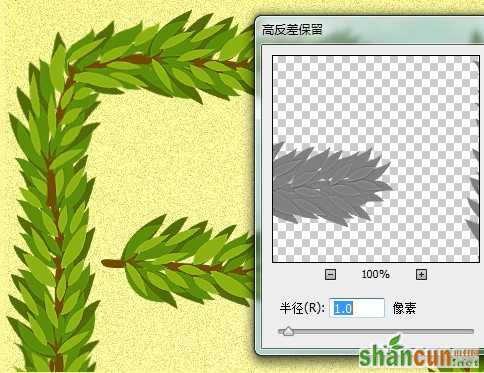
我盖印了所有的文字图层(不包括背景,仅文字),执行了一个高反差保留滤镜,设置图层混合模式为叠加,让树叶显得更加逼真一些。
再次盖印了一次(不包括背景)得到一个纯树叶文字的图层,添加了一个内阴影和一个投影。

完事了,看看我们的效果。

写在后面:
1、今天的操作,并不是特别的适合用来讲解操控变形,用类似绳子文字特效来讲解,效果会更好。
2、操控变形的应用也可以说不少,例如局部的瘦脸,简单的改变人物造型,调整人体姿势,或者对图片的微调等等。
3、最后再加点圣诞装饰物件的话,相信效果会更好一些。


