
PS怎么制作漂亮的发光字体
发光字在很多宣传海报或视频集锦中都是非常具有视觉震撼效果的,下面小编就带领大家一起来制作发光字。
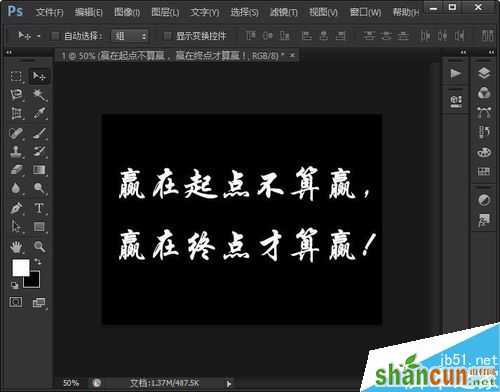
效果图:

photoshop制作发光字
1、首先,打开photoshop软件,新建一个黑色的编辑背景;再利用左侧工具栏中的“横排文本工具”输入需要制作的文字,如图所示。
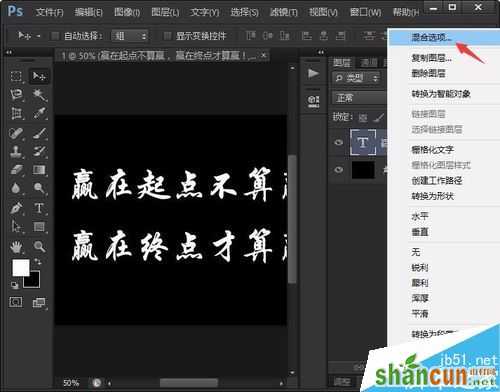
2、接着,在“图层”面板里,右键单击文字图层,选择“混合选项”按钮,如图所示。
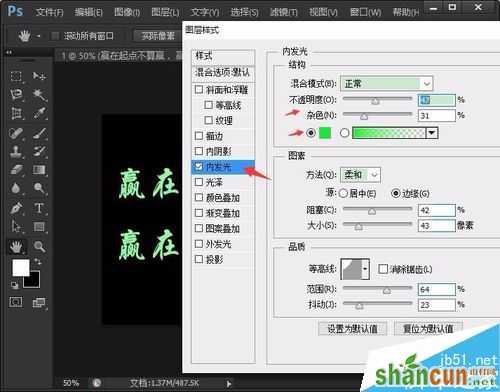
3、在弹出对话框中,首先编辑“内发光”:
“混合模式”设置为“正常”,其他参数设置根据自己的需要进行调整即可,如图所示。
4、其次是编辑“外发光”:
“混合模式”设置为“正常”,其他参数设置根据自己的需要进行调整即可,如图所示。

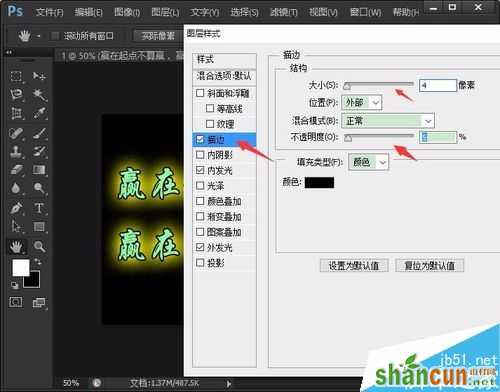
5、再是编辑“描边”:
“混合模式”设置为“正常”,“大小”最好不要调整,其他参数设置根据自己的需要进行调整即可,如图所示。
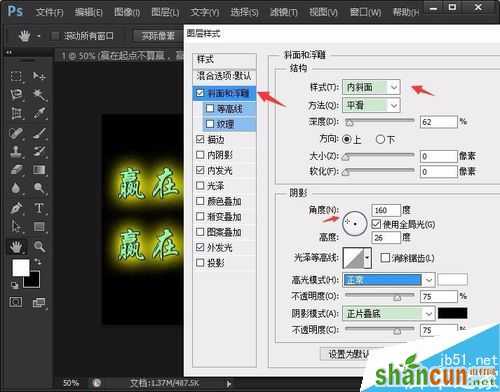
6、最后是编辑“斜面和浮雕”:
“模式”设置为“内斜面”,其他参数设置根据自己的需要进行调整即可,如图所示。
7、设置完成后,点击另存为图片即可。


