
教程教大家用PhotoShop制作出变形金刚文字效果,挺简单的,主要通过设置图层样式即可完成,喜欢的同学赶快来学习一下!
最终效果图:

准备工作:
将素材包解压到桌面(素材包下载 )
1.把素材一(变形金刚字体)装入电脑
2.把素材二用PS打开,点编辑——定义图案——确定
3.编辑——预设管理器——图案,
下面开始制作变形金刚字体
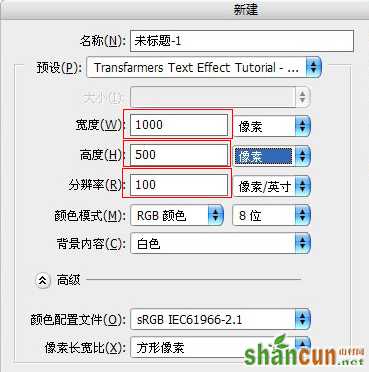
1.新建文件
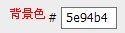
2.设置前景色、背景色

3.新建空白图层。填充前景色(alt+backspace )

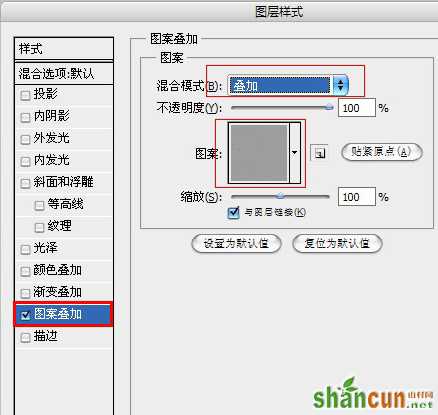
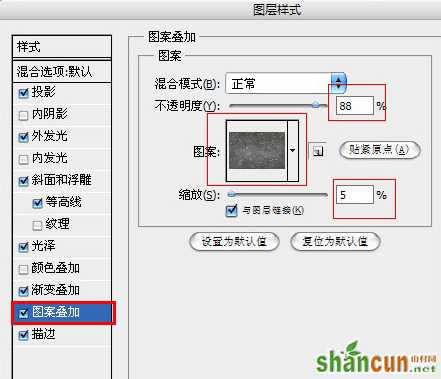
4.双击图层1的空白部分,出现图层样式面板,选择图案叠加,设置如下。
其中“图案”为素材三
相关教程:
PhotoShop制作透明玻璃质感金属文字教程
PS利用锈迹素材制作逼真的金属浮雕字教程
PS制作厚重冲击效果的欧洲中世纪复古金属字教程
5.点击确定。切换背景色和前景色的顺序(快捷键x)

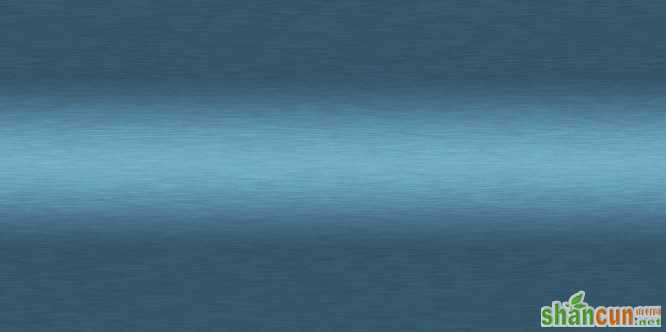
6.使用渐变工具——对称渐变工具,按住shift在图层中间拉一条短线

得到如下效果
7.文字工具输入TRANSFORMERS。设置如下

将文字移到画面高光处,如下图
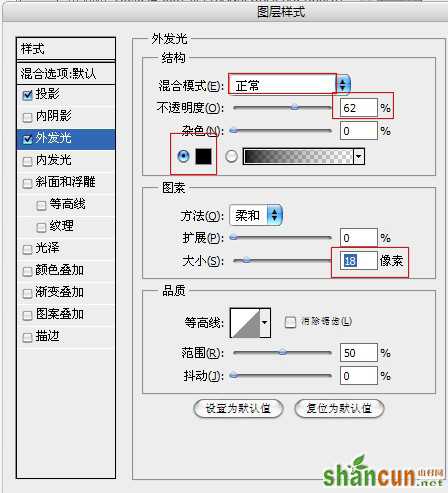
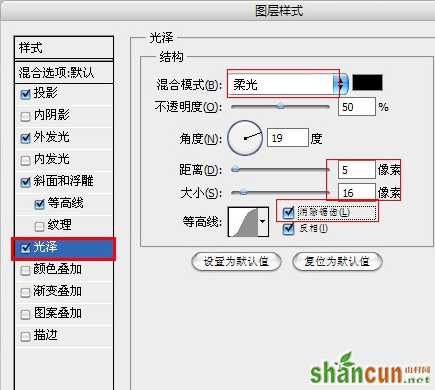
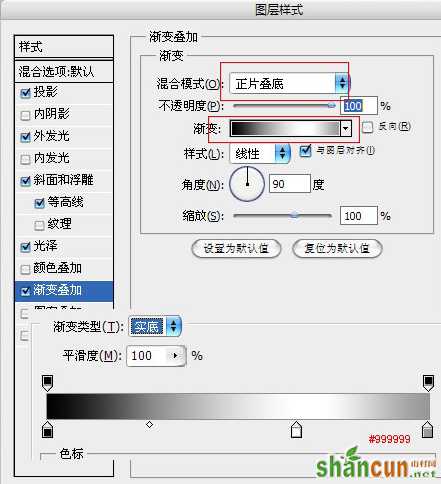
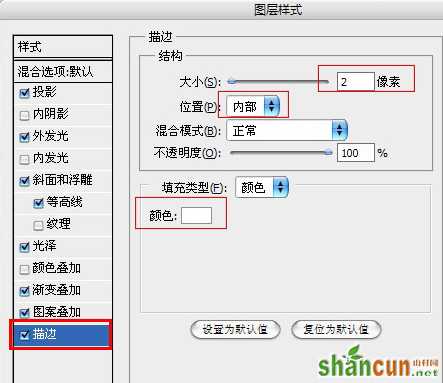
8.双击文字层空白处,打开图层样式面板,进行如下设置
【温馨提示】
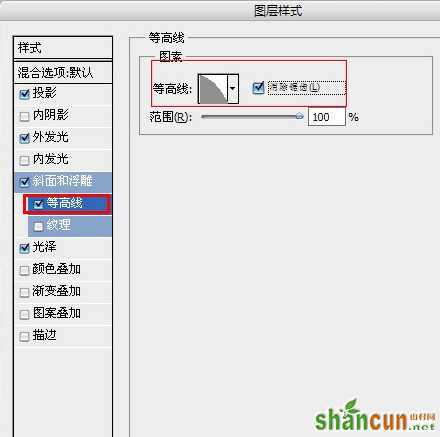
你会看到一些形状奇怪的等高线,那个是要自己设置的,没有默认选项。设置的时候双击等高线后面的图案,在弹出的窗口中照着教程里面等高线的样子设置。


渐变叠加的渐变需要自己设置,双击那个渐变框,按下面给出的设置
【温馨提示】其中的“图案”是素材二
至此,设置完成
9.以上设置完成后,点击确定。大功告成啦
相关教程:
PhotoShop制作透明玻璃质感金属文字教程
PS利用锈迹素材制作逼真的金属浮雕字教程
PS制作厚重冲击效果的欧洲中世纪复古金属字教程


