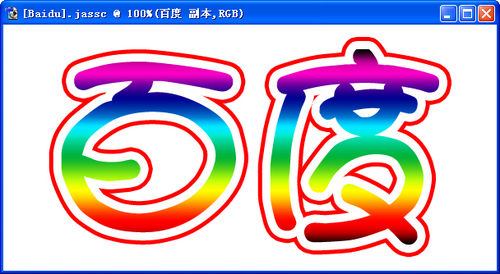
利Adobe Photoshop中的描边效果和渐变效果,轻松制作双重描边字,效果如下。
步骤/方法
点击菜单栏“文件”→“新建”,设定宽度、高度,模式为“RGB颜色”。

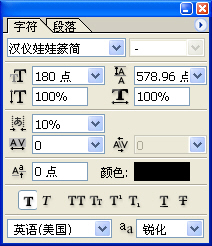
点击工具箱上的文字工具。
设定字体、大小、颜色,本例为汉仪娃娃篆简、180点、黑色。
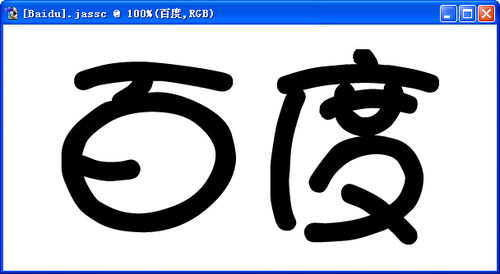
在画布上输入文字。
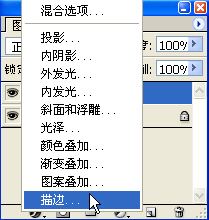
点击图层管理器左下角第一个按钮,选择“描边”。
“大小”设定为15,“颜色”为红色。
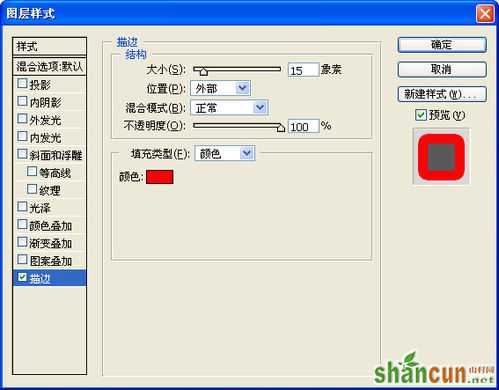
点“确定”后的效果图。
在文字图层上点右键复制图层。
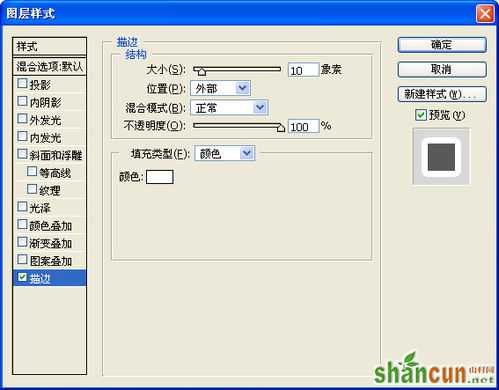
修改文字图层副本的描边设置,“大小”设定为10,“颜色”为白色。
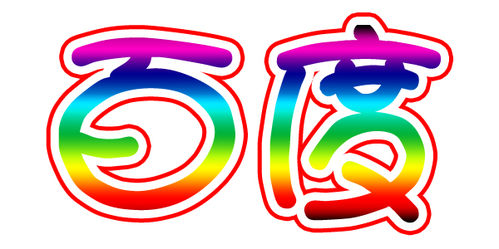
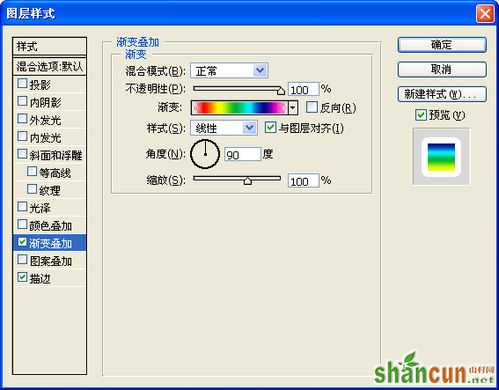
选择渐变叠加效果,“渐变”选择透明彩虹渐变,“角度”设定为90。
最终效果图。