
教程为大家介绍如何使用photoshop制作逼真手写沙滩字,本实例中主要运用了,画笔、图层样式和滤镜,下面就和小编一起来看看具体制作方法吧!
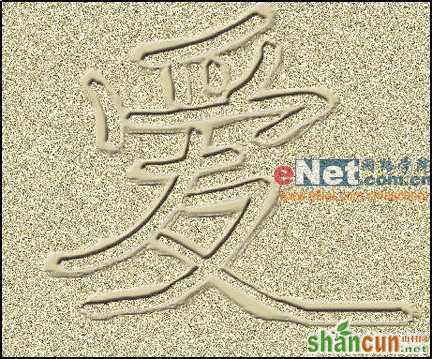
最终效果图
1、新建一个文件,在工具栏中设置前景色的RGB分别为217、205、163,背景色的RGB分别为113、84、19。
2、按Alt+Delete键填充前景色,效果如图01所示。

图01
3、选择菜单栏中的“滤镜”“杂色”“添加杂色”命令,在弹出的添加杂色对话框中设置数量为25,其他设置如图02所示,单击好画面效果如图03所示。
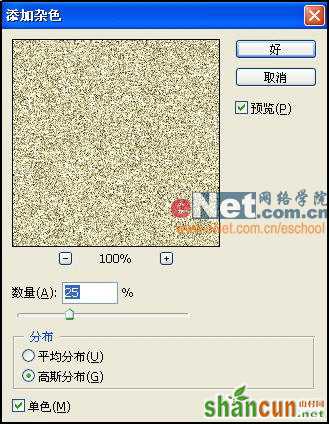
图02
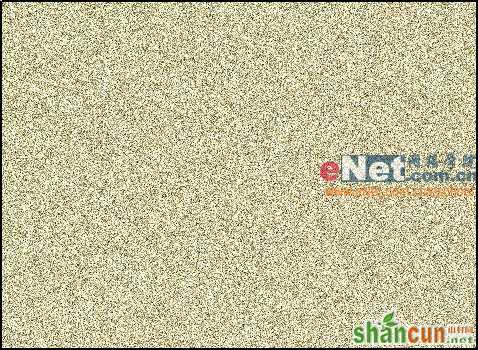
图03
4、新建图层,选择工具箱中的“画笔工具”,在画面中写一个字,效果如图04所示。
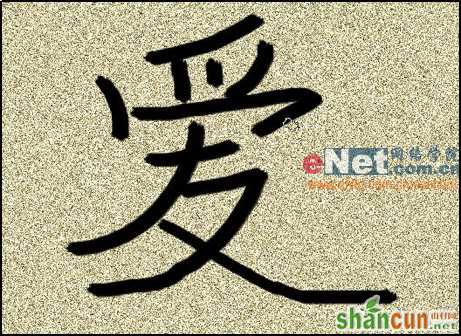
图04
5、按Ctrl键单击文字层,为文字建立选区,然后将文字层删除,效果如图05所示。
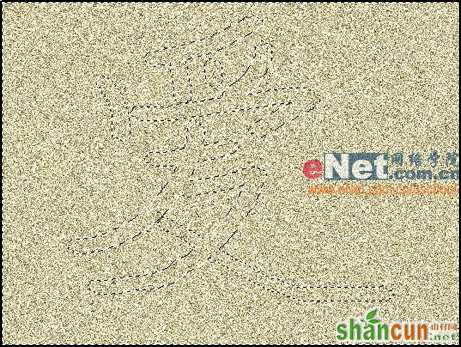
图05
6、按Ctrl+J键,将文字复制到图层1,在将图层复制生成图层1副本。双击中间图层“图层1”,在弹出的图层样式对话框中选择“斜面和浮雕”,设置等高线为“环形”,高光颜色为暗灰色,其他设置参数如图06所示,单击好,将图层1副本隐藏画面效果如图07所示。
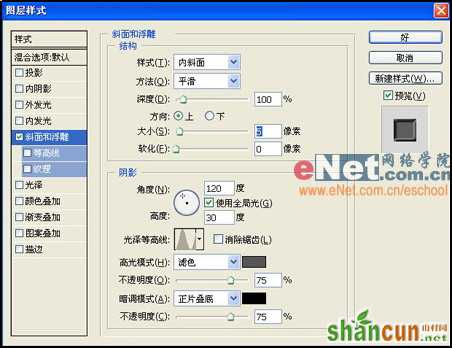
图06
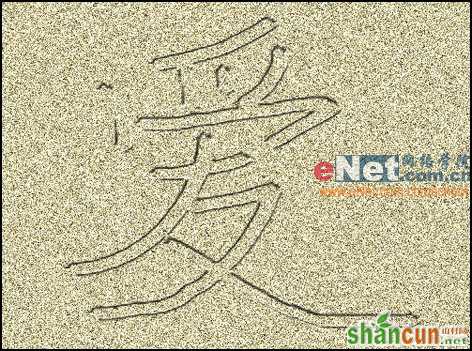
图07
7、双击图层1副本,在弹出的图层样式对话框中选择“斜面和浮雕”,设置默认,效果如图08所示。然后选择工具箱中的“橡皮擦工具”将图层1副本中的文字擦除,效果如图09所示。
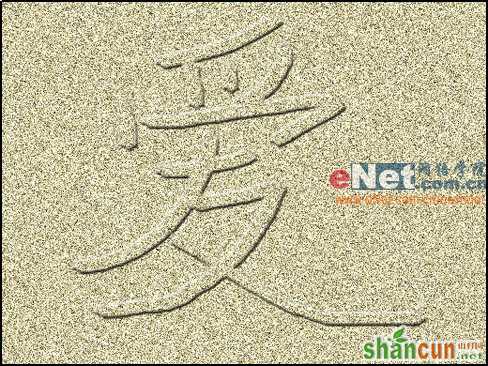
图08
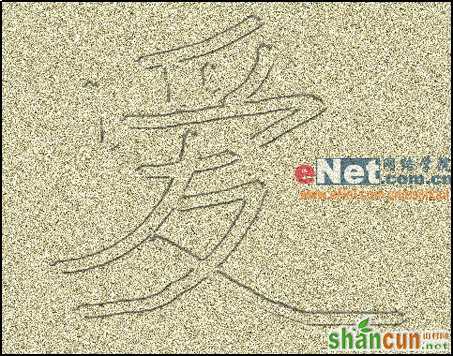
图09
8、将背景层隐藏,选择工具箱中的“画笔工具”,选择如图10所示的笔刷,在图层1副本顺着字上点画,效果如图11所示。
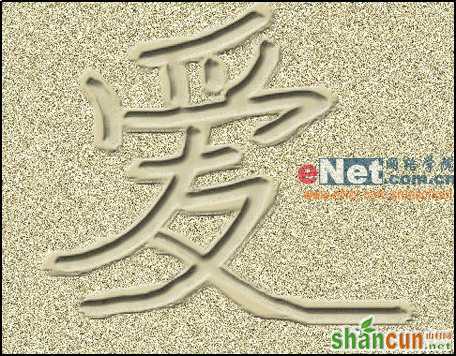
图10
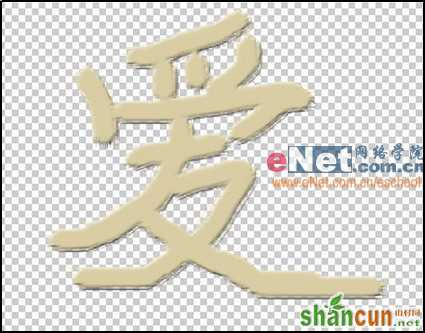
图11
9、选择菜单栏中的“选择”“重新选择”恢复原来的选区,然后选择菜单栏中的“选择”“羽化”命令,在弹出的羽化选区对话框中设置羽化半径为1 像素,在单击“选择”“修改”“收缩”命令,在弹出的收缩选区对话框中设置收缩量为3像素,如图12所示,单击好后画面效果如图13所示,按Delete 键,删除选取内的图像,效果如图14所示。
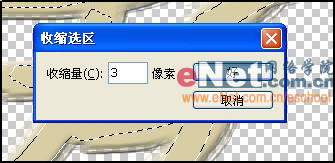
图12
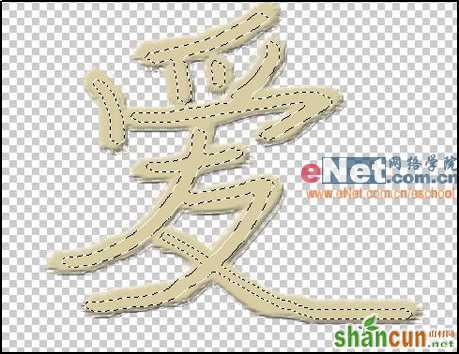
图13
图14
10、选择图层1,执行菜单栏中的“滤镜”“模糊”“高斯模糊”命令,在弹出的高斯模糊对话框中设置半径为5.4像素,单击好,画面效果如图15所示。
图15
11、分别对图层1和图层1副本执行“添加杂色”命令,参数同上,效果如图16所示。
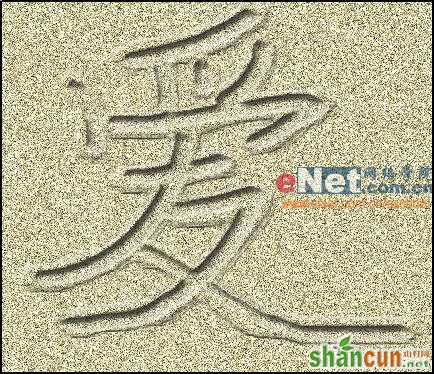
图16
12、用曲线适当降低图层1的亮度,最终效果如图17所示。
图17


