
教程的字体效果非常有个性。作者制作的时候也非常细心,在使用外发光及内方法的时候用了一些有层次的金属渐变,这样做出的质感非常细腻。
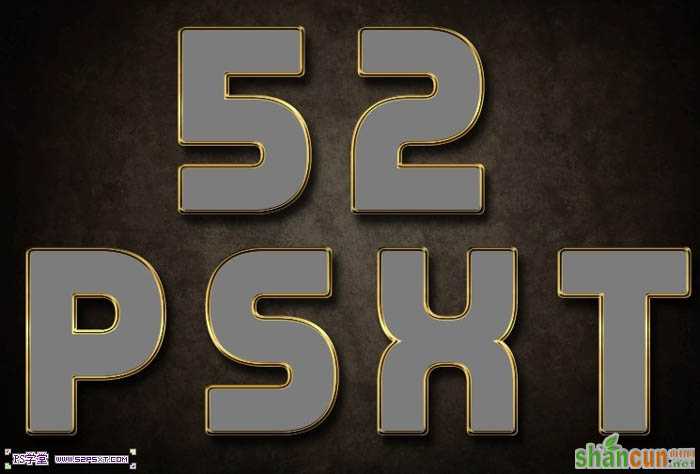
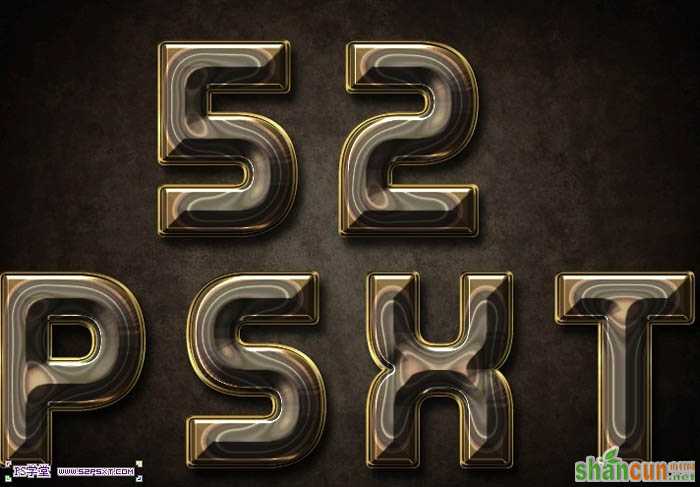
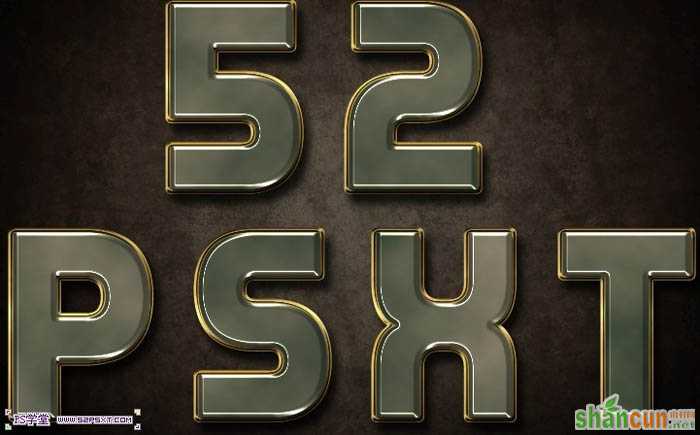
教程最终效果

<点小图查看大图>
1、新建900*700px大小的文档吗,设置前景色为#4b4133,背景色为 #190500,拉径向渐变。

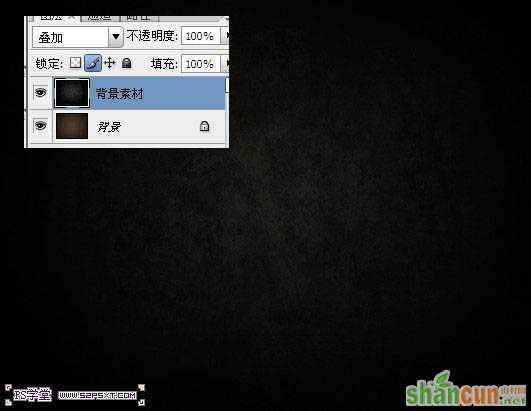
2、拉入背景素材,模式叠加。
<点小图查看大图>
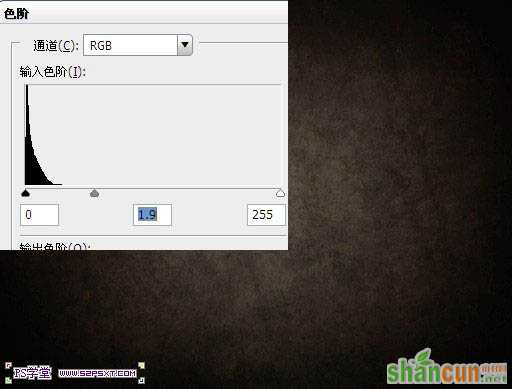
3、调整--色阶,设置如下。
相关教程:
Photoshop制作凹槽的纹理金属字
ps制作金属字
Photoshop制作光滑的双层金属字
Photoshop制作表面凹凸不平的金属字
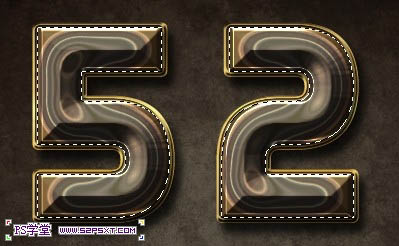
4、设置字体颜色为#7c7c7c,字体选择Piximisa(回复即可下载),打上“52psxt”(如果分行打字,建议一行字体一个图层)。复制字体图层两次,得到字体图层副本和副本2,改填充为0%。
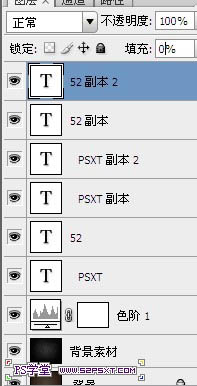
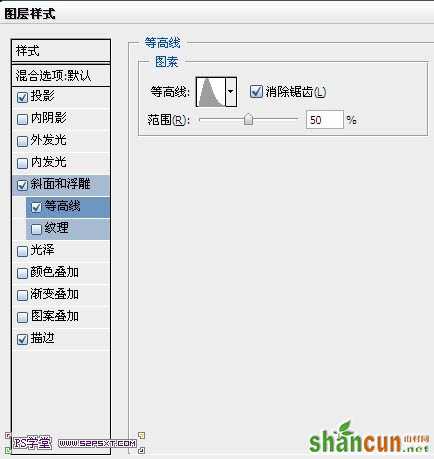
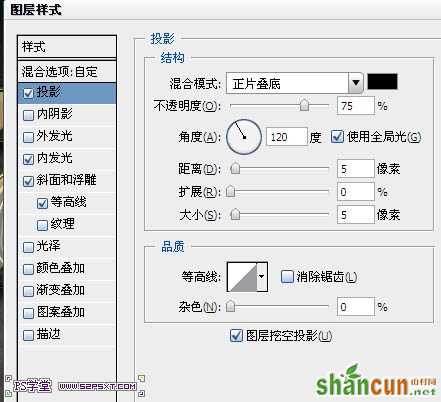
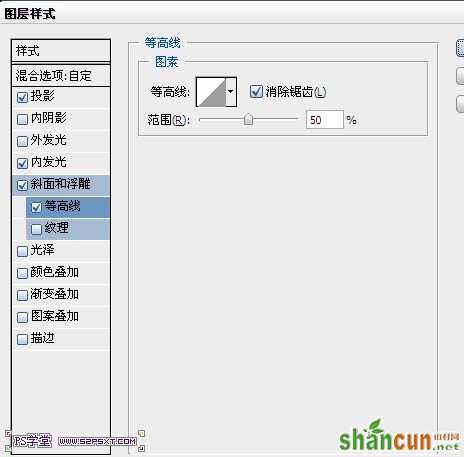
5、来到原始字体图层,设置图层样式如下。

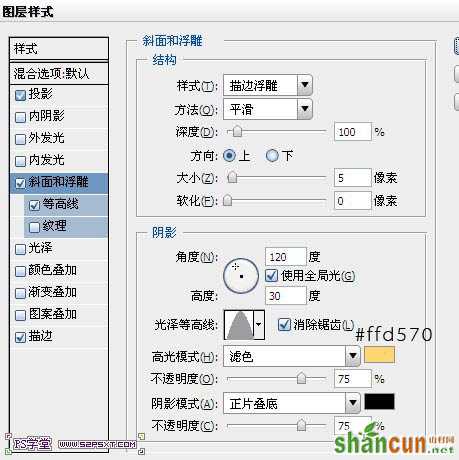
6、预设管理器,点这里下载渐变(共有三个渐变,后面的渐变也会用到),然后载入到PS中 ,选择渐变“Gold Label 55z”。
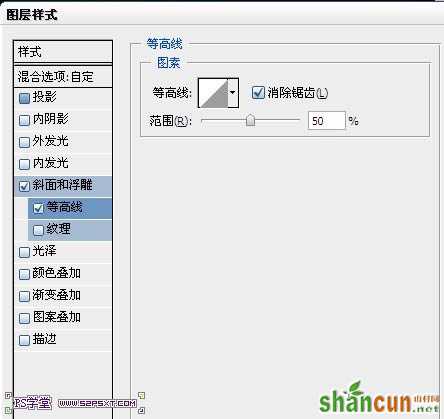
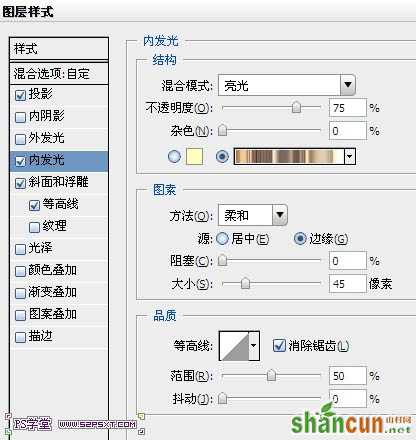
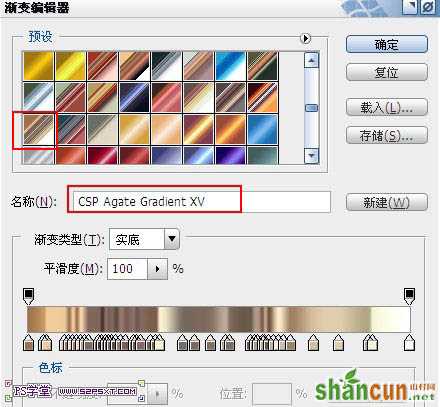
7、来到字体副本,设置图层样式如下。
预设管理器,载入“CSP Agate Gradients.grd”,选择渐变 “CSP Agate Gradient XV”。
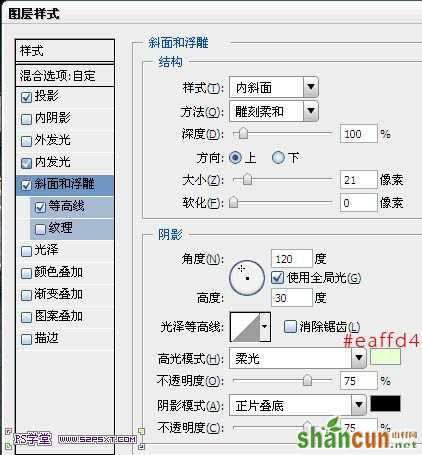
8、来到字体副本2,设置图层样式如下。

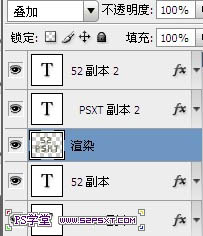
9、在字体副本2下面,新建图层“渲染”,设置前景色为#213926,背景色为#cbb99d,按住ctrl键点击字体图层,得到字体选区,在“渲染”图层上执行滤镜--渲染--云彩。ctrl+D取消选区。
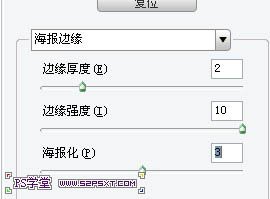
10、继续滤镜--艺术效果--海报边缘。
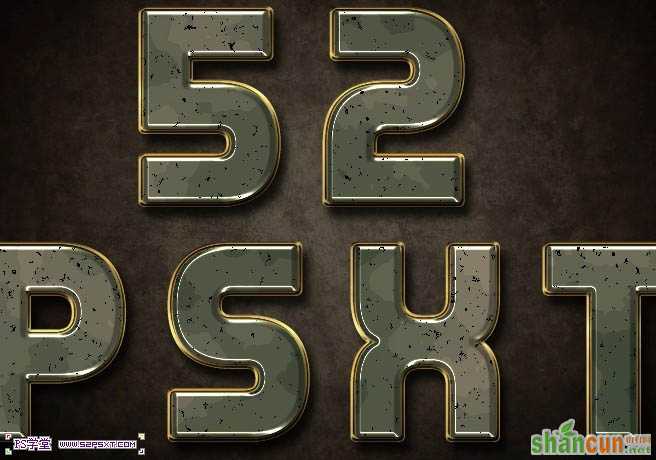
11、继续滤镜--艺术效果--海绵。
12、将“渲染”图层模式改为叠加。
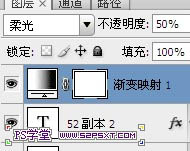
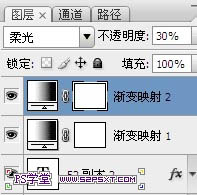
13、最后在所有图层上新建“渐变映射”,颜色从#736357到#213926,图层模式柔光,不透明度50%。
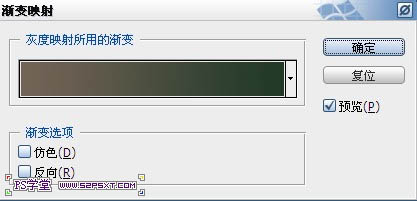
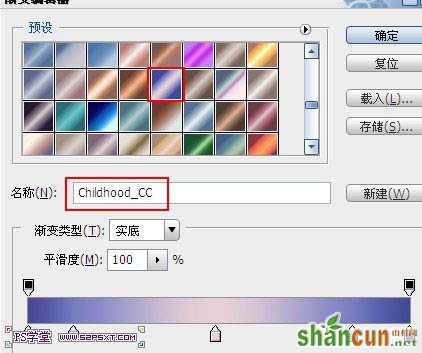
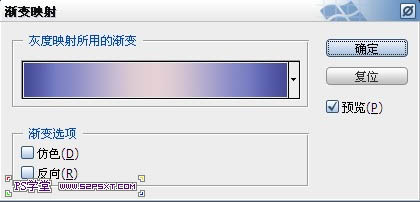
14、预设管理器渐变,载入 “BoahmedAllinone.grd”。继续渐变映射,选择“Childhood_CC”, 图层模式柔光,不透明度30%。
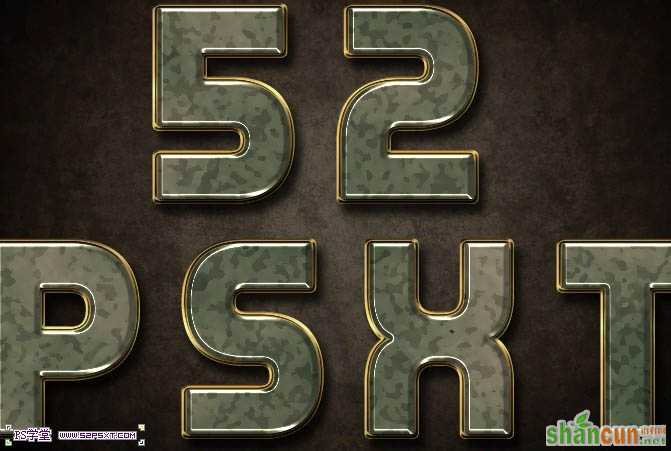
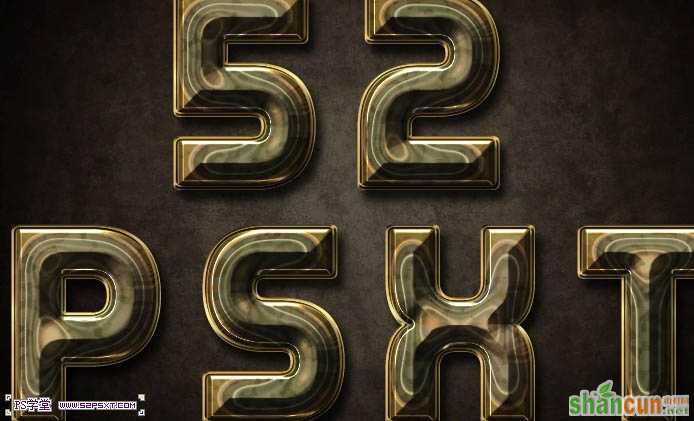
最终效果:
相关教程:
Photoshop制作凹槽的纹理金属字
ps制作金属字
Photoshop制作光滑的双层金属字
Photoshop制作表面凹凸不平的金属字


